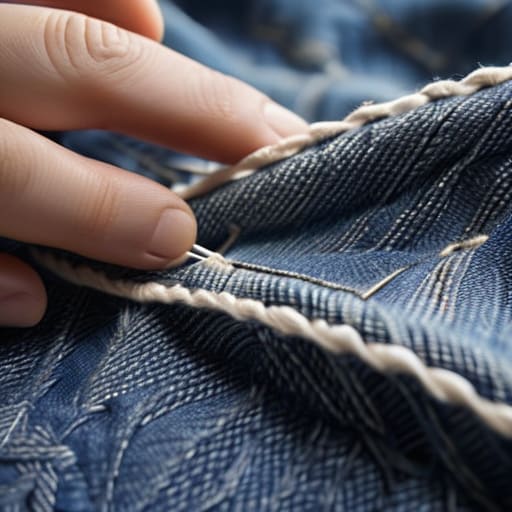
I was halfway through a thrift store haul last weekend when I realized my absolute favorite pair of vintage Levi’s had finally given up the ghost right at the inner thigh. Most people would tell you that once the denim starts thinning like that, it’s officially trash, but honestly? That is such a waste of a good silhouette. I’ve spent way too many years learning how to patch jeans so that I don’t have to participate in the cycle of constantly buying “new” clothes just because of a tiny structural failure. You don’t need to be a master tailor or own a heavy-duty industrial sewing machine to save your wardrobe; you just need a better system.
In this guide, I’m stripping away the complicated sewing jargon and showing you the exact, unpolished methods I use to fix holes without making them look like a middle school art project. We’re going to cover everything from the “invisible” fix for small snags to the more rugged, visible mending styles that actually add character to your denim. My goal is to give you a repeatable workflow so you can stop stressing about your clothes falling apart and start feeling like you actually have your life together.
Table of Contents
Guide Overview
Tools & Supplies
- Needle and thread or sewing machine for joining fabric
- Fabric scissors for trimming frayed edges
- Pins to hold the patch in place
- Denim scrap or patch fabric (1 piece)
- Heavy-duty thread matching denim color (1 spool)
Step-by-Step Instructions
- 1. First, you need to grab your supplies, and no, you don’t need a massive sewing kit. All you really need is a needle, some heavy-duty thread (denim thread is best, but any strong cotton will do), and a piece of scrap fabric. If you’re going for that vintage look, hunt through your thrift finds for a piece of flannel or an old patterned shirt; otherwise, just find some matching denim to keep it low-key.
- 2. Once you have your fabric, lay your jeans flat on a hard surface and turn them inside out. This is the part people usually skip, but it’s the secret to making the patch look intentional rather than messy. Place your scrap fabric directly behind the hole, making sure it extends at least an inch beyond the damaged area on all sides so the edges don’t fray further.
- 3. Now, grab a safety pin or a couple of sewing pins to hold everything in place. You want that scrap fabric to stay perfectly flush against the denim while you work, otherwise, you’ll end up with a bunch of frustrating lumps under your needle. If you don’t have pins, honestly, just use your hands to hold it tight—it’s a bit of a workout, but it works.
- 4. Start sewing using a “running stitch” or, if you want it to actually last through a wash cycle, go for a “darning” technique. Basically, you’re going to weave the needle in and out of the fabric in a series of parallel lines. Don’t worry about being a perfectionist here; the goal is to create a solid barrier that covers the hole completely.
- 5. As you move along, make sure your stitches are relatively even in length. If you go too fast, you’ll end up with huge gaps that look like Swiss cheese, but if you go too slow, you’ll lose your momentum. I like to think of it as a rhythmic movement—just keep a steady pace until the hole is fully reinforced.
- 6. When you get close to the edge of your patch, start tapering off your stitches. Instead of just stopping abruptly, weave the thread back into the existing denim pattern for a few loops. This helps the patch blend into the rest of the jeans so it doesn’t look like a randomly glued-on square once you turn them right-side out.
- 7. Finally, tie off your thread with a double knot and snip the excess. Give the area a quick tug to make sure everything feels secure and isn’t pulling too hard on the surrounding fabric. If it feels sturdy, you’re good to go—toss them in the wash and get back to your life.
Understanding How to Patch Jeans
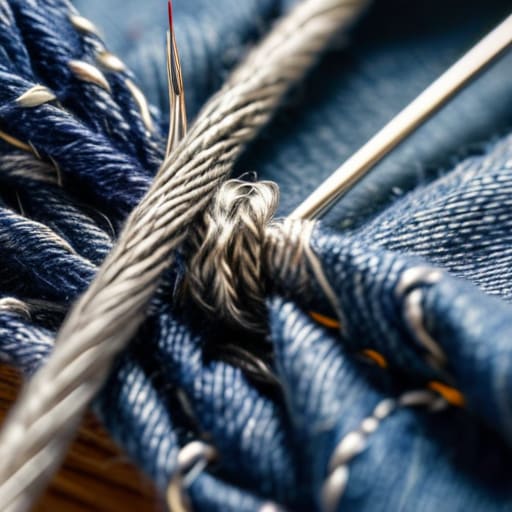
Before you dive into the actual sewing, you need to decide what kind of “vibe” you’re going for with the repair. There’s a massive difference between trying to make a hole disappear and leaning into the damage. If you want the fix to be subtle, you’ll want to focus on darning denim holes using thread that closely matches your jeans’ wash. This is more about structural integrity—essentially weaving new threads into the existing fabric to bridge the gap. It’s a bit more tedious, but it’s the best way to make the repair look like it was always part of the original weave.
On the flip side, if you’re feeling more creative, you can explore visible mending techniques to turn a mistake into a design choice. Instead of hiding the fray, you can use contrasting colors or even some simple embroidery for clothing repair to create something totally unique. This is where you stop worrying about perfection and start treating your clothes like a canvas. Whether you choose a hidden fix or a bold statement, the goal is the same: stop the fraying from spreading so you can keep wearing your favorites for years.
Key Things to Know
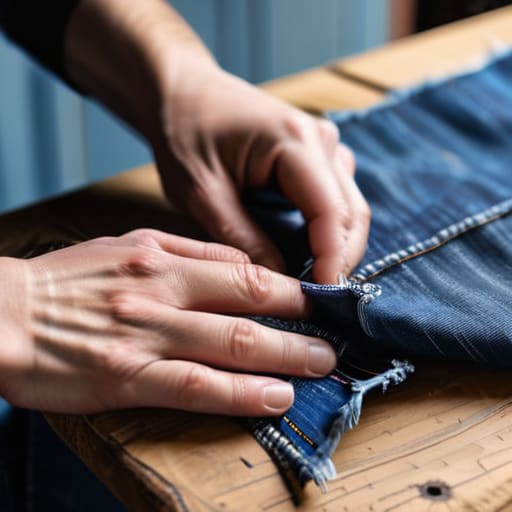
Before you dive in, there are a few realities about denim that will save you a lot of frustration. First, don’t just grab any old scrap of fabric and hope for the best. Different denim patch fabric types behave differently; if you use something too thin, it’ll just tear right through the original weave, and if it’s too heavy, it’ll create a weird, bulky lump that feels uncomfortable to wear. I usually look for something with a similar weight to the original pair, ideally a vintage denim scrap I found while thrifting.
Also, you need to decide on your “vibe” before you start. If you want the repair to disappear, you’ll want to focus on darning denim holes using a thread color that matches your jeans almost perfectly. But, if you’re feeling a bit more creative, you can lean into visible mending techniques. This is where you actually use the repair as a design choice—think colorful stitching or even some subtle embroidery for clothing repair. Either way, just make sure you have the right sewing tools for jeans, like heavy-duty needles, so you aren’t fighting your fabric every single step of the way.
Pro-Tips to Keep Your Patches from Looking Like a Middle School Art Project
- Don’t skip the ironing step. If you’re doing an iron-on patch, press it with heavy steam for a full minute. If you don’t, that patch is going to peel off the second you hit the washing machine, and then you’re back to square one.
- Match your thread to the denim, not the patch. If you’re sewing on a vintage scrap, don’t try to find thread that matches the scrap perfectly; just find a thread color that blends into the actual jeans. It makes the repair look intentional rather than messy.
- Use a stabilizer if you’re working on thin or stretchy denim. If the fabric is getting all bunched up and wavy while you’re sewing, slide a piece of lightweight interfacing behind it. It keeps the tension even so your patch doesn’t end up looking like a topographical map.
- Trim your excess fabric before you start sewing. A lot of people try to sew through the entire edge of the patch, which creates a bulky, uncomfortable ridge on the inside of your leg. Cut it close to the hole, then stitch, and your jeans will still feel like actual clothes.
- Embrace the “visible mending” vibe if it’s not perfect. If your stitching is a little wonky, don’t stress. I actually think a slightly imperfect, hand-stitched patch looks way better and more authentic than something that looks like it was done by a machine. It gives the jeans character.
The Bottom Line
Don’t let a small hole ruin a good pair of jeans; most damage is way easier to fix than you think if you just have a little bit of scrap fabric and some patience.
The goal isn’t perfection—it’s about creating a system that makes your clothes last longer so you aren’t constantly stuck in a cycle of buying new stuff.
Whether you’re going for a seamless look or a visible, DIY aesthetic, the most important thing is to secure the edges so the fraying doesn’t turn into a bigger disaster.
Don't Let Your Favorite Pair Die
At the end of the day, patching your jeans isn’t about achieving some kind of runway-ready perfection; it’s about stopping the cycle of fast fashion and actually making things last. Whether you went with a hidden patch to keep things low-key or leaned into a visible mending style with some cool scrap fabric, you’ve successfully turned a potential waste pile into a functional piece of clothing again. Just remember to keep your tension even and don’t skip the securing steps, because a solid foundation is the only way to ensure that hole doesn’t just migrate somewhere even more annoying next week.
Honestly, I used to feel so much unnecessary guilt every time I ripped a seam or wore through the inner thigh of a good pair of denim. I thought it meant I was being careless, but now I see it as just a sign that I actually live my life. Embracing a little bit of repair work is honestly such a massive relief because it takes the pressure off having to replace everything the second it shows a little wear. You don’t need to be a master tailor to take control of your stuff; you just need the willingness to sit down for twenty minutes and fix what’s broken so you can get back to your day.
Frequently Asked Questions
Can I actually use iron-on patches if I don't want to deal with a needle and thread?
Short answer: Yes, absolutely. If the thought of threading a needle makes you want to nap, iron-on patches are your best friend. They’re a total lifesaver for quick fixes, but here’s the catch: they aren’t a permanent solution. They tend to peel at the edges after a few washes. If you want it to actually last, I usually recommend a tiny bit of fabric glue around the perimeter to keep things secure.
How do I make sure my patch doesn't look like a giant, ugly bandage on my leg?
The secret is all in the blending. If you want to avoid that “medical bandage” look, stop trying to find an exact color match—it almost never works and just looks awkward. Instead, go for contrast or texture. Either grab a scrap fabric in a similar wash but a slightly different shade, or lean into the “visible mending” vibe with a contrasting thread. If it looks intentional, it looks like a style choice rather than a mistake.
Is there a way to fix a hole in a spot that moves a lot, like the inner thigh or knee, without the patch peeling off?
Honestly, the inner thigh is the final boss of denim repair. If you just slap an iron-on patch there, it’ll peel off within two wears because of the friction. To make it actually last, you have to ditch the adhesive and go with a “darning” method. Basically, you’re weaving new threads over the hole to create a structural web. It’s a bit more tedious, but it’s the only way to ensure the repair moves with you.
