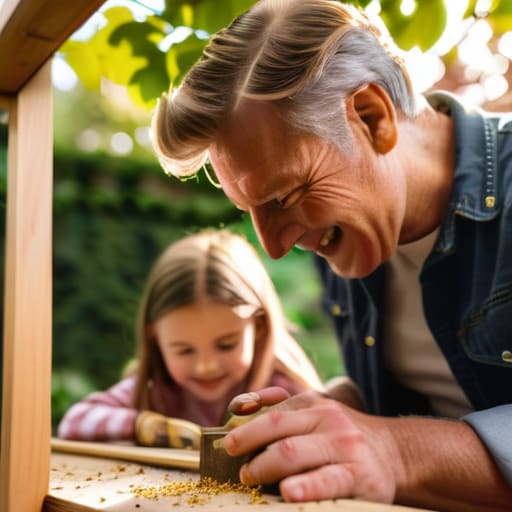
I was standing in my garage last Saturday, covered in sawdust and staring at a pile of expensive, pre-cut cedar that looked absolutely nothing like the “simple” DIY project I’d promised myself it would be. My dad always told me that the hardest part of any project isn’t the actual labor, but the mental friction of getting started when you feel like you don’t have the right gear. Most online tutorials make it seem like you need a professional-grade workshop to figure out how to build a birdhouse, but honestly? That’s just gatekeeping. You don’t need a masterclass or a garage full of power tools; you just need a solid, repeatable system that doesn’t leave you feeling overwhelmed by a pile of scrap wood.
In this guide, I’m stripping away all the unnecessary fluff and technical jargon to give you the actual, unpolished steps to getting this done. I’ll show you exactly how to source the right materials without breaking the bank and how to assemble everything so it actually lasts more than one season. We’re going to focus on a workflow that is efficient, functional, and—most importantly—completely doable even if your only tool is a basic screwdriver.
Table of Contents
Guide Overview
Tools & Supplies
- Handsaw or miter saw for cutting wood
- Hammer for assembling pieces
- Drill with small bit for pilot holes and entrance hole
- Measuring tape for accuracy
- Untreated cedar or pine board (1 piece, approx. 1" x 6" x 4')
- Galvanized finishing nails (1 small box)
- Wood glue (waterproof)
Step-by-Step Instructions
- 1. First, let’s get your materials sorted so you aren’t running back to the hardware store halfway through. You’ll need a single piece of untreated cedar—it’s naturally rot-resistant, so you won’t have to worry about it falling apart after one rainy season. Grab a saw, a hammer, some galvanized nails, and a drill with a spade bit. Avoid using treated lumber or anything with chemicals, because you don’t want to accidentally poison the birds you’re trying to house.
- 2. Now, it’s time to map out your cuts. You aren’t aiming for architectural perfection here, just functional geometry. You’ll need to cut six pieces: a base, a roof, a front, a back, and two sides. I usually mark everything out with a pencil first to make sure my math actually adds up before I touch the saw. If you’re feeling extra careful, use a square to make sure your lines are straight, but honestly, a little wobble won’t kill the vibe.
- 3. Once you have your pieces, it’s time to drill the entrance hole. This is the most important part because the size of the hole determines who actually moves in. For common backyard birds like wrens or chickadees, a 1.125 to 1.5-inch hole is the sweet spot. Use your drill and a spade bit to make the hole on your “front” piece, about halfway up. Don’t put it too low, or the babies might tumble out when they try to explore.
- 4. Start the assembly by nailing your sides to the back piece. I like to use a little bit of wood glue on the edges first to give it some extra stability, but don’t go overboard—you want this to be sturdy but simple. Once the sides are attached to the back, nail the floor piece in. Pro tip: drill a few tiny holes in the floor piece for drainage. It sounds extra, but it keeps the nest from becoming a swamp if water gets in.
- 5. Next, attach your front piece (the one with the hole) to the sides. If you want to make cleaning easier later on, you can actually use screws for the front panel instead of nails. This creates a removable door so you can clear out the old nesting material at the end of the season without having to smash the whole thing apart.
- 6. Finally, slap the roof on. Make sure it has a slight overhang in the front to act as a little porch; this keeps the rain from driving straight into the entrance hole. Nail it down securely, and you’re done. If the wood feels a bit rough, you can give it a quick sand, but leave it mostly natural. Birds actually prefer a bit of texture so they can grip the wood when they’re coming and going.
Understanding How to Build a Birdhouse
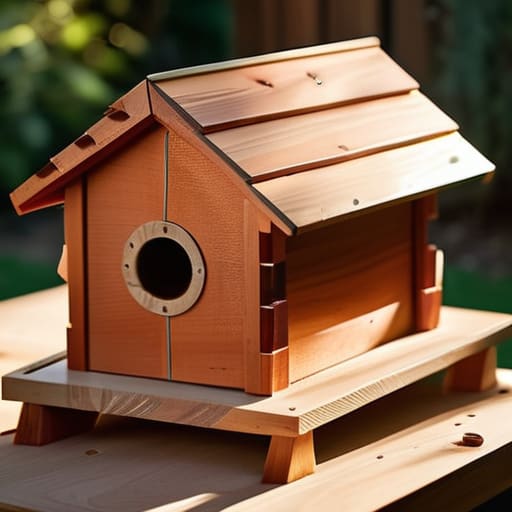
Before you start sawing away, you need to realize that a birdhouse isn’t just a cute DIY project; it’s an actual piece of infrastructure for a tiny living being. If you want this thing to actually last more than one season, you have to be intentional about your materials. I always suggest using cedar or redwood because they are naturally rot-resistant, making them the best wood for outdoor birdhouses without needing a bunch of toxic chemicals. Avoid anything pressure-treated or heavily painted on the inside, because you don’t want to accidentally poison the residents you’re trying to host.
It’s also easy to get caught up in the aesthetics and forget the math. If you’re aiming for a specific species, like bluebirds, you have to be precise with your safe birdhouse entrance hole size. If the hole is even a fraction too large, predators or aggressive starlings will move in and take over. Think of it like setting up a workspace: if the dimensions are off, the whole system fails. Take five minutes to double-check your specs before you commit to the build so you aren’t stuck fixing a mistake later.
Key Things to Know
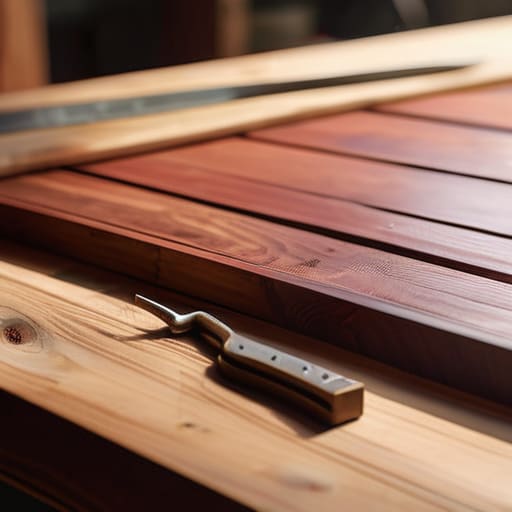
Before you start sawing, let’s talk about the materials. I’ve learned the hard way that not all timber is created equal when it comes to sitting out in the elements. You really want to stick to the best wood for outdoor birdhouses, like cedar or redwood. These woods are naturally rot-resistant, meaning you won’t have to constantly re-seal them every few months. Avoid using pressure-treated wood if you can; the chemicals used to preserve it aren’t exactly great for the little guests moving in.
Another thing that trips people up is the actual design. If you’re hoping to attract specific species, you have to be intentional about the safe birdhouse entrance hole size. For example, if you’re aiming for bluebirds, you need to hit those specific birdhouse dimensions for bluebirds to keep larger, more aggressive birds from taking over the nest. It’s a small detail, but it’s the difference between a busy backyard and a total ghost town. Just keep it simple, keep it functional, and let the birds do the rest.
Pro-Tips to Save You from a DIY Meltdown
- Don’t go overboard with the fancy wood; just stick to cedar or redwood because they actually hold up outside without rotting the second it rains.
- Skip the perch—I know it looks cute in Pinterest photos, but it actually just gives predators a perfect little handle to reach inside and mess with the birds.
- Drill a few extra holes in the floor for drainage; nobody wants to live in a birdhouse that doubles as a tiny, soggy swamp every time there’s a storm.
- Keep your measurements honest and double-check them before you cut, because once you slice through that cedar, there’s no “undo” button in the real world.
- Avoid using toxic paints or stains on the inside; if you want to decorate, keep it to the exterior so you aren’t accidentally making your new neighbors sick.
The Bottom Line
Don’t sweat the perfection; as long as the wood is weather-resistant and the drainage holes are there, the birds won’t care if your cuts aren’t laser-straight.
Prep your workspace and gather your tools before you even touch a piece of wood to avoid that mid-project frustration of hunting for a screwdriver.
Focus on simplicity over aesthetics—a basic, functional design is much easier to build and actually more effective for local wildlife than something overly complex.
Final Thoughts Before You Hang It
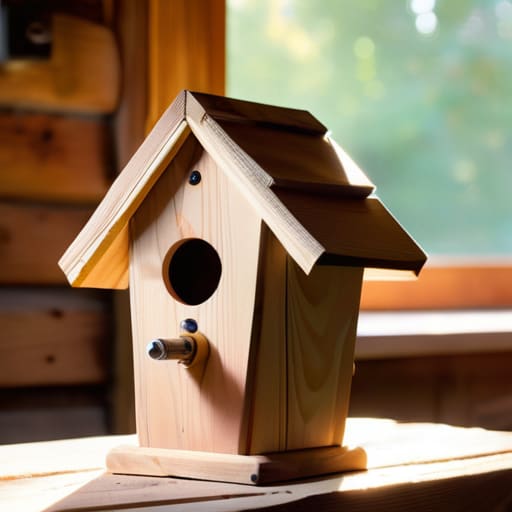
At the end of the day, building a birdhouse isn’t about achieving architectural perfection or having a workshop that looks like a Pinterest board. It’s about the fundamentals: picking the right wood, keeping your measurements honest, and making sure you don’t skip the drainage holes. Once you’ve got your cedar cut and your entrance hole drilled, the hardest part is actually behind you. Just remember that consistency beats complexity every single time. If your edges aren’t perfectly straight or your drill bit slipped a tiny bit, don’t sweat it. The birds aren’t going to critique your craftsmanship; they just need a solid, dry place to settle in.
I know that starting a DIY project can feel like adding another “to-do” to an already overflowing list, but there is something incredibly grounding about working with your hands. It’s a way to quiet the digital noise and actually see a tangible result of your effort. My advice? Don’t wait until you have the “perfect” toolset or a free weekend that lasts forever. Just grab what you have, follow the system, and get it done. You’ll be surprised at how much better it feels to have something real hanging in your yard rather than just another idea sitting in your notes app.
Frequently Asked Questions
Do I really need to use specific wood, or can I just use whatever scraps I have lying around the garage?
Honestly, you can definitely use scraps, but don’t just grab anything. If you’re pulling random bits from the garage, steer clear of pressure-treated wood or anything painted—the chemicals aren’t great for the birds. Stick to untreated cedar, pine, or even old scraps of plywood if they’re in decent shape. As long as it’s raw, untreated wood, your birdhouse will be fine. Just keep it simple so you can actually get moving.
How do I stop birds from actually eating the house or making a huge mess inside?
Honestly, this is where most people mess up. If you want to keep the mess down, skip the fancy seed feeders near the entrance—that’s just an invitation for a disaster zone. Stick to a simple, clean entrance hole size so only the target birds can get in. Also, skip the bright, flashy paint. Keep it natural. It keeps the birds calm and prevents them from treating your birdhouse like a chaotic snack bar.
What’s the best way to mount this thing so it doesn't just fall off the tree after the first storm?
Honestly, don’t just nail it directly to the trunk; that’s a recipe for a fallen birdhouse once the tree starts growing or the wind picks up. My go-to is using some galvanized mounting screws or even a sturdy wire bracket. If you’re mounting to a tree, try a “tree screw” method that allows for a little wiggle room. It keeps the house stable through a storm without killing the tree in the process.