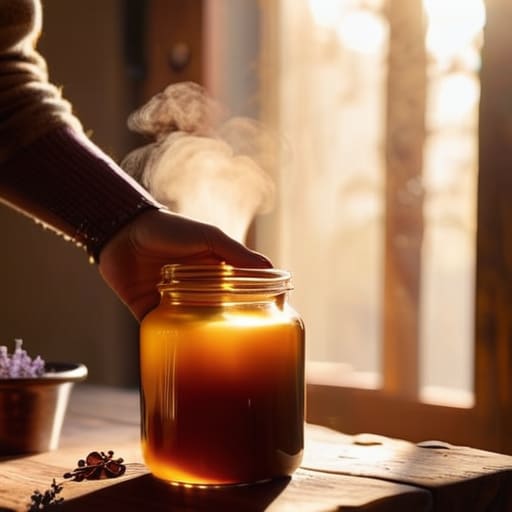
I was standing in my kitchen last Tuesday, staring at a half-melted, gray blob of wax that looked more like a science experiment gone wrong than a cozy centerpiece, wondering why I’d even bothered. Most people will tell you that learning how to make candles requires a professional-grade studio and a bunch of expensive, specialized equipment, but honestly? That’s just gatekeeping. I spent way too much money on fancy kits before I realized that you can actually get incredible results with just a few basic tools and a decent system to prevent a total kitchen disaster.
In this guide, I’m stripping away the aesthetic fluff to show you the actual, unpolished steps to getting it right. I’ll walk you through the specific ratios and temperature checks you need so you aren’t left with a sink full of wasted wax and zero scent throw. We aren’t going for “perfect” in a way that feels impossible; we’re going for functional, high-quality candles that actually smell good and burn clean. Let’s get into the real process of making your own without the unnecessary stress.
Table of Contents
Guide Overview
Tools & Supplies
- Double boiler or heat-proof bowl and pot to melt wax safely
- Thermometer to monitor wax temperature
- Pouring pitcher to hold melted wax
- Wick centering tool or clothespin to keep wicks straight
- Soy or paraffin wax (1-2 lbs)
- Candle wicks with metal bases
- Fragrance oils (1 oz)
- Candle jars or tins (2-4 units)
Step-by-Step Instructions
- 1. First, you need to gather your gear, and I’m talking about the actual essentials, not the aesthetic stuff you see on Pinterest. You’ll need soy wax flakes (they’re much easier to work with than paraffin), some cotton wicks, a heat-safe pouring pitcher, and a thermometer. Most importantly, grab a heavy-duty saucepan for a double boiler setup; you never want to melt wax directly on a burner unless you’re looking for a literal house fire.
- 2. Once your station is set, prep your containers. If you’re using thrifted glass jars or tins, make sure they are completely clean and dry. Take your wicks and secure them to the center of the bottom of the jar using a tiny bit of hot glue or a wick sticker. If your wick starts leaning, use a clothespin or even a popsicle stick across the top of the jar to hold it steady while the wax sets.
- 3. Now, let’s get to the melting. Fill your saucepan with a few inches of water and place your pouring pitcher inside to create a double boiler. Heat the wax slowly—don’t rush this. Use your thermometer to keep a close eye on the temperature; you’re looking to hit about 185°F. If you go too hot, you’ll ruin the scent throw, and if you’re too cool, the wax won’t bond properly to the glass.
- 4. This is where the magic (and the science) happens. Once the wax is melted, take it off the heat and let it cool down slightly before adding your fragrance oils. I usually wait until it hits around 160°F. Add the oil slowly and stir it gently for at least two full minutes. You might think you’re done, but you need to ensure that oil and wax are actually bonded, otherwise, you’ll just end up with a puddle of oil sitting on top of your candle later.
- 5. Pouring is the part where most people mess up by being too impatient. Wait until the wax has cooled down to a slightly more opaque, “slushy” consistency before pouring it into your prepared jars. This helps prevent the wax from shrinking too much or pulling away from the sides, which creates those ugly sinkholes. Pour slowly to avoid creating air bubbles that look like tiny craters.
- 6. Finally, the hardest part: waiting. You need to let your candles sit at room temperature for at least 24 hours. Don’t try to light them early just because they look solid. If you want the best results, let them cure for a week before the first burn. I know, it’s annoying, but it allows the fragrance to fully distribute through the wax so your room actually smells like the scent you picked.
Understanding How to Make Candles
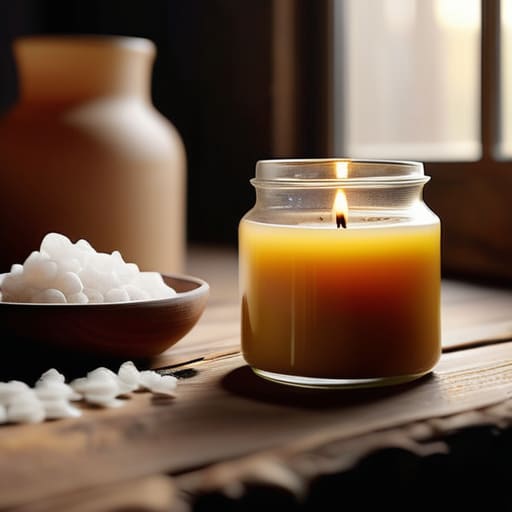
Before you actually start melting anything, you need to understand the “why” behind the gear. If you’re just starting out, the biggest decision you’ll face is the natural wax vs paraffin debate. I personally lean toward soy because it burns cleaner and lasts longer, but it can be a bit finicky with scent throw. If you want that massive, room-filling aroma, you might find yourself gravitating toward paraffin, but for my setup, I prefer the cleaner burn of soy. It’s all about deciding what kind of “friction” you’re willing to deal with in your living space.
Another thing that trips people up is the chemistry of scent. You can’t just dump any random oil into a jar and expect it to work. When picking out essential oils for scented candles, remember that they behave differently under heat than synthetic fragrances. You also need to pay attention to your candle pouring temperature guide; if you pour too hot, you get sinkholes, and if you pour too cold, the wax won’t adhere to the glass. It’s not magic, it’s just managing variables.
Key Things to Know
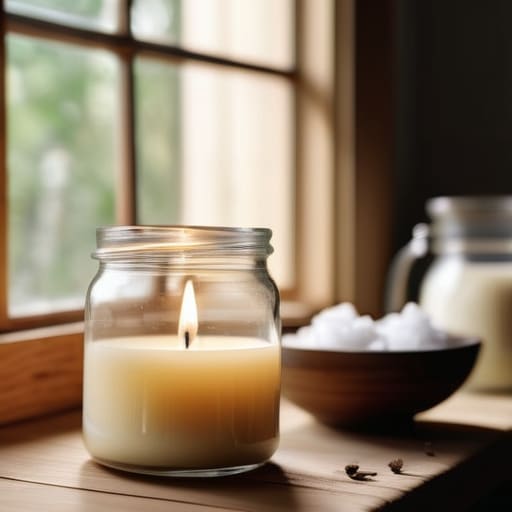
Before you go all in, there are a few things I wish someone had told me when I first started messing around with wax in my kitchen. First, don’t get caught up in the “aesthetic” side of things until you understand your materials. If you’re just starting out, I highly recommend looking into soy wax candle making supplies rather than jumping straight into complex blends. Soy is much more forgiving for beginners and burns cleaner, which is a huge win if you’re working in a small apartment. Also, keep in mind the difference between natural wax vs paraffin; while paraffin is cheap, it can release more soot, and since I’m all about keeping my living space breathable, I tend to stick to the natural stuff.
Another thing that trips people up is the scent-to-wax ratio. You can’t just dump a bottle of fragrance in and hope for the best. You really need to pay attention to your candle pouring temperature guide to ensure the scent actually binds with the wax instead of just floating on top or sinking to the bottom. If you’re using essential oils for scented candles, be extra careful—they have much lower flash points than synthetic fragrances, so if you get the heat wrong, you’re basically just burning off your money.
Pro-Tips to Save Your Sanity (and Your Kitchen)
- Don’t skip the thermometer. I know it feels extra, but guessing when the wax is ready is the fastest way to end up with a ruined scent or a candle that just won’t burn right. Trust the numbers, not your vibes.
- Prep your workspace like you’re about to paint a room. Wax spills are a nightmare to clean up once they harden, so lay down some parchment paper or old newspapers before you even think about melting anything.
- Center your wicks properly using those little metal clips or even just a clothespin. There is nothing more frustrating than finishing a beautiful candle only to realize the wick is leaning to one side, causing the glass to overheat.
- Be patient with the cure time. It’s tempting to light your new candle the second it hardens, but if you give it a few days (or even a week for soy wax), the scent throw will be way more intense and consistent.
- Keep a “scrap jar” for leftover wax. If you have a little bit left over after pouring, don’t toss it. Pour it into a small tin or a mason jar to make mini tea lights later—it’s basically free candle refills.
The TL;DR: Making It Work
Don’t skip the prep work; most candle failures aren’t about the wax, they’re about a messy workspace or a poorly centered wick.
Quality over quantity—investing in decent soy wax and decent scents saves you from wasting money on candles that smell like nothing or burn unevenly.
Treat your first few tries as experiments, not masterpieces; you’ll likely need to tweak your pour temperature or wick size to get it perfect.
The Final Burn
At the end of the day, making candles is really just about managing your variables. You’ve got your wax temperatures under control, you’ve picked scents that won’t give you a headache, and you’ve mastered the art of centering that wick so you aren’t left with a lopsided mess. It’s not about achieving some perfect, Pinterest-worthy aesthetic on your first try; it’s about building a reliable system that lets you create something functional and beautiful without the stress. If your first batch looks a little wonky or the scent throw is a bit weak, don’t sweat it. Just treat it like any other DIY project: tweak the process, adjust your measurements, and keep moving forward.
I honestly think we underestimate how much a simple, well-made candle can change the vibe of a room, but more importantly, how much it changes your headspace. There is something deeply grounding about taking a raw material and turning it into a source of light and calm. Adulthood is chaotic enough as it is, so don’t let your hobbies feel like another chore on your to-do list. Use this as a way to decompress and disconnect. Once you have the basics down, you aren’t just making candles anymore—you’re curating your own environment, one pour at a time.
Frequently Asked Questions
How do I know if my fragrance oil is actually safe to use, or am I just going to end up with a headache?
Honestly, this is the one thing I used to overlook until I spent an entire weekend feeling like I had a migraine. Don’t just buy whatever smells good on a random site. Always check for an IFRA certificate from your supplier—it tells you exactly what percentage of that oil is safe for candles. If they can’t provide one, skip it. It’s not worth the headache (literally) to risk using something unverified.
Is it worth spending the extra money on soy wax, or can I just use whatever is cheapest at the craft store?
Honestly, if you’re just experimenting to see if you even like the hobby, go for the cheap stuff. But if you actually want to enjoy your candles, spend the extra few bucks on soy. Cheap paraffin wax can be finicky, smells a bit “chemical,” and honestly, it just doesn’t burn as cleanly. Since my goal is to reduce friction, I’d rather pay a little more upfront than deal with a smoky, uneven mess later.
Why does my candle have those weird little holes or a sunken top instead of looking smooth like the ones in stores?
That’s usually just “sinkholes” or tunneling, and honestly, it’s a rite of passage. It happens because the wax cooled too fast or unevenly. If the top looks sunken, your pour temperature was likely too high, or your room was a bit too drafty while it set. To fix it, try warming your workspace or pouring at a slightly lower temp next time. If it’s already done, just melt the top layer back down.