Category: DIY

How to make a compost bin guide.

The Secret to Building a Functional Compost Bin at Home

I was standing in my kitchen last Tuesday, staring at a mountain of coffee grounds and wilted kale, feeling that familiar wave of “adulting guilt” because I knew exactly where all that waste was headed: the landfill. Most people make composting sound like this intense, high-maintenance lifestyle choice that requires a backyard the size of a football field and a degree in soil science, but honestly? That’s just gatekeeping. You don’t need a complicated ecosystem or expensive, aesthetic wooden crates to start; you just need to figure out how to make a compost bin that actually fits into your current, slightly chaotic life.

In this guide, I’m stripping away the fluff and showing you the actual, unpolished steps to building a functional system using stuff you probably already have in your garage or shed. We’re going to talk about low-effort builds, how to prevent your bin from becoming a smelly disaster, and the tiny systems that keep everything running smoothly. No hype, no expensive equipment—just a straightforward way to turn your scraps into something useful without adding more stress to your plate.

Table of Contents

Guide Overview

Total Time: 1-2 hours
Estimated Cost: $20-50
Difficulty: Beginner

Tools & Supplies

  • Drill with bits for making ventilation holes
  • Handsaw or utility knife for cutting materials
  • Measuring tape for accurate sizing
  • Plastic storage bin (approx. 18-30 gallons)
  • Drill bits (small diameter)
  • Hardware cloth or fine mesh (optional for base)

Step-by-Step Instructions

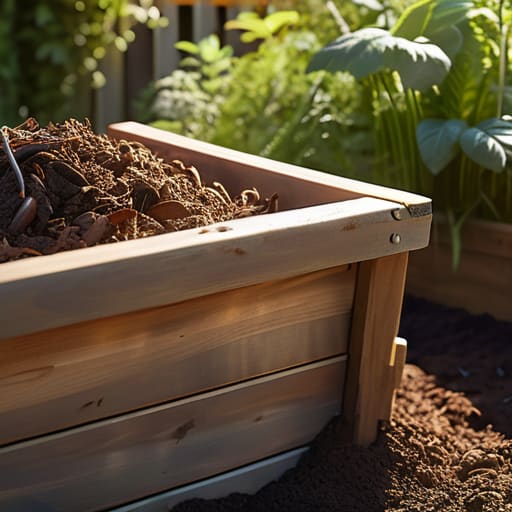
  • 1. First, you need to decide on your setup based on how much space you actually have. If you have a backyard, a large wooden bin or even just a designated corner of the yard works great, but if you’re dealing with a tiny balcony, I’d suggest a small plastic bin with a lid. Just make sure whatever you pick has enough room for things to actually breathe, because air is the secret ingredient here.
  • 2. Grab your container and get ready to make some much-needed ventilation holes. If you’re using a plastic bin, grab a drill (or a heated screwdriver if you’re feeling old-school) and pop holes in the sides and the bottom. You want to create a constant airflow so your compost doesn’t turn into a soggy, stinky mess that you’ll eventually want to abandon.
  • 3. Now, let’s talk about the foundation. You can’t just throw scraps into an empty bin and expect magic to happen. You need to start with a “brown” base—think shredded cardboard, dry leaves, or even some old newspaper from your recycling pile. This layer acts like a sponge for moisture and prevents everything from compacting into a dense, smelly block.
  • 4. Once your base is set, it’s time to start layering your “greens” and “browns.” This is where people usually get confused, but it’s actually pretty simple: “greens” are your nitrogen-rich kitchen scraps like coffee grounds and veggie peels, while “browns” are your carbon-rich dry materials like twigs or paper. The golden rule I live by is to keep a ratio of about two parts brown to one part green to keep the chemistry balanced.
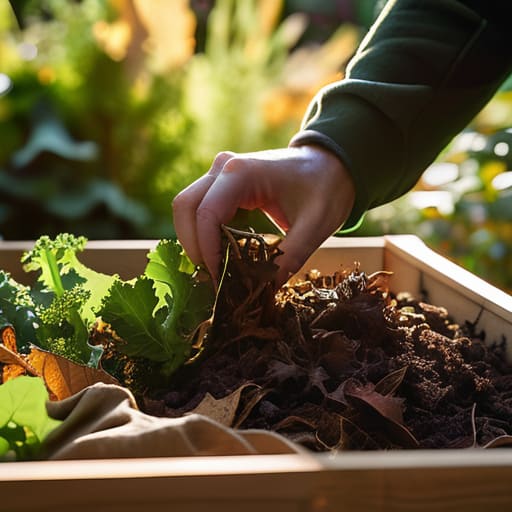
  • 5. Every time you add a fresh batch of kitchen scraps, toss a handful of dry browns on top of them. I like to think of it like making a lasagna; you want to sandwich the wet stuff between layers of dry material. This prevents fruit flies from throwing a party in your kitchen and keeps the odors locked down.
  • 6. Give it a little love every week or two by turning the pile. Use a small garden shovel or a pitchfork to mix things up, moving the stuff from the outside into the center. This introduces fresh oxygen, which is basically fuel for the microbes that are doing the heavy lifting of breaking everything down for you.
  • 7. Finally, keep an eye on the moisture level. Your compost should feel like a wrung-out sponge—damp, but not dripping wet. If it’s too dry, sprinkle a little water on it; if it’s too soggy, just toss in some more shredded cardboard and give it a good stir. Once it looks like dark, crumbly soil and smells like a forest after it rains, you’ve officially made dirt gold.

Understanding How to Make a Compost Bin

Understanding How to Make a Compost Bin.

Before you start drilling holes or stacking pallets, you need to realize that composting isn’t about magic; it’s just about managing a tiny, controlled ecosystem. Most people overcomplicate this by thinking they need a professional-grade setup, but it really comes down to balancing your carbon and nitrogen. If you don’t get the ratio right, you’ll end up with a smelly pile that feels more like a chore than a system. I always tell people to focus on organic waste decomposition as a science of ratios—think of it like meal prepping, but for microbes.

The specific backyard composting methods you choose will depend entirely on how much space you actually have and how much effort you’re willing to put in every weekend. If you have a massive yard, a large bin is great, but if you’re working with a balcony or a small patio, you might want to look into a vermicomposting setup using worms instead. Regardless of the method, the goal is the same: keep it simple enough that you actually stick to it when life gets busy.

Key Things to Know

Key Things to Know: Compost Aeration Tips

Before you start digging or drilling, there are a few realities about organic waste decomposition that most “aesthetic” lifestyle blogs tend to gloss over. First, it’s all about the balance. If your pile starts smelling like a swamp, you’ve likely got too much moisture or not enough air. This is where aeration for compost bins becomes your best friend; you need to turn that pile every week or so to keep oxygen flowing through the mix. Without it, the process stalls, and you’re just left with a soggy mess instead of actual soil.

Also, don’t get too caught up in the “perfect” build. Whether you’re looking into backyard composting methods or a smaller indoor setup, the most important thing is consistency over complexity. You don’t need a massive, professional-grade structure to see results. If you’re short on space, a small-scale vermicomposting setup (using worms!) can work wonders right under your sink. Just keep an eye on your ratios of “greens” and “browns,” and you’ll find that the system eventually starts to manage itself.

5 ways to keep your bin from becoming a total disaster

  • Don’t ignore the “browns.” Everyone remembers to throw in their veggie scraps, but if you don’t balance those greens with dry stuff like shredded cardboard or dead leaves, your bin is going to turn into a slimy, stinky mess real fast.
  • Give it some air. Compost needs to breathe just as much as we do. If it gets too packed down and compacted, the good bacteria die off and everything just sits there rotting instead of breaking down. Give it a quick stir with a shovel once a week to keep things moving.
  • Size actually matters. If you build a tiny bin, you’ll run out of space in two weeks and end up with a pile of scraps sitting on your kitchen counter. Aim for something big enough to actually hold a decent amount of volume so the heat can build up properly.
  • Watch the moisture levels. You want it to feel like a wrung-out sponge—damp, but not dripping. If it’s too dry, nothing happens; if it’s too wet, it smells. If it’s looking a bit soggy, toss in some more dry cardboard to soak up the excess.
  • Keep the “no-go” items out. I know it’s tempting to throw everything in there, but keep meat, dairy, and oily foods far away from your DIY bin. Unless you want to deal with unwanted pests and a very unpleasant smell, stick to the plant-based stuff.

The TL;DR for a Stress-Free Bin

Don’t overthink the gear; whether it’s a DIY bin or a store-bought one, the goal is just to give your scraps a dedicated home so they don’t end up in the trash.

Balance is everything—keep a mix of “greens” (nitrogen) and “browns” (carbon) to prevent your compost from smelling like a landfill.

Consistency beats perfection; you don’t need to be a scientist, you just need to turn the pile occasionally and keep it damp, not soaking wet.

Final Thoughts on Your New System

Final Thoughts on Your New System.

At the end of the day, building your first compost bin isn’t about achieving some kind of perfect, Pinterest-worthy ecological masterpiece. It’s really just about setting up a functional loop where your waste stops being a problem and starts being a resource. Whether you went with a simple DIY bin or a more structured setup, the core principle remains the same: manage your browns and greens, keep an eye on moisture, and don’t overthink the science. Once you get the rhythm of adding your scraps and turning the pile, it becomes just another small, repeatable system that keeps your kitchen running smoothly without the constant guilt of throwing everything in the trash.

I know that starting something new—especially something that involves a little bit of dirt and potential mess—can feel like just another chore on an already overflowing to-do list. But honestly, seeing that pile of scraps transform into actual, usable soil is one of the most satisfying ways to reclaim control over your daily footprint. You don’t need to change your entire lifestyle overnight to make a difference; you just need to start with one bin and one consistent habit. Trust me, once you see how much less stress (and trash) you have, you’ll wonder why you didn’t just start the system sooner.

Frequently Asked Questions

Will my compost bin smell like a literal dumpster if I do this right?

Honestly? Not if you actually follow the system. A healthy compost pile should smell like damp earth, not a landfill. If it starts smelling like a literal dumpster, it’s usually just a sign that things are too wet or you’ve added too much “green” stuff (like fruit scraps) without enough “brown” stuff (like dried leaves or cardboard) to balance it out. Just toss in some more browns, give it a quick stir to let it breathe, and you’re good.

How much space do I actually need to set this up without it taking over my whole yard?

Honestly, you don’t need a massive dedicated corner to make this work. If you’re working with a small yard, a compact bin about the size of a standard trash can is plenty. Just find a spot that’s tucked away but still accessible—you don’t want to be hauling scraps halfway across the property every day. As long as it’s out of the main walkway and gets a little airflow, you’re golden.

Can I just throw everything in there, or are there specific things that are going to ruin the whole system?

Definitely don’t just throw everything in there. If you do, you’re basically asking for a stinky, fly-ridden disaster. Stick to the basics: fruit scraps, veggie peels, coffee grounds, and eggshells are your best friends. Avoid meat, dairy, or oily foods—they’ll make your bin smell like something died in your backyard. Also, skip the pet waste. Keep it simple with greens (nitrogen) and browns (carbon) so the system actually works without the headache.

How to build a raised garden bed.

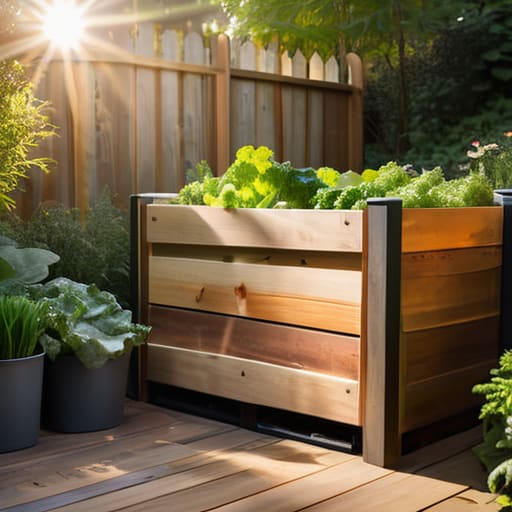
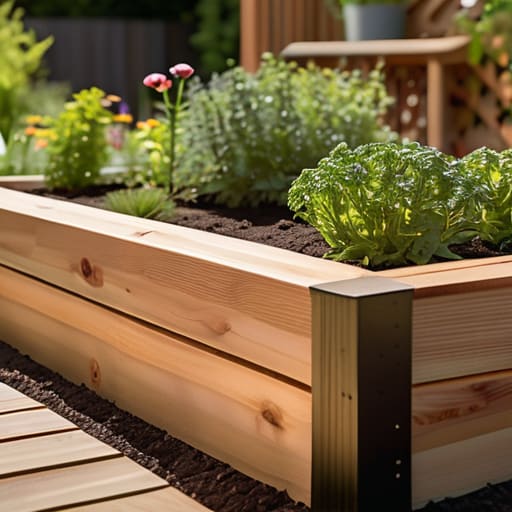
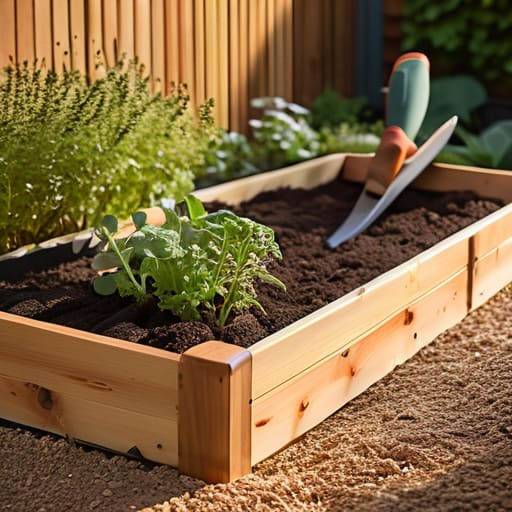
Step-by-step Guide to Constructing Your Own Raised Garden Bed

I was standing in my backyard last spring, staring at a pile of expensive cedar planks and a very confusing instruction manual, feeling like I was about to lose my mind. I had this vision of a Pinterest-perfect veggie patch, but instead, I just had a massive headache and a lot of wasted time. Most people will tell you that learning how to build a raised garden bed requires a degree in carpentry or a massive budget for specialized equipment, but that’s honestly just gatekeeping. My dad taught me early on that if you have a solid plan and the right basic tools, you can build just about anything without breaking a sweat or your bank account.

In this guide, I’m stripping away the fluff and giving you the actual, unpolished steps to get your garden up and running. We’re going to walk through the exact materials you actually need (and the ones you can skip), how to prep your space without overthinking it, and a simple assembly process that won’t leave you feeling defeated. My goal is to help you build a system that works so you can spend less time scrambling with lumber and more time actually enjoying your homegrown tomatoes.

Table of Contents

Guide Overview

Total Time: 2-4 hours
Estimated Cost: $75-150
Difficulty: Beginner

Tools & Supplies

  • Drill/Driver for assembling wood
  • Measuring Tape for accurate cuts
  • Level to ensure flat base
  • Handsaw or Miter saw for resizing lumber
  • Untreated Cedar or Redwood boards (approx. 3-4 pieces)
  • Galvanized wood screws (1 box)
  • Garden soil/Compost mix (enough to fill volume)
  • Hardware cloth or landscape fabric (optional for base)

Step-by-Step Instructions

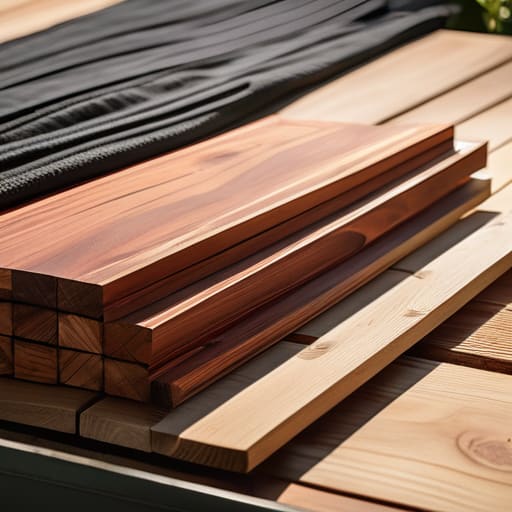
  • 1. First things first, you need to pick your spot and get your materials. I’m a huge fan of using cedar or redwood because they actually resist rot, so you aren’t rebuilding this whole thing in two years. Grab some 2×6 or 2×12 boards, some heavy-duty exterior screws, and a drill. Don’t skimp on the screw quality—you don’t want them snapping halfway through the assembly when you’re just trying to get home for dinner.
  • 2. Once you have your wood, it’s time to measure and cut. If you don’t have a saw, most big-box hardware stores will do the heavy lifting for you if you bring your measurements. I usually aim for a 4×4 foot bed because it’s deep enough for real root growth but small enough that you can actually reach the middle without stepping on your soil and compacting it.
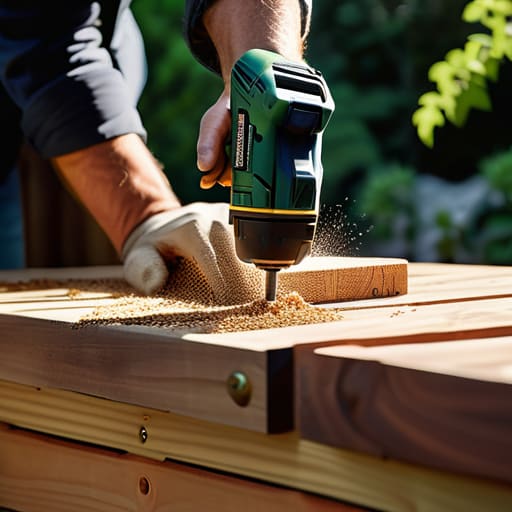
  • 3. Now, let’s get the frame together. Lay your boards out on a flat surface to make sure everything is square. Start driving your exterior screws through the sides of the boards into the corner posts (or into each other if you’re doing a simple butt joint). I always recommend pre-drilling your holes first; it takes an extra thirty seconds, but it prevents the wood from splitting and saves you a massive headache later.
  • 4. Before you move the bed to its permanent home, line the bottom with something sturdy. I personally swear by hardware cloth (that metal mesh stuff) if you have squirrels or gophers in your area, or even just a thick layer of plain cardboard to suppress weeds. This creates a solid barrier that keeps the bad stuff out while letting the good stuff in.
  • 5. Drag your frame to its final location—make sure it’s somewhere that actually gets sun, not just somewhere that looks pretty—and level it out. If one side is higher than the other, your water is going to pool in one corner and drown your plants. You might need to dig out a little bit of dirt under the high side to get it perfectly even.
  • 6. Finally, it’s time for the good part: filling it up. Don’t just grab whatever dirt is in your backyard; it’s probably mostly clay and rocks. I use a mix of high-quality compost, peat moss, and vermiculite to create a “fluffy” environment. Think of it like meal prepping for your plants—if you give them a nutrient-dense foundation now, they won’t struggle later.

Understanding How to Build a Raised Garden Bed

Understanding How to Build a Raised Garden Bed

Before you start sawing anything, you need to pick your materials, and this is where people usually get stuck. Honestly, the biggest debate I see is cedar vs pressure treated lumber. If you have the budget, go with cedar; it’s naturally rot-resistant and won’t leach anything into your veggies. If you’re on a tighter budget, modern pressure-treated wood is generally considered safe for food crops, but if you want to be extra cautious, just line the inside with a heavy-duty barrier.

You also shouldn’t just wing the size of your setup. I always recommend sticking to specific diy raised garden bed dimensions—ideally no more than 4 feet wide. Why? Because if it’s wider than that, you’ll have to step into the bed to reach the middle, which compacts the soil and kills your hard work. Once the frame is down, don’t forget about the foundation. Preparing ground for raised beds by clearing out grass or laying down cardboard helps prevent weeds from hijacking your garden before you even plant a single seed.

Key Things to Know

Key things to know about raised bed wood.

Before you start digging, let’s talk about the stuff that usually trips people up: the materials. When you’re deciding on the best wood for raised beds, you’re basically choosing between longevity and your budget. I personally swear by cedar because it’s naturally rot-resistant and won’t leach weird chemicals into your veggies, but it can get pricey. If you go the route of pressure-treated lumber, just make sure you’re getting the modern, eco-friendly stuff that’s safe for food crops. It’s a bit of a debate, but for my peace of mind, I usually stick to untreated cedar whenever I can swing it.

Also, don’t just dump cheap dirt into your new setup and call it a day. The magic is actually in your raised bed soil mix ratio. You want a blend that’s light enough for roots to move through but rich enough to actually feed them—think a mix of compost, peat moss, and perlite. If you skip the prep work here, you’ll spend your entire summer troubleshooting wilted leaves instead of actually enjoying your garden. Keep it simple, but don’t skimp on the soil quality.

Pro-Tips to Save You a Massive Headache Later

  • Don’t skimp on the wood quality. I know cedar is pricier, but if you go with cheap, untreated pine, you’ll be rebuilding the whole thing in two seasons once it starts rotting. Buy it once, do it right.
  • Level your ground before you even think about putting the boards down. If your base is wonky, your bed is going to be lopsided, and water will pool in one corner, turning your soil into a swamp.
  • Line the bottom with hardware cloth if you have critters around. If you don’t want moles or voles treating your garden like an all-you-can-eat buffet, a little bit of wire mesh goes a long way.
  • Think about your reach. Don’t make the bed wider than four feet if you can help it. You want to be able to reach the middle from either side without stepping into the bed and compacting your soil.
  • Pre-drill your holes. I used to skip this to save time, but I ended up splitting the wood every single time. Take the extra thirty seconds to drill a pilot hole; your future self will thank you.

The Bottom Line

Don’t get paralyzed by perfection—just get the wood in the ground and start growing. You can always upgrade your setup next season, but the goal is to actually start.

Prioritize your materials. Using untreated wood or cheap hardware is a recipe for a mid-summer breakdown, and I’d rather you spend a little more now than redo the whole thing in six months.

Systems over luck. Once your bed is built, stick to a simple maintenance routine so you aren’t playing catch-up with weeds and dry soil when you’re actually trying to relax.

Getting Your Hands Dirty

Getting Your Hands Dirty building raised beds.

At the end of the day, building a raised bed isn’t about achieving some Pinterest-perfect aesthetic; it’s about creating a controlled environment where your plants can actually thrive without you fighting a losing battle against weeds and bad soil. Just remember to double-check your measurements before you start cutting, use rot-resistant wood like cedar if your budget allows, and don’t skip the step of lining the bottom to protect your structure. If you follow these basic systems, you’ve already done the hard part of removing the friction from your gardening season. Once the frame is level and the soil is in, the heavy lifting is officially behind you.

I know that starting a DIY project can feel a little daunting, especially if you aren’t someone who spends their weekends in a workshop, but I promise that the payoff is worth the initial chaos. There is something incredibly grounding about stepping outside and seeing something you built with your own hands actually producing food. Don’t worry about making it look flawless or professional; just focus on making it functional and sustainable. You’ve built the foundation, so now go out there, plant something, and enjoy the process of watching your hard work grow.

Frequently Asked Questions

What kind of wood should I actually use if I don't want it rotting out in two years?

If you want to avoid the heartbreak of your garden bed turning into mush by next season, skip the cheap pressure-treated stuff from the big-box stores—it’s often packed with chemicals you don’t want near your food. Instead, go for Cedar or Redwood. They have natural oils that fight rot and bugs. They’re a bit pricier upfront, but it’s a better system: you spend more now so you aren’t rebuilding the whole thing in two years.

Do I need to line the bottom with something, or can I just put it straight on the grass?

Honestly, don’t just dump soil straight onto the grass. If you do, the grass will fight your plants for nutrients, and you’ll end up with a muddy mess. I usually layer some plain brown cardboard at the bottom first. It smothers the weeds and eventually breaks down into compost, which is basically free food for your plants. It’s a low-effort system that saves you so much headache later.

How deep should these things be if I'm planning on growing root veggies like carrots?

If you’re going for carrots or parsnips, don’t skimp on the depth. You’ll want your beds to be at least 12 inches deep—ideally 18 if you can swing it. Root veggies need loose, uncompressed soil to stretch out; if the bed is too shallow or the soil gets packed down, they’ll end up stunted or, even worse, looking like twisted little gnarls. Give them plenty of vertical room to do their thing.

Learning sewing basics for beginners guide.

A Beginner’s Guide to Learning the Sewing Fundamentals

I used to think you needed a massive, $400 sewing machine and a dedicated studio space just to fix a loose button or a ripped seam, but that’s honestly just gatekeeping. Most of those “essential” starter kits you see online are just expensive ways to clutter your junk drawer with tools you’ll never actually touch. When I first started looking into sewing basics for beginners, I was so overwhelmed by the technical jargon and the sheer amount of gear people insisted on buying that I almost gave up entirely. The truth is, you don’t need a professional setup to stop your favorite jeans from falling apart; you just need a functional system that works for your actual life.

I’m not here to give you a lecture on textile theory or sell you on a lifestyle you don’t have time for. Instead, I’m stripping everything back to the absolute essentials—the stuff that actually helps you finish a project without wanting to throw your machine out the window. My goal is to walk you through the real-world mechanics of stitching, from choosing a needle that won’t snap to mastering the tension settings that make or break a seam. We’re going to focus on low-friction methods that turn sewing from a stressful chore into a reliable skill you can actually use.

Table of Contents

Understanding Sewing Basics for Beginners

Understanding Sewing Basics for Beginners tools.

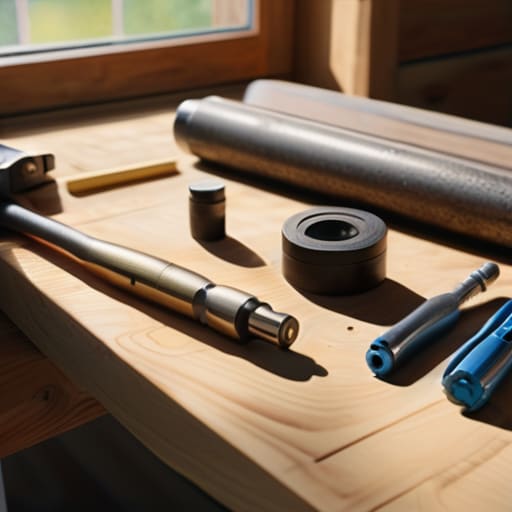
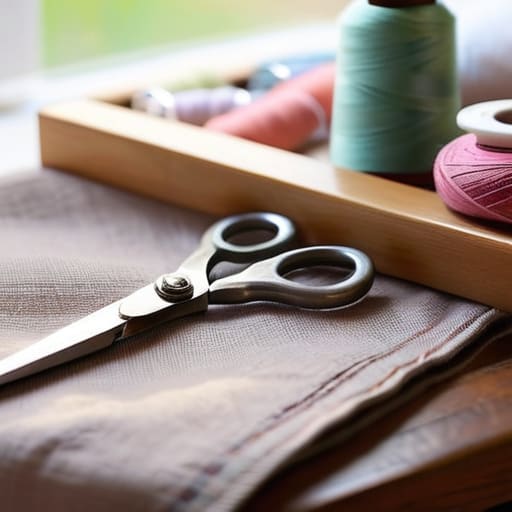
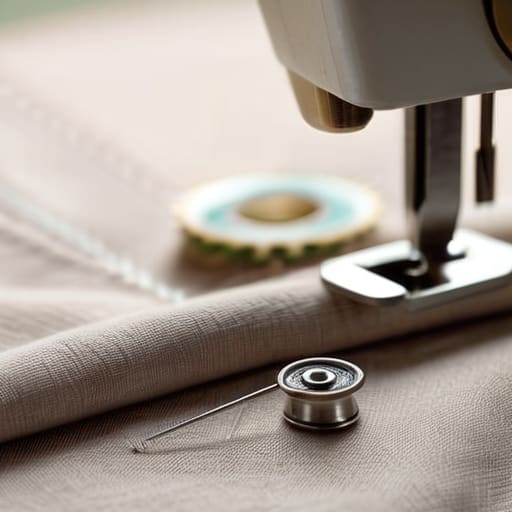
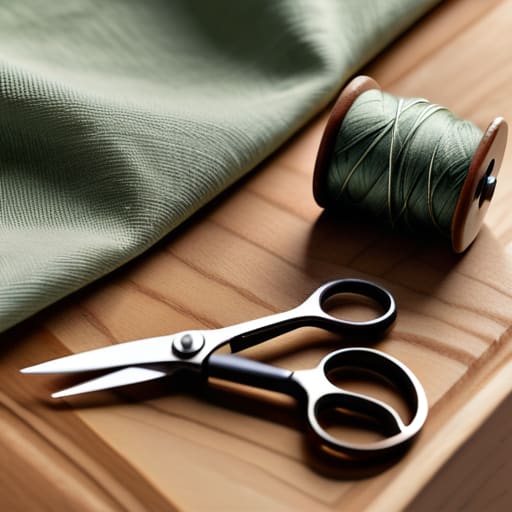
Before you dive into a complex pattern, you need to get comfortable with the actual mechanics of the craft. It’s easy to get overwhelmed by the sheer amount of gear out there, but honestly, you don’t need a studio full of equipment to start. I always tell people to focus on gathering a few essential sewing machine tools first—think quality fabric shears, a seam ripper (your new best friend), and some decent pins. Once you have the physical stuff, the real learning curve is understanding how the machine actually functions. Mastering how to thread a sewing machine might feel tedious the first five times, but it’s the foundation of everything; if your thread isn’t seated perfectly, nothing else matters.

Once you’ve got the machine running, it’s all about the relationship between your thread and your material. I highly recommend starting with some stable cotton quilter’s fabric rather than anything stretchy or slippery, which can be a total nightmare for a novice. As you build your confidence, you’ll start experimenting with different basic sewing stitches for beginners, like the straight stitch or the zigzag, to secure your seams. The goal isn’t perfection right out of the gate; it’s just about building a system that works.
Key Things to Know

Key things to know: sewing supplies.

Before you dive in, let’s get one thing straight: you don’t need a massive, professional studio to start. Most people get overwhelmed by the sheer volume of sewing notions and supplies available at craft stores, but honestly? It’s mostly noise. Start with a small, curated kit. You’ll want decent fabric shears (never use them on paper, seriously), a handful of glass-head pins, and a seam ripper—because you will mess up, and that’s okay.

Once you have your kit, the real hurdle is usually the machine itself. Don’t let the manual intimidate you; once you master how to thread a sewing machine, everything else starts to click. It’s a mechanical process, not magic. I spent way too long trying to force the thread through the wrong path before I realized it’s all about following the tension paths.

Lastly, keep your expectations realistic regarding your material. Different fabric types for new sewists behave wildly differently; trying to sew a slippery silk when you’re just starting is a recipe for a meltdown. Stick to stable cottons while you’re learning the ropes.

Practical Tips and Steps

Practical Tips and Steps for sewing beginners.

First things first: don’t let the sheer amount of stuff in the craft aisle paralyze you. You don’t need a professional studio to start; you just need a curated pile of sewing notions and supplies that actually serve a purpose. I always tell people to start with a decent pair of fabric shears (and never use them on paper, please) and a handful of universal pins. When it comes to picking your first project, stick to stable fabric types for new sewists like cotton poplin or linen. Avoid anything stretchy or slippery like silk or jersey until you’ve mastered the tension on your machine, otherwise, you’ll just end up frustrated and ready to quit.

Once you’ve got your workspace set up, the real hurdle is usually the machine itself. Learning how to thread a sewing machine can feel like trying to solve a Rubik’s Cube the first time you do it, but it’s really just about following the visual path. Don’t rush this part. If your thread isn’t seated perfectly in the tension discs, your stitches will bunch up and look like a mess. Take it slow, check your work frequently, and remember that even the pros have to re-thread their machines more often than they’d like to admit.

Common Mistakes to Avoid

Look, I’ve definitely spent more hours than I’d like to admit fighting with a piece of fabric that just wouldn’t cooperate. One of the biggest pitfalls I see is people trying to tackle complex projects before they’ve actually mastered how to thread a sewing machine correctly. If your tension is off because you rushed the setup, you’re going to end up with a bird’s nest of thread under your fabric, and that is a massive headache to unpick. Take your time with the mechanics; it’s not worth the frustration.

Another thing that trips people up is ignoring the relationship between your needle and your material. I’ve seen so many people try to blast through heavy denim with a universal needle meant for lightweight cotton, and it’s a recipe for broken needles and ruined projects. Learning which fabric types for new sewists work best with specific needles is a total game-changer. Also, please, for the love of everything, stop using kitchen scissors for your thread. It sounds small, but dulling your blades on anything other than fabric is one of those common sewing mistakes to avoid that will eventually cost you more than a new pair of shears.

Final Thoughts

Look, I know it feels like a lot right now. Between figuring out how to thread a sewing machine without losing your mind and trying to memorize every single stitch, it’s easy to feel like you’re failing before you’ve even started. But honestly? The goal isn’t to become a master tailor by next Tuesday. It’s just about having enough skill to fix a loose button or taper a pair of jeans so they actually fit.

Don’t let the sheer amount of sewing notions and supplies sitting in the craft aisle intimidate you. You don’t need the industrial-grade setup to make something functional. Start small, embrace the slightly wonky seams, and just keep moving forward. Adulthood is mostly just improvising until something works, and sewing is no different.

If you can master even just a few basic sewing stitches for beginners, you’ve already won half the battle. You’re building a system of self-reliance that saves you money and keeps clothes out of landfills. So, grab your kit, forgive your mistakes, and just start sewing. You’ve got this.

My Low-Stress Systems for Actually Getting Things Done

  • Stop buying those massive, $100 “all-in-one” sewing kits. Most of the stuff in them is cheap junk that’ll break halfway through your first project. Just grab a decent pair of fabric shears, some quality thread, and a handful of assorted needles. It’s better to have three tools that actually work than thirty that don’t.
  • Treat your fabric like it’s fragile. I know it feels like just a piece of cloth, but if you don’t iron it flat before you start cutting, your measurements are going to be off, and your finished piece will look wonky. A quick steam or press is the difference between a “DIY project” and something that actually looks intentional.
  • Don’t try to tackle a tailored blazer on day one. You’ll burn out and throw your machine out the window. Start with something low-stakes—like a pillowcase or a simple tote bag. You need to build the muscle memory of handling the machine without the pressure of ruining an expensive piece of fabric.
  • Get used to the “unthread” ritual. Most of my frustration comes from realizing I missed a tiny step in the threading process. If your machine is acting weird or the thread is bunching up, don’t just keep pushing. Stop, unthread everything, and start over. It takes two minutes and saves you twenty minutes of troubleshooting later.
  • Invest in a good seam ripper and learn to love it. I used to feel like using a seam ripper meant I had “failed,” but that’s just bad logic. Even the pros mess up a stitch. Think of the seam ripper as a “reset button” rather than a sign of defeat. It’s part of the process.

The TL;DR for Your Sewing Survival Kit

Don’t get paralyzed by the gear aisle; start with a decent pair of shears, some basic thread, and a handful of needles to get the momentum going.

Focus on building small, repeatable habits like pinning your fabric properly and checking your tension early, rather than trying to tackle a complex garment on day one.

Embrace the mess—mistakes aren’t failures, they’re just part of the system, so rip out those bad stitches and keep moving.

The Bottom Line

Look, if you’re feeling a little overwhelmed by the sheer amount of thread, needles, and “how-to” videos out there, just breathe. You don’t need a professional studio to start fixing your own clothes; you just need to master the basics—getting your tension right, learning a decent straight stitch, and actually investing in a good pair of shears so you aren’t hacking away at your fabric. It’s all about building a small, reliable toolkit and not letting the fear of a crooked seam stop you from even trying. Once you have these foundational systems down, you’ll realize that sewing isn’t some mystical art form—it’s just a practical skill that keeps your wardrobe from ending up in a landfill.

At the end of the day, my goal isn’t for you to become a master tailor overnight. I just want you to feel like you have a little more control over your stuff. There is something incredibly grounding about sitting down, focusing on a single task, and realizing you can actually fix what is broken instead of just buying something new. So, go ahead and make that first messy stitch. It’s going to look a little wonky, and that’s perfectly fine. The goal is progress over perfection, and honestly, once you start seeing the results of your own handiwork, you won’t want to stop.

Frequently Asked Questions

Do I really need a sewing machine right away, or can I actually get things done with just a needle and thread?

Honestly? You definitely don’t need a machine right out of the gate. If you’re just trying to fix a loose button or patch a small tear, a needle and thread are all you need. I actually prefer hand-stitching for small repairs—it’s quieter and gives you way more control. Save your money for a decent kit of quality thread and sharp shears first. Once you’re consistently fixing things every week, then we can talk machines.

How do I figure out which fabric is actually beginner-friendly versus the stuff that's going to make me want to quit?

Look, if you pick the wrong fabric, you’re going to end up staring at a pile of wrinkled, sliding mess and wanting to throw your machine out the window. Stick to stable, non-stretchy wovens like cotton poplin or linen blends first. They actually stay where you put them. Avoid silk, chiffon, or anything super stretchy like jersey for now—they’re slippery, frustrating, and basically designed to make you quit before you even start.

What's the best way to keep my workspace from turning into a total disaster zone of thread scraps and pins?

The secret is to stop treating your workspace like a storage unit and start treating it like a workflow. I use a “clear as you go” system: keep a small magnetic bowl for pins and a dedicated scrap bin right next to your machine. If you wait until the end of the project, you’re already buried. Also, invest in a rolling cart—it keeps your tools mobile and off your main desk when you’re done.

Page 4 of 4

Powered by WordPress & Theme by Anders Norén