I was sitting on my kitchen floor last Tuesday, staring at a pile of expensive subway tiles and a half-empty bag of thin-set, wondering if I had just made the biggest mistake of my life. My heart was racing because I kept seeing these “expert” DIY videos that made everything look effortless, yet my kitchen looked more like a construction zone than a home. I realized then that most people make learning how to tile a backsplash way harder than it actually needs to be by focusing on the “aesthetic” rather than the actual mechanics. You don’t need a professional contractor’s ego or a thousand-dollar tool kit to get a clean, seamless finish; you just need a solid system.
I’m not here to give you a polished, Pinterest-perfect fantasy that ignores the messy reality of grout on your fingers. Instead, I’m going to walk you through the unpolished, step-by-step process of getting this done without the mental breakdown. We’re going to cover everything from the exact way to prep your walls to the low-stress method for spacing your tiles so they don’t end up crooked. Let’s just get this done so you can finally enjoy your kitchen.
Table of Contents
Guide Overview
Tools & Supplies
- Tile cutter or wet saw for making precise cuts
- Notched trowel for spreading adhesive
- Rubber grout float for applying grout
- Spacers to maintain even gaps
- Backsplash tiles (calculate area plus 10% extra)
- Tile adhesive or thin-set mortar (1 bag/container)
- Grout (1 bag based on joint width)
- Tile sealer (1 bottle for finishing)
Step-by-Step Instructions
- 1. First things first, you need to prep the surface so you aren’t fighting against grease or old residue halfway through. Clean your walls with a heavy-duty degreaser—I usually grab a bottle of TSP—and make sure everything is completely dry before moving on. If you have outlets on that wall, pop the covers off and use painter’s tape to protect the actual electrical sockets; you don’t want thinset getting inside your wiring.
- 2. Once the wall is clean, it’s time to layout your tiles without actually using any glue yet. This is where most people mess up by ending up with a tiny, awkward sliver of tile in the corner. Lay your tiles out on the counter or even on the floor first to see how the pattern flows, and aim to center your design so the cuts on the left and right sides look intentional and even.
- 3. Now, grab your thinset (that’s the specialized glue for tile) and mix it in a bucket until it reaches a consistency similar to peanut butter. Use a notched trowel to spread it onto the wall in small sections—don’t do the whole wall at once or it’ll dry out before you’re ready. You want to create those little ridges with the trowel; they act like tiny tracks that help the tile seat itself perfectly.
- 4. Start pressing your tiles into the thinset, starting from the bottom or a known level point. Use your spacers—those little plastic crosses—between every single tile to ensure your grout lines stay consistent. If a tile feels wonky, give it a gentle wiggle to settle it into the ridges, and if it’s really stubborn, don’t force it or you might crack the tile or pull the glue off the wall.
- 5. After you’ve finished tiling, let it sit for at least 24 hours. I know it’s tempting to jump straight to the pretty part, but if the thinset is still wet, your tiles will shift and ruin your hard work. Once it’s firm to the touch, you can pull out all those little plastic spacers and you’ll be ready to tackle the grout.
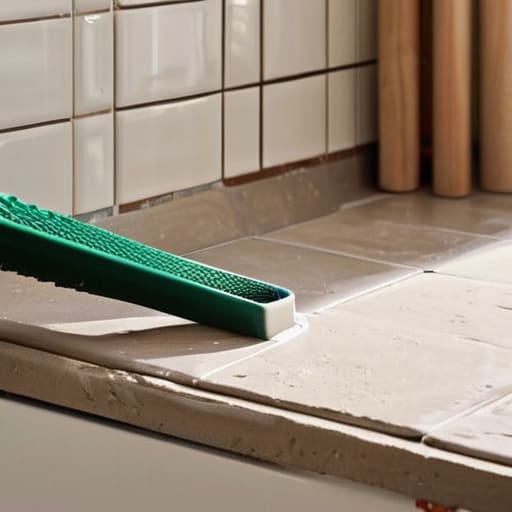
- 6. Mix your grout to a creamy consistency and use a rubber grout float to push it into the gaps between the tiles. Work in diagonal motions to make sure you’re filling every single void completely. Once it’s spread, let it sit for about 10-15 minutes, then take a damp (not soaking wet) sponge and wipe away the excess from the tile surfaces.
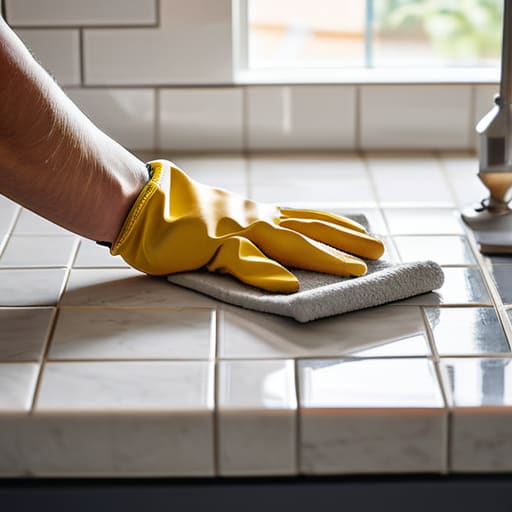
- 7. The final step is the “haze” phase. After a little while, a cloudy film will appear on the tiles, so take a clean, dry microfiber cloth and buff it out until the surface is smooth and shiny. If you see any grout stuck in the corners or texture on the tile, just give it one more gentle wipe with a slightly damp sponge and let it cure completely before you start splashing water around your new backsplash.
Understanding How to Tile a Backsplash
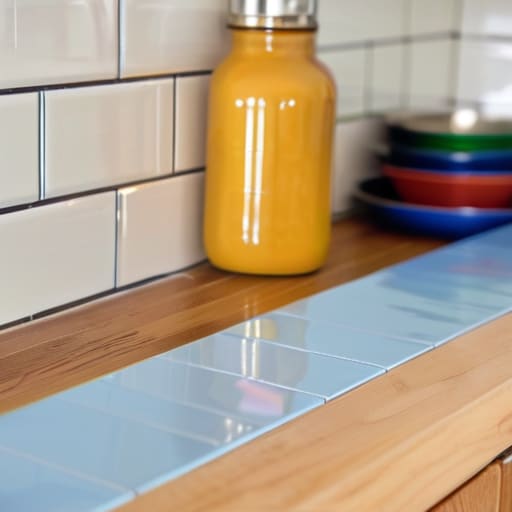
Before you even touch a bag of thin-set, you need to get real about your backsplash layout planning. I know it’s tempting to just start sticking tiles to the wall, but if you don’t map it out, you’re going to end up with a tiny, awkward sliver of tile in a corner that makes the whole thing look amateur. Grab a pencil and some painter’s tape to mark your center point and work your way out. This is also the time to decide on your kitchen backsplash materials—whether you’re going with classic subway tile or something more textured—because the material you choose will totally change how much prep work you’ll need to do.
Once you’ve got the vision, you have to think about the logistics of the actual installation. This is where most people get overwhelmed, but it’s really just about having a solid tiling tools checklist ready to go so you aren’t running to the hardware store mid-project. You’ll need a good notched trowel, spacers, and a way to manage the cuts. Honestly, the secret to a professional finish isn’t some magic skill; it’s just being prepared for the inevitable mess and having the right gear on hand before you start.
Key Things to Know
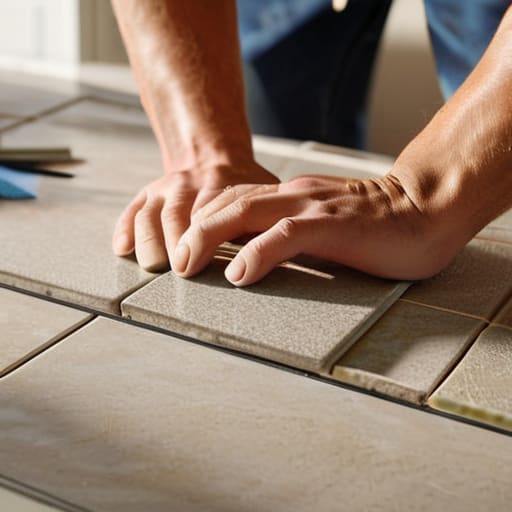
Before you even touch a trowel, you need to talk about backsplash layout planning. This is where most people trip up. Don’t just start sticking tiles to the wall from one corner and hope for the best; you’ll likely end up with a tiny, awkward sliver of tile at the edge that looks totally amateur. Instead, find the center point of your space and work outward. It’s much better to have equal-sized cuts on both ends than a full tile on the left and a pathetic 1-inch strip on the right.
Also, let’s talk about your gear. I’m a huge advocate for a solid tiling tools checklist because nothing kills my momentum like realizing I’m halfway through a wall and forgot a notched trowel or a tile cutter. If you’re working with something tricky like glass or heavy stone, you can’t just wing it. You need to be intentional about your adhesive consistency and how you’re spreading it. If the bond isn’t right from the start, you’re just asking for a structural headache down the road.
Pro-Tips to Save Your Sanity (and Your Countertops)
- Don’t skip the layout phase. I know it’s tempting to just start sticking tiles to the wall, but grab a pencil and map out your lines first. You really don’t want to end up with a tiny, awkward 1-inch sliver of tile in a corner because you didn’t plan your center point.
- Buy more tile than you think you need. Seriously. Between accidental breaks, weird cuts around outlets, or just a few “oops” moments, having an extra 10-15% on hand is the difference between finishing the job tonight and having to drive back to the store mid-project.
- Keep a bucket of water and a sponge within arm’s reach. If you get grout on your tiles or your countertop, it’s going to dry fast and become a nightmare to scrub off. Clean as you go; your future self will thank you.
- Use spacers like your life depends on it. If you try to “eyeball” the gaps between tiles, your lines will look wavy and amateur. Even if you’re using tiny spacers, they are the only way to ensure your pattern stays straight and professional.
- Take your time with the cuts. If you’re using a manual tile cutter, don’t rush the snap. If you’re using a wet saw, make sure your measurements are dead-on. A bad cut is hard to hide, so it’s better to slow down and do it once rather than trying to patch a mistake later.
The TL;DR: My Top Three Rules for a Smooth Install
Don’t skip the prep. Most of the “stress” in tiling actually comes from a messy surface or bad measurements, so spend more time cleaning and planning than you think you need to.
Invest in the little things. You don’t need a professional’s entire toolkit, but having decent spacers and a solid notched trowel will save you from a massive headache halfway through.
Embrace the imperfection. If a tile is slightly off or a grout line looks a little wonky, don’t spiral. As long as your system is solid, it’s going to look great once it’s finished.
You’ve Got This
At the end of the day, tiling a backsplash is really just a series of small, manageable tasks layered on top of each other. If you’ve prepped your surface, double-checked your measurements, and kept your spacers handy, you’ve already done the heavy lifting. It’s easy to get caught up in the fear of making a mistake, but remember that precision matters more than perfection. As long as you take your time with the grout and don’t rush the cleanup, you’re going to end up with a result that looks intentional and polished. Just stick to the system we talked about, keep your workspace organized, and trust your process.
I know it feels a bit intimidating when you’re standing there staring at a pile of tiles and a bucket of mortar, but I promise the payoff is worth the temporary chaos. There is something incredibly grounding about looking at a kitchen and knowing you were the one who actually made it functional and beautiful. You aren’t just installing decor; you are building a better environment for your daily life. Don’t let the fear of a little messy grout keep you from leveling up your space. Go ahead and claim your competence—your kitchen is waiting for you to make it yours.
Frequently Asked Questions
How do I know if my wall is actually flat enough to start tiling, or am I going to end up with a crooked mess?
Grab a long level—ideally a 2-foot or 4-foot one—and hold it against the wall at different spots. If you see light peeking through the gap between the level and the wall, you’ve got a dip or a bulge. If it’s just a tiny bit wonky, don’t sweat it; your thin-set will level things out. But if it’s a major wave, you’ll need to skim-coat it with some joint compound first.
Do I really need to use spacers, or can I just eyeball the gaps between the tiles?
Look, I get the temptation to just wing it to save time, but please—don’t eyeball it. Even if you have a steady hand, tiny variations in the gap width will compound as you move across the wall, and by the time you hit the corner, nothing will line up. It’ll look messy and amateur. Grab a bag of spacers; they’re cheap, they take seconds to use, and they’re the only way to ensure everything actually looks intentional.
What’s the best way to handle those annoying cuts around electrical outlets without breaking the tiles?
Honestly, this is where most people start to panic, but don’t let it get to you. The secret is patience and the right tool. Skip the cheap manual tile nippers if you can; grab a wet saw for the heavy lifting. For those tiny, awkward corners around the outlet, use a tile nipper or a diamond bit hole saw. Take small, incremental bites rather than trying to force one big cut. It’s tedious, but it beats a cracked tile.