I was standing in the middle of my living room last Tuesday, staring at a massive, accidental splatter of “eggshell white” on my floor, wondering why I thought I could wing this. I’d skipped the prep work because I was in a rush, and within twenty minutes, my “quick weekend project” had turned into a chaotic, sticky disaster that felt like a total emergency. Most people will tell you that learning how to paint a room is all about the color choice or the brand of brush you use, but they’re lying. The truth is, if you don’t have a solid system for the boring stuff—the taping, the cleaning, and the laying down of drop cloths—you aren’t painting; you’re just making a mess that’s going to haunt you for weeks.
I’m not here to give you some aesthetic, Pinterest-perfect fantasy that requires a professional crew. Instead, I’m going to walk you through my unpolished, step-by-step system for tackling a wall without losing your mind (or your security deposit). We’re going to cover everything from the essential tools you actually need to the specific workflow that prevents those dreaded drip marks. My goal is to help you master how to paint a room so efficiently that you can get back to your life without the lingering stress of a DIY fail.
Table of Contents
Guide Overview
Tools & Supplies
- Paintbrush (for cutting in edges)
- Paint roller (for large surfaces)
- Paint tray (to hold and distribute paint)
- Extension pole (to reach high areas)
- Interior paint (1-2 gallons per room)
- Painter's tape (1-2 rolls)
- Drop cloths (1-2 sheets)
- Sandpaper (1 pack for smoothing walls)
Step-by-Step Instructions
- 1. First, you need to clear the decks. Move your furniture to the center of the room and cover it with old sheets or plastic drop cloths. I’ve learned the hard way that paint splatter is surprisingly aggressive, so don’t just move the couch—tuck it away. Grab a trash bag and toss any random clutter that doesn’t belong in the room so you aren’t tripping over stuff halfway through the process.
- 2. Next up is the prep work, which is honestly the most important part if you actually want a professional finish. Wipe down your walls with a damp cloth to get rid of dust and cobwebs, and use a bit of sandpaper to smooth out any weird bumps or old paint chips. If you have holes from old nails, grab some spackle, fill them in, and let it dry completely before you even think about touching a brush.
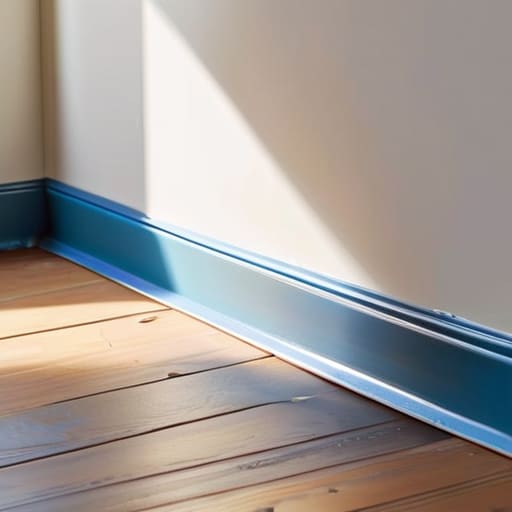
- 3. Now, grab your painter’s tape and get intentional. Run it along the baseboards, the ceiling edges, and around any window frames or light switches. I usually take a tiny bit of the existing wall color and dab it over the edge of the tape to seal the line; this prevents your new color from bleeding underneath and keeps everything looking sharp.
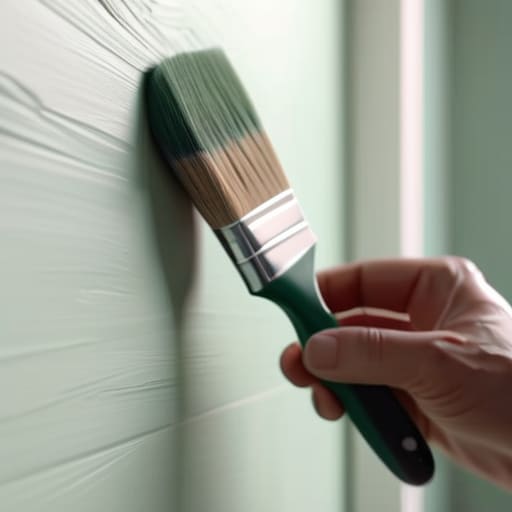
- 4. Before you start rolling, you have to “cut in.” This means using a smaller angled brush to paint the perimeter of the room—the corners, the edges near the ceiling, and around the trim—where a big roller can’t reach. It’s a little tedious, but doing this first creates a buffer zone so you can roll the main sections without leaving awkward unpainted gaps.
- 5. Time to get the heavy lifting done with the roller. Dip your roller into the tray, making sure it’s evenly coated but not dripping, and work in small, manageable sections. I like to use a “W” or “M” motion to distribute the paint, then fill in the gaps to ensure an even coat. Don’t try to cover the whole wall in one massive, heavy pass; two thinner coats are always better than one thick, gloopy one.
- 6. Let the first coat dry completely. This is where most people fail because they get impatient and try to rush the second coat while the first is still tacky. If you don’t let it set, you’ll end up pulling the paint right off the wall and creating a textured mess. Grab a coffee, check your emails, or go for a walk—just give the walls time to do their thing.
- 7. Once the first coat is totally dry, repeat the rolling process for the second coat. This second layer is what gives the color its true depth and makes it look intentional rather than accidental. Once you’re finished and the paint is dry to the touch, peel off the painter’s tape while it’s still slightly damp to avoid any peeling, and finally, enjoy your new space.
Understanding How to Paint a Room
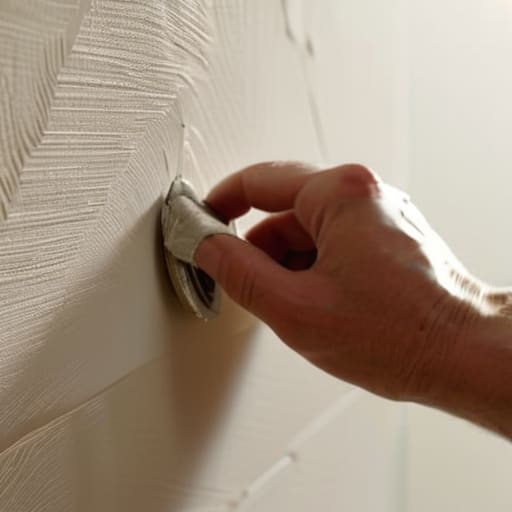
Before you even crack open a can of paint, you need to realize that the actual “painting” part is actually the easiest bit. The real work—and where most people mess up—is in the setup. I always tell my friends to treat it like a recipe; if your prep is sloppy, the final result will be too. This means knowing exactly how to prep walls for painting by cleaning off dust and filling those annoying little nail holes. If you skip this, you’re basically just painting over imperfections, which is a recipe for a headache later.
I’m also a huge believer in having an essential painting supplies checklist ready to go before you start. There is nothing more frustrating than being mid-project and realizing you’re out of painter’s tape or your roller is bone dry. I’ve learned the hard way that investing in the best paint brushes and rollers actually saves you time in the long run. Cheap brushes leave those tiny, annoying bristles behind in your fresh coat, and honestly, life is too short to struggle with low-quality tools when you’re just trying to refresh your space.
Key Things to Know
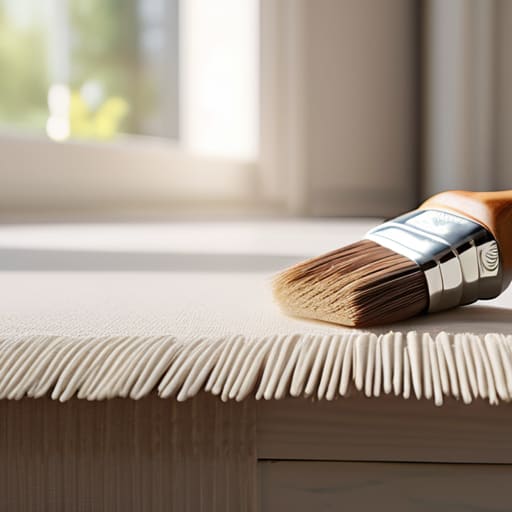
Before you even crack open a can of pigment, you need to get real about your gear. I’ve learned the hard way that cheap tools are a massive time sink. If you’re using low-grade rollers, you’ll end up with annoying texture that looks more like orange peel than a professional finish. Investing in the best paint brushes and rollers is probably the single most important thing you can do to ensure the job actually looks good when it’s done. It’s not about being fancy; it’s about making sure you aren’t fighting your equipment for three hours straight.
Also, let’s talk about the prep work that people usually try to skip. If you want to avoid that dreaded “patchy” look, you really have to master how to prep walls for painting by cleaning off dust and filling those annoying tiny holes first. A little extra time spent sanding and wiping down the surface now means you won’t be staring at imperfections for the next five years. Trust me, doing it right the first time is way more efficient than trying to fix a botched job on a Sunday evening when you’re already exhausted.
Pro Tips to Save Your Sanity (and Your Floors)
- Don’t skimp on the tape. I know the cheap stuff is tempting, but spend the extra few bucks on a high-quality painter’s tape. There is nothing more soul-crushing than peeling back the tape only to realize you’ve just ripped a jagged line through your brand-new wall color.
- Test your colors on more than one spot. Lighting is a total liar. A shade that looks like a dreamy, soft beige in the store might look like a depressing muddy yellow once it’s under your living room’s warm LED lights. Grab some sample pots and paint large swatches on different walls before you commit.
- Work from the top down. It sounds obvious, but if you start with the baseboards and then move to the ceiling, you’re going to end up with drips all over your clean work. Start with the ceiling, move to the trim, and save the main walls for last.
- Keep a wet rag in your pocket. Seriously. I always keep a damp microfiber cloth tucked into my waistband or sitting on my tray. If you catch a drip while it’s still wet, it’s a five-second fix; if you wait until it dries, you’re looking at a whole new project of sanding and repainting.
- Clean your tools immediately. If you’re taking a break or finishing for the day, don’t just leave your brushes in a cup of water and hope for the best. Wash them thoroughly or wrap them tightly in plastic wrap to keep them from drying out. It’s a small system that saves you from buying new brushes every single time you want to touch up a corner.
The TL;DR for a Stress-Free Paint Job
Don’t skip the prep work; spending time on taping edges and cleaning walls is the only way to avoid a messy, patchy finish that you’ll regret in a week.
Invest in decent tools rather than the cheapest possible rollers and brushes—it’s the difference between a smooth, professional coat and a streaky, frustrating disaster.
Work in systems, not sprints; take your time with the layers and let things dry properly so you aren’t fighting against wet paint all afternoon.
The Final Layer
At the end of the day, painting a room isn’t about being a professional contractor; it’s about having a solid system so you don’t end up staring at a messy floor and a half-finished wall at 10 PM. If you remember to prep your surfaces properly, invest in decent painter’s tape, and actually follow your drying times, you’ve already won half the battle. It’s those small, intentional steps—the ones that feel a little tedious in the moment—that prevent the massive headaches of drips, streaks, and ruined furniture later on. Stick to the process, keep your tools organized, and don’t rush the finish.
I know that staring at a blank, beige wall can feel a little overwhelming, especially when you’re trying to transform a space to actually feel like home. But remember, the goal isn’t perfection; it’s progress. You’re building a space that reflects your vibe and gives you a sense of control over your environment. Once that last coat is dry and you’re sitting there with a coffee, looking at a room that you literally built with your own hands, I promise you’ll realize that the effort was worth it. You’ve got this.
Frequently Asked Questions
How do I figure out exactly how much paint I actually need so I'm not stuck halfway through a wall?
Nothing kills my momentum like running out of paint when I’m halfway through a second coat. To avoid that, grab a measuring tape and find your total square footage: multiply the width of each wall by its height, then add them all up. Subtract about 15 square feet for every standard door or window. A good rule of thumb? One gallon usually covers 350–400 square feet. Always buy one extra quart; trust me, you’ll want it for touch-ups later.
Is it really necessary to use a primer, or can I just go straight in with the color?
Look, I get the temptation to skip a step when you just want the room done, but honestly? Skipping primer is how you end up repainting three weeks later. If you’re going over a dark color with something light, or if the walls are patchy, you absolutely need it. It creates a uniform surface so your color actually looks like the swatch. Think of it as the foundation—do it once, do it right, and save yourself the headache.
How do I fix those annoying little drips or uneven spots without starting the whole wall over?
Don’t panic—you don’t need to repaint the whole room just because of a few hiccups. If it’s a drip, wait for it to dry completely, sand it down until it’s flush with the wall, and then dab a tiny bit of paint over it. For uneven spots, check if you just missed a patch; a light “feathering” motion with a small roller or brush usually blends it right in. Small fixes, zero chaos.
