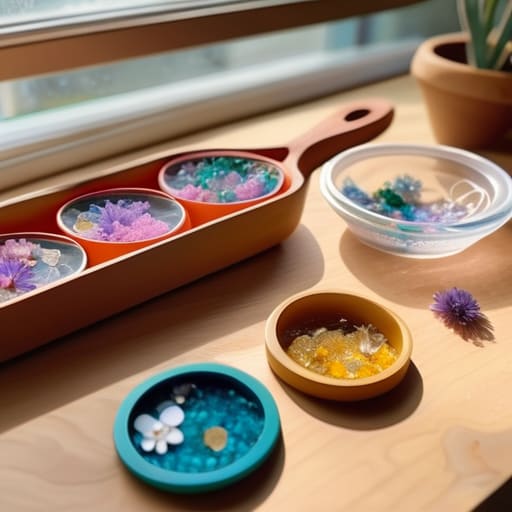
I was staring at my kitchen table, surrounded by half-dried bubbles, a sticky layer of spilled epoxy, and a tray of coasters that looked more like melted plastic than art, wondering why the hell I’d even started this. I had watched a dozen “aesthetic” tutorials, but nobody mentioned that your workspace becomes a literal hazard zone if you don’t have a system. Most people think you need a studio full of expensive gear to master resin crafts for beginners, but honestly? That’s just gatekeeping. You don’t need a professional setup; you just need to stop treating your craft room like a junk drawer and start treating it like a controlled environment.
I’m not here to sell you on the “magic” of resin; I’m here to help you manage the mess. In this guide, I’m stripping away the fluff and giving you the exact, unpolished workflow I use to keep my projects clean and my sanity intact. We’re going to cover the essential gear you actually need, how to avoid those annoying air bubbles, and the real-world steps to finishing your first piece without feeling like you need a chemical shower afterward. Let’s get into it.
Table of Contents
- Step-by-Step Instructions
- Ditch the Chaos a Realistic System for Resin Crafts for Beginners
- Mastering the Essentials From Safety Precautions to Perfect Curing Times
- Small Wins: 5 Ways to Avoid a Resin Disaster
- The Bottom Line: Making Resin Work for You
- The Messy Reality of Getting Started
- Frequently Asked Questions
Guide Overview
Tools & Supplies
- Silicone molds for shaping the resin
- Mixing cups for measuring and stirring
- Wooden sticks for mixing
- Heat gun or torch to remove bubbles
- Nitrile gloves for hand protection
- Epoxy resin kit (2-part resin and hardener)
- Liquid pigments or mica powders for color
- Silicone molds (various shapes)
- Glitter or dried flowers for embellishment
- Sandpaper for smoothing edges
Step-by-Step Instructions
- 1. First, we need to talk about your workspace, because if you try to do this on your dining table without a plan, you’re going to regret it. Clear off a flat surface that you don’t mind getting a little messy, and lay down a thick layer of silicone mats or cheap plastic tablecloths. Resin is basically permanent once it sets, so having a non-stick barrier is the only way to save your furniture from a lifetime of sticky spots.
- 2. Next, gear up with the actual safety essentials—and no, a paper mask won’t cut it. You need a pair of nitrile gloves (not latex, which can react with the resin) and a respirator mask if you’re working in a small room. I always keep a dedicated “resin kit” in my tote so I don’t have to hunt for gear mid-project, but the main thing is ensuring you have plenty of ventilation by cracking a window or turning on a fan.
- 3. Now, let’s get into the actual mixing, which is where most people mess up. Use a small, disposable silicone cup to measure your resin and hardener by weight or volume—follow the ratio on the bottle exactly. If the instructions say 1:1, don’t guess; even a tiny error will leave your project feeling tacky and unfinished. Once you pour, stir slowly with a wooden stick to avoid trapping tiny air bubbles in the liquid.
- 4. Once your mixture looks clear and consistent, it’s time to add your aesthetic elements. This is where you can get creative with dried flowers, glitter, or even old hardware from my thrift finds, but add them in stages if you’re doing a layered pour. If you dump everything in at once, your decorations will just sink to the very bottom, and you’ll lose that cool 3D effect you were going for.
- 5. To deal with those annoying bubbles that inevitably pop up, grab a long-reach lighter or a heat gun and lightly pass the flame over the surface of the liquid. You’ll see the bubbles rise and disappear almost instantly. Just don’t hold the heat in one spot for too long, or you’ll actually melt your mold or cause the resin to smoke, which is a total mess to clean up.
- 6. Finally, the hardest part of the entire process: the waiting game. Cover your piece with a cardboard box to keep dust from settling on it, and leave it completely alone for at least 24 hours. I know it’s tempting to poke it to see if it’s hard, but interrupting the curing process is the fastest way to ruin the structural integrity of your craft.
Ditch the Chaos a Realistic System for Resin Crafts for Beginners
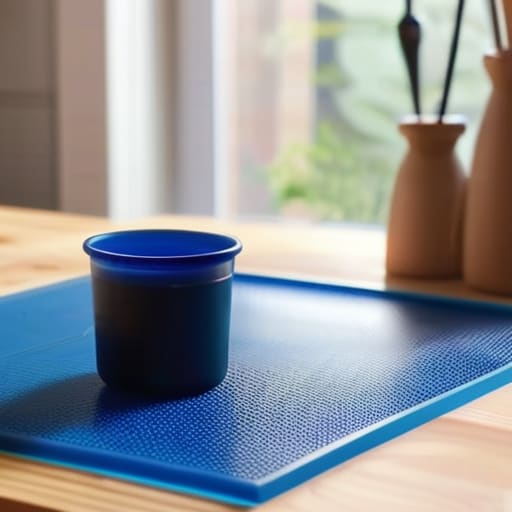
The biggest mistake I see people make isn’t the actual pouring; it’s the lack of a “landing zone.” If you try to work on your dining room table without a system, you’re going to end up with a sticky nightmare that ruins your furniture. Before you even touch a bottle, set up a dedicated station with a silicone mat and plenty of ventilation. Honestly, the most important safety precautions for working with epoxy aren’t just about gloves; you really need to be in a space where you aren’t breathing in those fumes all afternoon.
Once your space is set, focus on your workflow to avoid the mid-project panic. I always keep my essential resin art supplies—like stir sticks, heat guns, and levelers—in a single, organized bin so I’m not hunting for them while my resin is halfway through its chemical reaction. Also, don’t rush the process. If you try to force a project before the curing time for epoxy resin is actually complete, you’ll end up with a tacky, ruined mess. Slow down, stay organized, and let the chemistry do its thing.
Mastering the Essentials From Safety Precautions to Perfect Curing Times
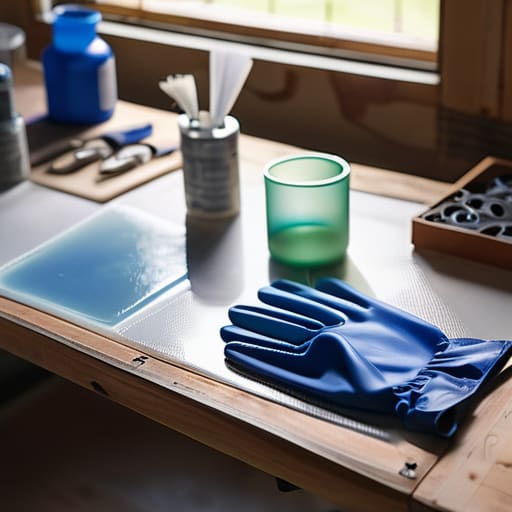
Before you even think about touching your first batch of liquid, we need to talk about the stuff that keeps this from becoming a disaster. I’m big on systems, and the most important system here is your safety setup. Resin isn’t something you want to just “wing” without a plan; you need a well-ventilated space and a solid mask. When it comes to safety precautions for working with epoxy, don’t skimp on the gloves. One accidental spill on your skin is a quick way to ruin the vibe of your entire afternoon.
Once you’ve got your gear, the real magic—and the real frustration—happens during the mix. If you don’t get your resin mixing ratios for beginners exactly right, you’re going to end up with a sticky, half-cured mess that’s basically impossible to fix. It’s all about precision. Also, keep an eye on your environment; temperature matters. If your workspace is too cold, your curing time for epoxy resin is going to stretch out way longer than the bottle says, leaving you stuck in a waiting game that kills your momentum.
Small Wins: 5 Ways to Avoid a Resin Disaster
- Stop mixing everything at once. It’s tempting to go big, but resin has a ticking clock. Work in small batches so you aren’t racing against a hardening puddle of wasted material.
- Level your workspace or lose your mind. If your table is even slightly tilted, your pour will eventually drift to one side, and your piece will be lopsided. Check it with a level before you even open the bottles.
- Embrace the “bubble dance.” Even with the best mixing, you’ll get air bubbles. Keep a heat gun or a butane torch nearby to lightly skim the surface—it’s the only way to get that glass-like finish without the frustration.
- Don’t skimp on the ventilation. I know, it’s a hassle to set up, but breathing in fumes isn’t part of the aesthetic. Open a window and keep a fan running; your future self will thank you.
- Use silicone mats for everything. Resin is basically permanent once it hits a surface, so don’t risk your good desk. A cheap silicone mat makes cleanup a five-second job instead of a weekend-long scrubbing session.
The Bottom Line: Making Resin Work for You
Don’t let the “perfect” aesthetic paralyze you; your first few pours are basically just expensive science experiments, so focus on the process rather than a flawless finish.
Invest in your setup, not just your supplies—having a dedicated, well-ventilated space and the right safety gear is what actually makes this hobby sustainable instead of a stressful mess.
Systems beat talent every time; if you prep your workspace and time your mixing carefully, you’ll spend way more time enjoying your creations and way less time cleaning up disasters.
The Messy Reality of Getting Started
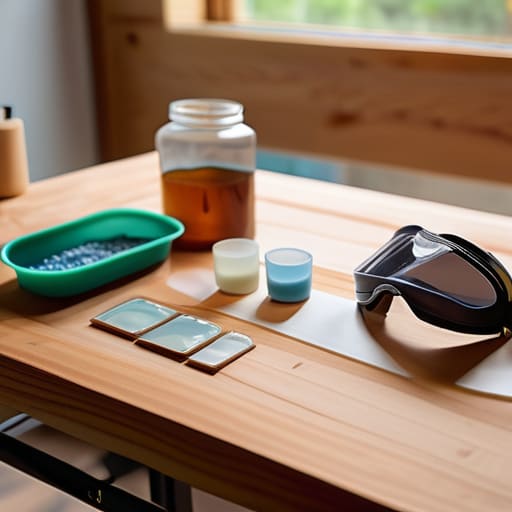
At the end of the day, resin is going to be a bit chaotic the first few times you try it. You’ll probably mess up a ratio, or your first pour will end up with a handful of stubborn bubbles, and that is perfectly fine. Just remember the systems we talked about: keep your workspace contained, respect the safety gear like it’s non-negotiable, and don’t rush the curing process just because you’re excited to see the result. If you stick to the basics of measuring accurately and managing your environment, you’re already ahead of most people. It’s all about minimizing the friction between your idea and the finished piece so you can actually enjoy the process rather than just cleaning up a disaster.
Don’t let the fear of a ruined mold or a sticky tabletop keep you from experimenting. The goal here isn’t to produce museum-quality art on day one; it’s to build a workflow that lets you create without feeling overwhelmed. Every mistake is just a data point that helps you refine your system for the next project. So, grab your gloves, clear off a small corner of your desk, and just start pouring. You’ve got the tools and the plan—now you just need to see what happens when you actually dive in.
Frequently Asked Questions
How do I stop getting those annoying tiny bubbles in my resin without buying an expensive vacuum chamber?
Honestly, you don’t need a vacuum chamber to get a clear pour. First, stop stirring like you’re whisking eggs; go slow and steady to avoid whipping air into the mix. I also swear by a heat gun or even a simple butane torch—just pass it quickly over the surface to pop those surface bubbles. If you’re working with pigment, try mixing it in stages. It’s all about reducing the chaos, not spending a fortune.
Is there a way to reuse leftover resin, or am I just going to end up wasting half the bottle?
Honestly, don’t let that leftover resin go to waste—that’s just throwing money down the drain. If you have a small amount left, pour it into a silicone mold to make tiny charms or beads. You can also mix it with glitter or dried flowers to make “resin scraps” for future projects. Just make sure you seal it properly so it doesn’t cure in the bottle. A little bit of planning goes a long way.
My resin feels sticky even after the "official" curing time—what did I do wrong?
Honestly, it’s usually one of three things. First, check your ratio—if you’re eyeballing it instead of using a digital scale, your chemistry is off. Second, your room might be too cold; resin hates a chill and needs warmth to bond properly. Lastly, you might have under-mixed. Even if it looks clear, those tiny unmixed pockets stay tacky forever. Grab a scale, turn up the heat, and mix like your life depends on it.
