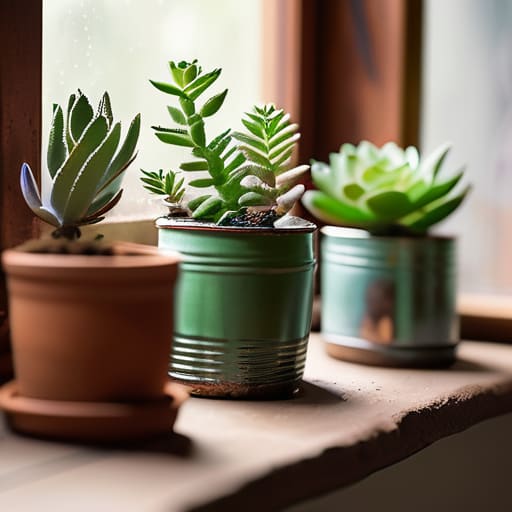
I was staring at a $45 ceramic succulent pot in a boutique shop last weekend, wondering if I was actually paying for the clay or just the aesthetic branding, when it hit me: most people make DIY planters way harder than they need to be. We’ve been conditioned to think that if it doesn’t look like a curated Pinterest board, it’s a failure, but that’s just gatekeeping. Honestly, my favorite greenery lives in old tin cans and thrifted containers that I’ve repurposed with a little bit of grit and some basic drainage logic. You don’t need a workshop full of expensive power tools to create diy planters that actually look intentional and, more importantly, keep your plants alive.
I’m not here to give you a list of “lifestyle hacks” that require a massive budget or a degree in interior design. Instead, I’m going to show you the actual, unpolished steps to building functional containers using stuff you probably already have in your recycling bin or tucked away in your garage. We’re going to focus on the systems that matter—like proper drainage and material durability—so you can stop overthinking your greenery and start actually growing it.
Table of Contents
Guide Overview
Tools & Supplies
- Drill with spade bit for drainage holes
- Measuring tape for accurate sizing
- Paintbrush for decorating
- Upcycled containers (tin cans, plastic bottles, or wooden crates)
- Potting soil (1 bag)
- Small plants or seeds
- Waterproof sealant or outdoor paint
Step-by-Step Instructions
- 1. First, you need to source your containers. Don’t go out and buy a bunch of expensive ceramic pots just to paint them; that defeats the whole purpose of saving money. Instead, scour your kitchen or your local thrift store for things like old tin cans, wooden crates, or even sturdy plastic yogurt tubs. Just make sure whatever you pick is structurally sound and won’t fall apart the second it gets damp.
- 2. Once you have your vessels, you have to deal with the drainage situation. This is the part where most people fail and accidentally kill their plants. If you’re using something like a metal tin or a plastic container, you actually need to drill or punch a few holes in the bottom. If you don’t have a drill, a hammer and a thick nail will do the trick, but be careful not to crack the material while you’re working.
- 3. Next, let’s talk about aesthetics without the fluff. If your containers look a little “garage sale chic,” you can give them a quick facelift. I usually grab a can of matte spray paint or some leftover acrylics to give them a cohesive look. My rule of thumb is to keep the color palette minimal so your shelf doesn’t end up looking like a cluttered craft store explosion.
- 4. Before you add the soil, grab a layer of small pebbles or even some broken-up terracotta shards to place at the bottom of each container. This creates a buffer zone that prevents the soil from clogging those drainage holes we just made. It helps keep the roots from sitting in stagnant water, which is basically a death sentence for most indoor greenery.
- 5. Now, it’s time to add the potting mix. Don’t just grab dirt from your backyard; it’s usually too dense and might carry weird pests into your apartment. Invest in a decent, lightweight potting soil that’s specifically formulated for containers. Fill your planter up almost to the top, but leave about an inch of space so when you water it, the liquid doesn’t just spill over the sides.
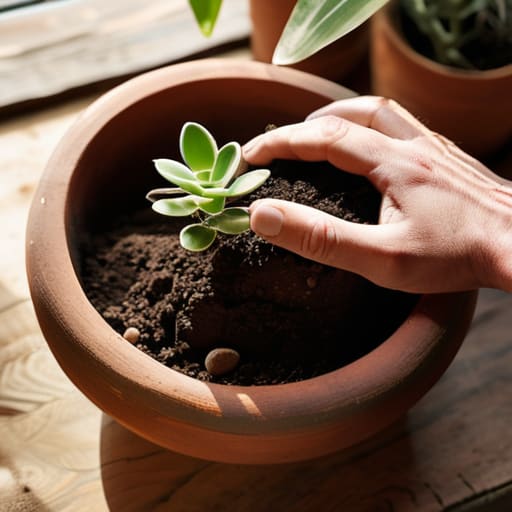
- 6. Gently pop your plant into the center of the new home. If you’re moving a plant from a plastic nursery pot, squeeze the sides of the original container to loosen the root ball before sliding it out. Place it in your DIY planter and fill in any gaps around the edges with more soil, pressing down lightly with your fingers to remove large air pockets.
- 7. Finally, give it a good, thorough watering to help the roots settle into their new environment. I like to place my new planters on a tray or a small saucer if they’re sitting on wood or fabric surfaces. This keeps the moisture contained and prevents you from accidentally ruining your furniture—because a system only works if it doesn’t create new problems to clean up.
Understanding Diy Planters
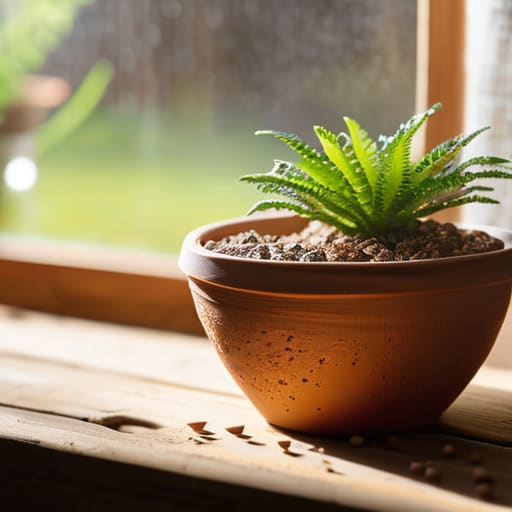
Before you start drilling holes or hunting through thrift stores, you need to realize that not every container is created equal. The biggest mistake I see people make is focusing purely on the aesthetic and completely ignoring the biology of the plant. If you’re diving into upcycled container gardening, you have to think about material porosity. A plastic yogurt tub holds moisture way longer than a terracotta pot, which can lead to root rot if you aren’t careful. I always tell my friends to match the vessel to the plant’s thirst level—don’t put a desert-loving cactus in a heavy ceramic bowl that stays damp for a week.
Another thing to keep in mind is the logistics of drainage solutions for homemade pots. If you’re repurposing something that doesn’t have a bottom hole—like a cute vintage tin or a wooden crate—you can’t just ignore it. You’ll need to layer some pebbles or charcoal at the bottom to prevent the soil from turning into a swamp. It’s not about being a master gardener; it’s just about setting up a system so your plants don’t die the moment you look away.
Key Things to Know
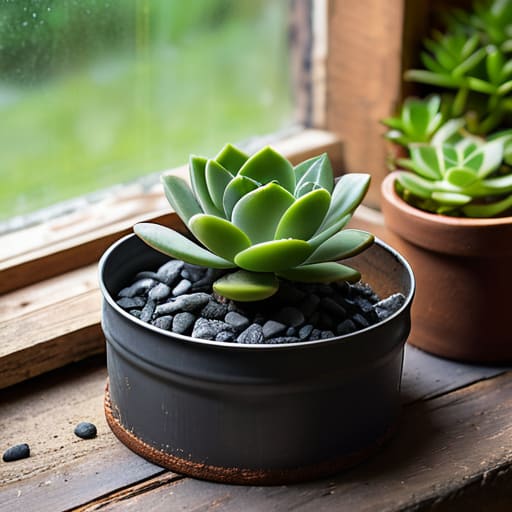
Before you dive in, there are a few realities of plant parenting that most “aesthetic” tutorials conveniently skip over. The biggest one? Drainage. If you’re using repurposed household items for plants, like an old tin can or a ceramic mug, you absolutely have to figure out how to let excess water escape. Without proper drainage solutions for homemade pots, you’re basically just creating a stagnant swamp that will rot your roots in a week. If you can’t drill a hole through the bottom, I highly recommend using a layer of pebbles or charcoal at the base to help mitigate the mess.
Also, keep in mind that the material of your container changes everything about how much you need to water. Plastic holds moisture way longer than terracotta or wood, so if you’re leaning into upcycled container gardening with lightweight plastics, you’ll need to check the soil dampness more frequently. Don’t feel like you need to buy expensive specialized soil, either; just match your dirt to the plant’s needs. At the end of the day, it’s about finding a system that works for your specific space rather than chasing a Pinterest-perfect look.
5 Pro-Tips to Keep Your DIY Setup from Becoming a Total Mess
- Don’t skip the drainage. I know it’s tempting to just use a cute vintage tin or a ceramic bowl as-is, but if you don’t drill holes in the bottom, your plant’s roots are going to rot faster than my motivation on a Monday.
- Match the container to the plant’s “thirst” level. If you’re planting something like a succulent, use a terracotta pot—it breathes. If you’re doing something that loves moisture, go with something non-porous like plastic or glazed ceramic.
- Layer your materials to save money. Instead of buying five massive bags of premium potting soil, use some crushed recycled brick or even old pebbles at the very bottom of deeper containers to help with drainage and save on dirt.
- Check your weight limits before you hang anything. There is nothing more stressful than a DIY hanging planter deciding to take a dive onto your floor. If you’re using heavy ceramic, make sure your mounting hardware is actually rated for that weight.
- Think about the “mess factor” before you start. Set up a tarp or even an old shower curtain on the floor first. Trust me, trying to scrub potting soil out of a rug is a friction point you definitely don’t need in your life.
The TL;DR on Your New Planter System
Stop overspending on aesthetic pots; focus on finding containers with actual drainage holes so you aren’t constantly fighting root rot.
Match your container size to the plant’s needs, not just your shelf space, to keep your maintenance routine from becoming a chore.
Don’t aim for perfection—the goal is a functional setup that keeps your plants alive and your space feeling intentional.
Making It Stick
At the end of the day, building your own planters isn’t about achieving some Pinterest-perfect, magazine-ready aesthetic. It’s about realizing that you don’t need to drop fifty bucks at a boutique nursery just to bring some life into your apartment. We covered the essentials—from picking containers that actually allow for proper drainage to making sure your DIY structural choices won’t fail you after the first watering session. Once you have these basic systems in place, you stop worrying about the cost of decor and start focusing on the actual plants. It’s a simple shift from being a consumer to being a creator of your own environment, and honestly, that’s where the real value lies.
Don’t let the fear of a little dirt or a slightly crooked edge stop you from starting. Your first few projects might not be flawless, and that is totally fine. The goal here isn’t perfection; it’s about reducing the friction between you and a space that actually feels like home. Once you get into the rhythm of repurposing what you already have, you’ll realize that adulthood is much more manageable when you stop waiting for permission to build things yourself. So, grab those old containers, get your hands dirty, and just start building. You’ve got this.
Frequently Asked Questions
How do I stop my DIY planters from leaking all over my floor or wooden furniture?
Look, nobody wants to find a water ring on their favorite thrifted coffee table. To stop the leak, you need a two-step system: drainage and a barrier. If your container has holes, you’re golden, but you still need a waterproof tray or saucer underneath to catch the runoff. If you’re using a container without holes, don’t just hope for the best—drill some drainage holes or use a heavy-duty plastic liner. Keep it dry, keep it clean.
Can I actually use these containers for succulents, or do they need specific drainage setups?
You can definitely use them for succulents, but you have to be careful. Succulents are basically drama queens about sitting in water; if their roots stay damp, they’ll rot in days. If your container doesn’t have a drainage hole, you’ll need to drill one or use a very gritty, fast-draining cactus mix. If you’re stuck with a container that has zero holes, go with a shallow layer of pebbles at the bottom to help with aeration.
What’s the best way to clean or prep old containers so they don't smell like dirt or old rust?
Honestly, don’t just rinse them and hope for the best—that’s how you end up with moldy soil and a funky-smelling apartment. If you’re working with old metal, hit it with some steel wool to tackle the rust first. For everything else, I swear by a heavy-duty soak in a mix of warm water and a splash of white vinegar. It kills the bacteria and neutralizes that stale, earthy scent so you’re starting with a clean slate.
