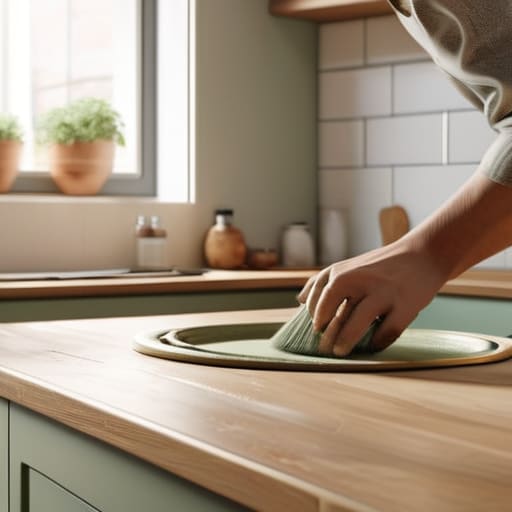
I was standing in my kitchen last Tuesday, staring at these dated, honey-oak cabinets, feeling that familiar wave of “adulting overwhelm” hit me. I had spent three hours scrolling through Pinterest, convinced that learning how to paint kitchen cabinets required a professional workshop, a thousand-dollar sprayer, and a level of patience I simply do not possess. But here’s the truth: you don’t need a contractor or a massive budget to fix this; you just need a better system. Most of the tutorials online make it look like a high-stakes art project, but in reality, it’s just a series of small, manageable tasks that keep you from losing your mind halfway through.
I’m not here to give you a polished, aesthetic montage of a perfect DIY life. Instead, I’m giving you the unpolished, actual steps to get this done without the constant state of emergency. We’re going to break down the prep work, the right tools to grab from a thrift store or a hardware aisle, and how to avoid that nightmare scenario where your paint starts peeling in three months. This is my no-gatekeeping guide to transforming your space through repeatable, efficient systems that actually work for real people with real lives.
Table of Contents
Guide Overview
Tools & Supplies
- Screwdriver or drill for hardware removal
- Sandpaper (various grits) for surface preparation
- High-quality brush for edges and detail
- Small foam roller for smooth flat surfaces
- Painter's tape for masking edges
- Cabinet degreaser or TSP for cleaning
- Wood filler for repairing dents or cracks
- Primer (bonding type) 1-2 gallons
- Cabinet-grade paint (Satin or Semi-gloss) 1-2 gallons
- Microfiber cloths for dusting
Step-by-Step Instructions
- 1. First things first, you need to clear the deck. Take everything out of the cabinets and set it on a table or a clean area of the floor. Don’t just shove it in a pile; you’ll regret it when you’re trying to find your favorite mug mid-project. Once they’re empty, unscrew the doors and the drawer fronts. Pro tip: Put all the screws, hinges, and hardware into labeled sandwich bags. If you just throw them in a junk drawer, you’re going to spend three hours hunting for that one specific hinge later, and nobody has time for that.
- 2. Now for the part everyone tries to skip, but please don’t: the deep clean. Kitchen cabinets are basically magnets for grease and mystery residue. Grab a heavy-duty degreaser—something like Krud Kutter or even just a really strong dish soap—and scrub every single inch. If you paint over a layer of invisible grease, your expensive new paint is going to peel off in sheets within a month. I’m telling you, if it doesn’t feel squeaky clean, it’s not ready.
- 3. Once they’re dry, you have to sand them down. You aren’t trying to strip them down to the bare wood like you’re doing a full restoration; you just need to “scuff” the surface so the primer has something to grab onto. Use a medium-grit sandpaper and just go over everything until the shine is gone. Wipe away every bit of dust with a tack cloth or a microfiber towel afterward. If you leave even a tiny bit of sanding dust behind, your finish will feel like sandpaper.
- 4. This is where the “system” really matters: priming. Do not, under any circumstances, use regular wall primer. You need a high-quality, bonding primer specifically designed for cabinetry or slick surfaces. I usually go with something like Zinsser or KILZ. Apply a thin, even coat. It might look a little streaky or weird at first, but trust the process. The primer is the literal foundation of the entire project, so don’t get lazy here.
- 5. Now we get to the fun part—the actual painting. For a smooth, professional look that doesn’t look like you used a house painter’s roller, I highly recommend using a high-quality microfiber mini-roller for the flat areas and a good synthetic brush for the corners and details. Work in small sections and try to keep your strokes consistent. Avoid the urge to keep over-working the paint while it’s drying; if you keep brushing it once it starts to set, you’ll end up with permanent texture marks that look super messy.
- 6. Patience is your best friend during the drying phase. Let the first coat dry completely before you even think about touching it with a second coat. Once the first is set, do another thin layer. If you try to do one thick, heavy coat to “save time,” you’re going to end up with annoying drips and runs that will force you to sand everything down and start over.
- 7. Finally, let them cure before you hang them back up. This is the hardest part of the whole system. Even if the paint feels dry to the touch after an hour, it hasn’t actually cured yet. If you put the doors back on immediately, they might stick to the frames or get dented by the first heavy pot you slide into a drawer. Give them at least 24 to 48 hours of “hands-off” time if you can manage it.
Understanding How to Paint Kitchen Cabinets
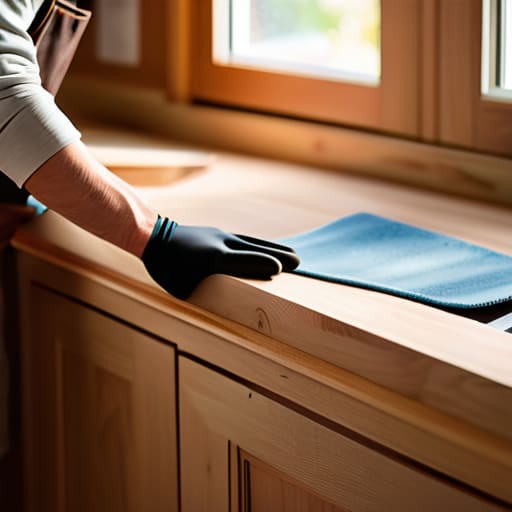
Before you even crack open a can of paint, you need to get real about your expectations. Most people think this is just a weekend project, but the truth is that the kitchen cabinet refinishing process is 80% prep and 20% actual painting. If you rush the cleaning or skip the sanding, you’re basically just painting over grease and old oils, which means your new finish will start peeling off in a few months. I learned this the hard way with my first apartment; I thought I could skip the heavy lifting, and I ended up having to redo the entire kitchen by month three.
Another thing to consider is the gear you’re using. If you’re looking for that flawless, factory-smooth look, you might be debating between a cabinet paint sprayer vs brush. Honestly, if you have the budget and a steady hand, a sprayer is a game changer for avoiding texture issues. But if you’re working on a tighter budget, don’t stress—you can totally get a professional result with a high-quality brush or small foam roller, as long as you focus on preventing brush marks by not overworking the paint once it starts to set.
Key Things to Know
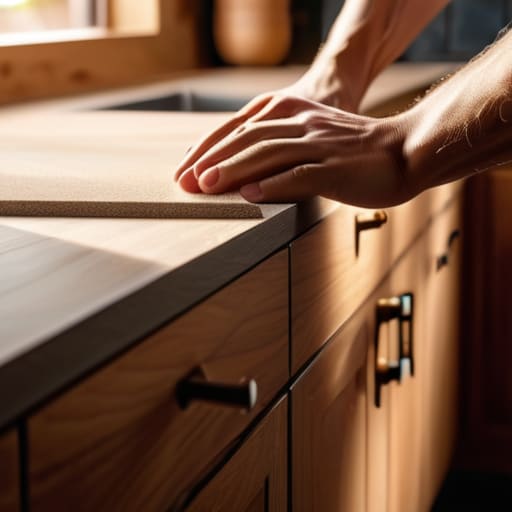
Before you dive in, let’s talk about the stuff that usually trips people up. One of the biggest mistakes I see is people skimping on the prep work because they just want to get to the fun part. If you want this to look like a professional job rather than a DIY disaster, you have to be obsessed with your cabinet sanding techniques. You don’t need to strip the wood down to the bone, but you do need to scuff that existing finish so the new layer actually has something to grab onto. If you skip this, your paint will eventually peel off in sheets, and then you’re back at square one.
Another thing: don’t just grab any old leftover latex from the garage. You really need to invest in the best paint for kitchen cabinets—specifically something formulated for high-traffic areas that can handle being wiped down constantly. Also, decide on your delivery method early. While a cabinet paint sprayer vs brush debate can go on forever, a sprayer gives that factory-smooth finish, but a high-quality brush and roller combo is much more manageable if you’re working solo in a tight space.
5 things I wish I knew before I picked up a brush
- Don’t skip the degreaser. I know, it sounds tedious, but if you don’t get every trace of cooking grease off those surfaces, your expensive new paint is going to peel off in sheets within a month. Use TSP or a heavy-duty cleaner; don’t just wipe them with soapy water and hope for the best.
- Invest in a decent primer, not the cheap stuff. I used to think primer was just an extra step to save money, but a high-quality, bonding primer is what actually makes the paint stick to the wood. If you use a generic brand, you’ll spend more time fixing drips and bubbles than actually painting.
- Sanding is 80% of the work. Most people want to jump straight to the color because they’re excited, but if you don’t scuff those surfaces to create “tooth” for the paint to grab onto, you’re setting yourself up for a disaster. A quick pass with fine-grit sandpaper makes a massive difference.
- Work in small, manageable batches. My biggest mistake early on was trying to do the whole kitchen in one weekend. You’ll end up with half-finished cabinets and a massive mess. Take one door or one drawer front at a time so you don’t lose your mind (or your ability to cook dinner).
- Watch your environment. Dust is the absolute enemy of a smooth finish. If you’re painting in a room that isn’t totally sealed off, you’ll find tiny little grit particles stuck in your wet paint everywhere. Keep the area as clean as possible and try to time your painting for a low-dust day.
The bottom line
Don’t rush the prep. I know it’s tempting to just grab a brush and go, but 80% of your success is actually in the cleaning and sanding—if you skip this, you’re basically just painting over a mess that will peel in a month.
Invest in decent tools, not just the cheapest ones. You don’t need a professional setup, but a high-quality brush and a good roller will save you from the “orange peel” texture that makes a DIY job look amateur.
Respect the drying times. Your patience is your best tool here; trying to rush into a second coat before the first is truly set is the fastest way to ruin your entire weekend and your cabinets.
The Finish Line
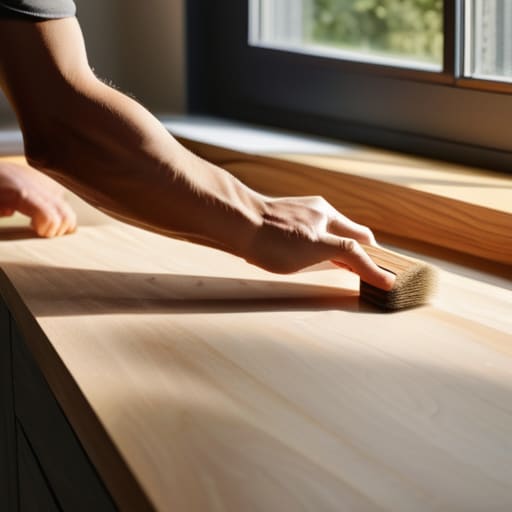
Look, I know this process feels like a marathon, especially when you’re staring at a pile of hardware and half-finished sanding marks. But if you stick to the system—prioritizing that deep clean, not skipping the primer, and actually giving the paint enough time to cure—you’re going to avoid the nightmare of peeling edges down the road. It really just comes down to respecting the prep work more than the actual painting. If you rush the foundation, you’ll end up paying for it in frustration later. Just take it one door at a time, keep your workspace organized, and trust that the systematic approach will carry you through to a result that actually looks professional.
At the end of the day, your kitchen doesn’t need to look like a showroom in a magazine to be functional and beautiful. It just needs to feel like yours. There is something incredibly grounding about taking a space that felt outdated or “stuck” and reclaiming it with your own two hands. Don’t let the fear of making a mess stop you from making a change. You don’t need a professional crew to transform your home; you just need a little patience and a solid game plan. Now, go grab your brushes and get to it—you’ve totally got this.
Frequently Asked Questions
How long do I actually have to wait before I can start using my kitchen again without ruining the finish?
Here’s the deal: you can technically use your kitchen almost immediately, but if you want that finish to actually last, you have to play the waiting game. You can wipe down counters and use the stove after 24 hours, but please, for the love of everything, don’t touch the cabinet doors or scrub them for at least 7 to 14 days. The paint might feel dry, but it’s still curing underneath. Give it time.
Is it really worth the extra effort to sand everything down, or can I get away with just using a high-quality primer?
Look, I get the temptation to skip the sanding—it’s the most tedious part of the whole process. But if you want to avoid the heartbreak of paint peeling off in sheets in six months, you can’t just skip it. You don’t need to sand down to the bare wood, but you do need to scuff that surface so the primer actually has something to grab onto. Think of it as essential friction.
What’s the best way to deal with all the hardware and hinges so I don't end up with a pile of random screws at the end?
Honestly, this is where most people lose their minds. Don’t just toss them in a junk drawer. Grab a pack of cheap, clear plastic craft organizers or even just a muffin tin. As you take each handle and hinge off, put the screws in a specific compartment labeled for that exact door. It feels extra, but it saves you from that “where is the one tiny screw I need” meltdown halfway through the project.
