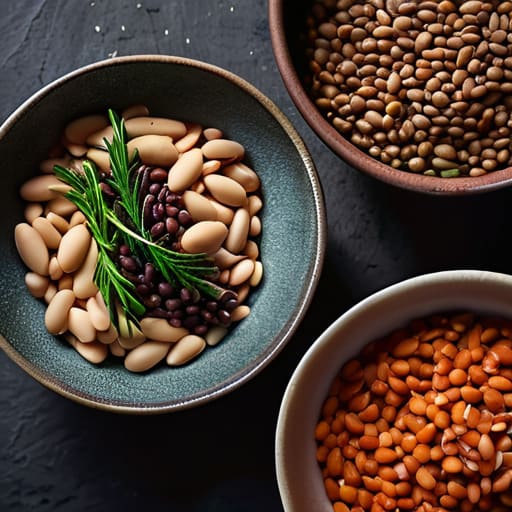
I used to think that if I wanted a decent meal, I had to spend three hours hovering over a stove or drop twenty bucks on some pre-seasoned, overpriced canned stuff. There is this weird, gatekept idea in the cooking world that mastering how to cook beans and lentils requires some kind of culinary degree or a specialized pressure cooker that costs more than my monthly groceries. Honestly, it’s just exhausting. I spent way too many nights staring at a pot of rock-hard chickpeas, wondering why my “simple” dinner was taking longer than my actual workday.
I’m done with the unnecessary complexity, and you should be too. I’ve spent years refining a low-friction system that actually works for people with busy, real-world schedules. I’m not going to give you a lecture on ancient grain histories; instead, I’m giving you the unpolished, actual steps to getting perfect texture every single time without the kitchen meltdown. Consider this your shortcut to a reliable pantry staple that won’t break your budget or your spirit. Let’s just get it done.
Table of Contents
- Stop the Kitchen Chaos Your No Nonsense Guide on How to Cook Beans and Lent
- The Great Debate Soaking Beans vs No Soak for Busy Lives
- Mastering the Clock Cooking Times for Different Legumes and Stovetop Lentil
- Speed Up the System Pressure Cooker Bean Instructions and Dry Bean Storage
- Actually Enjoyable Meals Seasoning Legumes for Flavor and How to Prevent Ga
- My Tiny Systems for Better Beans
- The TL;DR on Legume Success
- The Bottom Line
- Frequently Asked Questions
Stop the Kitchen Chaos Your No Nonsense Guide on How to Cook Beans and Lent
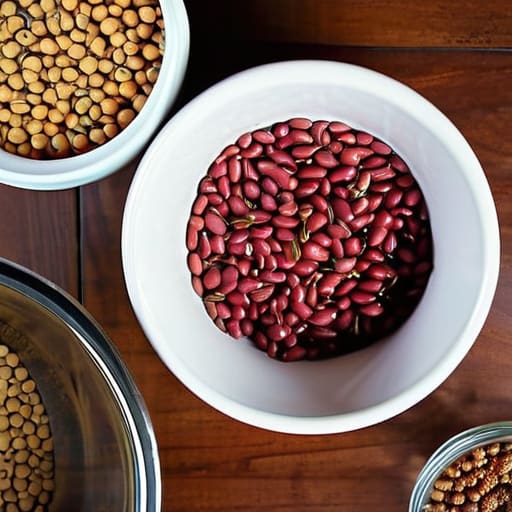
First off, let’s settle the biggest debate: soaking beans vs no soak. If you’re using dried kidney or chickpeas, please, just soak them overnight. It’s not about being a perfectionist; it’s about making sure they actually cook through without you standing over the stove for three hours. If you’re in a rush and using a pressure cooker, you can skip the soak, but you’ll need to follow specific pressure cooker bean instructions to avoid a messy foam explosion in your kitchen. Lentils, on the other hand, are the ultimate cheat code—they don’t require any prep and cook up in a fraction of the time.
The real trick to making these staples actually taste good is knowing that they are blank canvases. Don’t just boil them in plain water. I always recommend seasoning legumes for flavor from the very beginning by adding a bay leaf, a smashed garlic clove, or even a piece of kombu to the pot. This builds a foundation of flavor so you aren’t just eating mushy, bland protein. Once you master these basic timing shifts, you stop treating legumes like a chore and start treating them like the low-effort powerhouse they are.
The Great Debate Soaking Beans vs No Soak for Busy Lives

Look, I get it. You’re staring at a bag of dried chickpeas and wondering if you actually have the time to commit to a twelve-hour soak. The whole soaking beans vs no soak debate usually feels like a high-stakes science experiment, but in reality, it’s just about managing your energy. If you have the foresight to prep them the night before, soaking is a total game-changer for texture and, honestly, how to prevent gas from beans if your digestive system is a bit sensitive. It softens the outer skin and gets the heavy lifting out of the way before you even turn on the stove.
But if you’re living that “I forgot to prep everything” lifestyle (guilty), don’t panic. You can totally skip the soak, especially with lentils, which are much more forgiving. Just know that your cooking times for different legumes are going to shift significantly. If you’re working with larger, harder beans without a soak, I highly recommend using a pressure cooker to bridge that gap; it turns a multi-hour ordeal into a quick, efficient win. It’s all about choosing the system that fits your schedule.
Mastering the Clock Cooking Times for Different Legumes and Stovetop Lentil
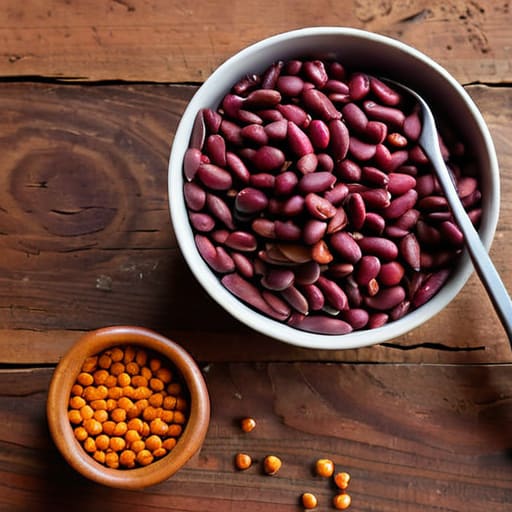
If you’re trying to eyeball when a bean is “done,” you’re just asking for a texture nightmare. I’ve spent way too many evenings biting into a kidney bean that was still aggressively crunchy in the middle. To avoid that, you need to treat cooking times for different legumes like a non-negotiable schedule. Generally, you’re looking at anywhere from 20 minutes for red lentils to over an hour for hearty chickpeas. My rule of thumb? Always check a single bean against your desired texture about ten minutes before you think it should be finished.
When it comes to stovetop lentil preparation, things move much faster than your heavy dried beans. Red and yellow lentils are basically the “fast food” of the legume world—they can turn into mush in twenty minutes if you aren’t paying attention. If you’re working with green or black lentils, they hold their shape much better, which is ideal for salads. Just keep a close eye on the liquid levels; lentils are notorious for soaking up every drop of water in the pot, leaving you with a scorched bottom if you get distracted by your phone.
Speed Up the System Pressure Cooker Bean Instructions and Dry Bean Storage
If you’re short on time and the stovetop method feels like a marathon, let’s talk about the pressure cooker. This is my ultimate hack for busy weekdays when I don’t have three hours to kill. For my pressure cooker bean instructions, the rule of thumb is to use a ratio of about three cups of water to one cup of dried beans. Once you seal it up, you’re looking at anywhere from 20 to 45 minutes depending on the variety. It’s a total game-changer because it bypasses that tedious waiting period, making the whole process feel much more intentional and much less like a chore.
While you’re waiting for that timer to ding, let’s talk about keeping your pantry from becoming a graveyard of expired legumes. My go-to dry bean storage tips are simple: keep them in airtight glass jars in a cool, dark spot. Avoid those flimsy original bags if you can; they let in moisture and pests. Also, if you’re worried about the dreaded bloat, remember that seasoning legumes for flavor with a piece of kombu or a bay leaf during the cook can actually help with digestion. It’s all about those small, repeatable systems.
Actually Enjoyable Meals Seasoning Legumes for Flavor and How to Prevent Ga
Let’s be real: nobody wants a bowl of flavorless, mushy beans that feels like a chore to eat. Most people fail here because they treat legumes like a side dish rather than the star of the show. My system for seasoning legumes for flavor is pretty simple: don’t wait until the very end to add everything. Start with aromatics like garlic, onion, or even a bay leaf in the pot while they simmer. If you’re doing stovetop lentil preparation, a splash of acidity—think lemon juice or a tiny bit of apple cider vinegar—right before serving is a total game changer. It cuts through that earthy heaviness and actually makes the flavors pop.
Now, let’s address the elephant in the room: the bloating. If you’re worried about how to prevent gas from beans, you aren’t alone. Aside from the soaking method we already talked about, I highly recommend adding a piece of kombu (seaweed) or a pinch of asafoetida to your cooking liquid. It sounds a bit “wellness influencer,” but it actually works to break down those complex sugars that cause the most trouble. Keep it simple, keep it seasoned, and you won’t dread your meal prep.
My Tiny Systems for Better Beans
- Don’t trust the package timer blindly. Every brand and every pot is different, so start tasting your beans about 15 minutes before you think they’ll be done. It’s much easier to cook them for five more minutes than it is to fix a pot of mushy, overcooked lentils.
- Salt your cooking water, but wait until they’re halfway done. I used to hear that salting too early makes beans tough, and while that’s debated, adding it mid-way ensures they actually taste like food rather than just wet cardboard without risking that weird texture.
- Keep a “scraps jar” in your freezer for bean broth. When you’re boiling dried beans, toss in some onion ends, carrot peels, or a bay leaf. Instead of dumping that nutrient-rich liquid down the drain, freeze it to use as a flavor bomb for your next soup or grain bowl.
- Always rinse your lentils in a fine-mesh strainer before they hit the pot. There’s usually a layer of fine dust or tiny debris from the packaging that can make your meal taste gritty or “off.” A quick 30-second rinse fixes that immediately.
- Use a heavy-bottomed pot if you have one. If you’re using a thin, cheap pot, you’re going to end up with scorched beans at the bottom, which ruins the whole batch. A heavy pot distributes heat more evenly, which is the easiest way to prevent a kitchen emergency.
The TL;DR on Legume Success
Don’t stress the soak: if you’re short on time, just cook them longer; if you have the night to spare, an overnight soak is your best friend for texture and digestion.
Stop eyeballing the timer—every legume has its own rhythm, so keep a mental (or actual) cheat sheet of cooking times so you aren’t eating mush or pebbles.
Flavor is non-negotiable: salt your cooking water and don’t be afraid to get aggressive with spices so your beans actually taste like a meal rather than a chore.
The Bottom Line
At the end of the day, mastering beans and lentils isn’t about following a rigid, intimidating recipe—it’s about having a reliable system so you aren’t scrambling when you’re hungry. We’ve covered the essentials: knowing when to soak for better texture, understanding that different legumes need different amounts of time on the stove, and using a pressure cooker when you’re in a serious time crunch. Don’t forget that seasoning is your best friend and proper storage is what keeps your pantry from becoming a graveyard of expired dried goods. Once you stop treating legumes like a mystery and start seeing them as a predictable, high-protein staple, your kitchen workflow is going to feel so much lighter.
I know that “adulting” can feel like you’re constantly playing catch-up, but small wins like this really do add up. Learning to cook from scratch isn’t just a culinary skill; it’s a way to reclaim your time and your budget from the chaos of convenience foods. You don’t need to be a professional chef to make something delicious and nourishing—you just need to trust the process and give yourself permission to experiment. So, grab a bag of lentils, set your timer, and start building your own kitchen systems one batch at a time. You’ve totally got this.
Frequently Asked Questions
Can I use canned beans instead of dry ones if I’m in a massive rush, or will the texture be totally ruined?
Look, if you’re in a massive rush, canned beans are your best friend, not your enemy. Will the texture be different? Yeah, they’re definitely softer and more uniform than dry beans, but they aren’t “ruined.” To make them feel less like mush, just rinse them thoroughly in a colander to get rid of that metallic-tasting liquid. Then, toss them into your recipe at the very end just to warm through. It’s a total lifesaver.
Is there a way to tell if my beans have gone bad in the pantry before I commit to cooking them?
Honestly, the good news is that dry beans are incredibly resilient. If they’ve been in a sealed container in a cool, dry pantry, they’re likely fine. Just do a quick visual check for any signs of mold or tiny holes (which means bugs have moved in). If they look normal, give them a quick sniff—they should smell earthy, not musty or sour. If they look or smell “off,” just toss them. Don’t risk it.
Do I really need to throw away the soaking water, or can I use it for the actual cooking process?
Honestly, toss it. I know it feels wasteful, but that soaking water is basically just a concentrated pool of the complex sugars and starches that cause that dreaded bloating. If your goal is a smooth digestive experience and a cleaner flavor, dumping the old water and starting fresh with clean water for the actual boil is the way to go. It’s a small step, but it makes a huge difference in how you feel afterward.