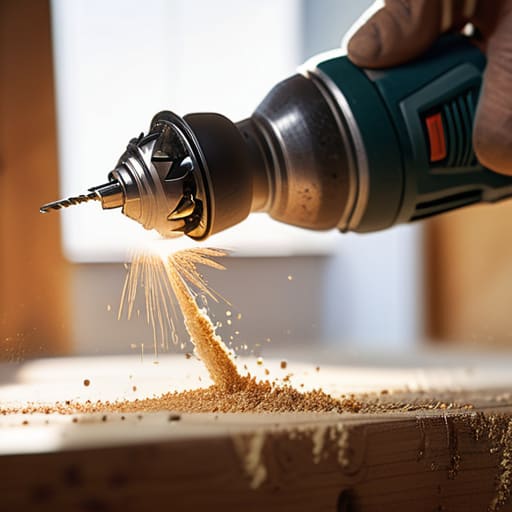
I was standing in my living room last Tuesday, staring at a half-assembled bookshelf and a heavy, intimidating power tool, feeling that familiar spike of “I shouldn’t be doing this.” Most people will tell you that you need a degree in engineering or a workshop full of expensive gear to get started, but that is a total lie. The truth is, learning how to use a drill isn’t about being a “handy” person; it’s just about understanding a few basic mechanics so you don’t end up with a crooked hole or a cracked wall. I grew up watching my dad tackle home repairs without a second thought, and I realized early on that the fear of the tool is usually worse than the task itself.
I’m not here to give you a lecture on every single technical specification or bore you with manual-style jargon. Instead, I’m going to give you the actual, unpolished system I use to get things done without the stress. We’re going to cover how to pick the right bit, how to keep your grip steady, and how to avoid the most common rookie mistakes. By the end of this, you’ll have a no-nonsense workflow that turns a scary piece of hardware into just another tool in your kit for making life run smoother.
Table of Contents
Guide Overview
Tools & Supplies
- Power drill (cordless or corded)
- Drill bits (assorted sizes for drilling and driving)
- Safety goggles (1 pair)
- Workpiece (1 unit)
Step-by-Step Instructions
- 1. First things first, you need to pick your bit. This is where most people mess up—they grab a random one from a dusty kit and wonder why they’re stuck. If you’re drilling into wood, use a brad point bit; if it’s metal, you need a high-speed steel bit; and if you’re hitting a wall, grab a masonry bit. Don’t try to “make it work” with the wrong tool, or you’ll just end up ruining your hardware.
- 2. Once you have the right bit, pop it into the chuck. You do this by twisting the sleeve at the front of the drill. Make sure the bit is centered in those three little “teeth” inside, otherwise, it’s going to wobble like crazy and create a mess. Tighten it until it’s firmly locked in, but don’t go absolutely feral with the force—just enough so it doesn’t slip.
- 3. Before you even touch the trigger, mark your spot. If you just start drilling blindly, the bit will wander across your surface, and suddenly you have a giant, ugly hole in the wrong place. Use a pencil to make a small dot, or better yet, use a hammer and a nail to tap a tiny “starter” indentation. This gives the bit a physical place to sit so it doesn’t slide.
- 4. Get your stance right and apply pressure. Hold the drill with both hands if you can—one on the handle and one on the back or the side grip—to keep things steady. Lean into it slightly, but don’t smash the tool into the surface. You want to apply consistent, even pressure so the drill does the work, not your biceps.
- 5. Start slow. When you pull the trigger, don’t just floor it immediately. Start with a light squeeze to get the bit biting into your mark. Once you feel like you’ve established a groove, you can increase the speed. If you feel the drill starting to kick or vibrate aggressively, back off the pressure and check if the bit is getting too hot or if you’re pushing too hard.
- 6. When you’re finished with the hole, don’t just yank the drill away. Slowly ease off the trigger to stop the spinning, and then pull the bit out while it’s still moving at a very low speed. This prevents the bit from getting “stuck” or tearing the material as you pull it out. Once you’re done, wipe the bit down—it’s a small habit that makes maintaining your tools so much easier in the long run.
Understanding How to Use a Drill
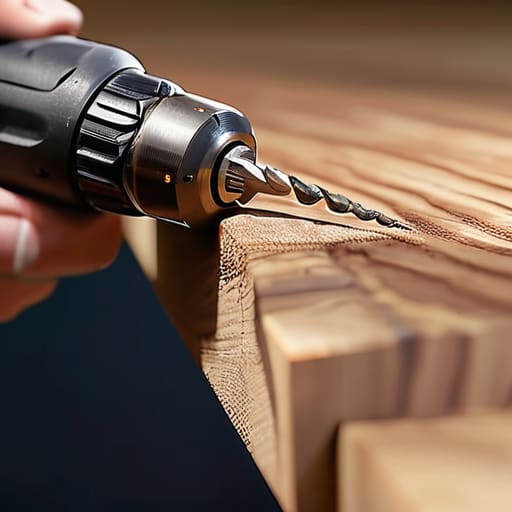
Before you actually pull the trigger, you need to get comfortable with the physics of the tool. It’s not just about pushing a button; it’s about control. I always tell my friends to focus on their proper drill grip technique first. You want one hand on the handle and your other hand supporting the back of the drill to keep it from wobbling. If you’re working with something delicate, don’t just dive in. Start by drilling pilot holes—these are tiny, shallow holes that act as a roadmap, preventing your wood from splitting or your bit from wandering off into nowhere.
Another thing that trips people up is the settings on the device itself. If you’re working on a project where you don’t want to strip a screw, you’ll need to get used to adjusting drill torque settings. Lower torque means the drill stops spinning sooner when it hits resistance, which is a total lifesaver for precision work. It’s all about reading the material and matching your settings to the task so you aren’t fighting the machine the whole time.
Key Things to Know
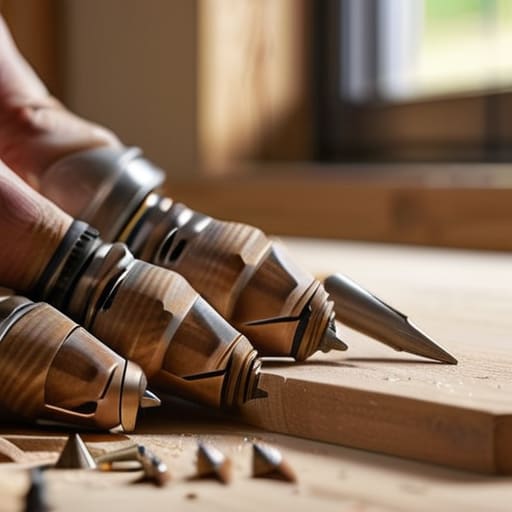
Before you actually pull the trigger, there are a few little nuances that separate a smooth project from a total disaster. One of the biggest things I learned the hard way is that you can’t just use any bit for any job. You really need to understand drill bit types and uses—using a wood bit on metal is a fast way to ruin your equipment and your mood. Also, if you’re working with anything thicker than a thin piece of plywood, please start by drilling pilot holes. It prevents the wood from splitting and keeps your screw perfectly centered, which saves you so much frustration later.
Another thing that people often overlook is the sheer amount of control you actually have over the tool. If you’re driving screws, don’t just go full blast; you’ll end up stripping the head or sinking the screw too deep. Take a second for adjusting drill torque settings to a lower number so the drill stops spinning once it hits the right depth. It’s all about that controlled precision rather than just brute force. Keeping your movements intentional makes the whole process feel way less chaotic.
Pro-tips to save you from a total DIY disaster
- Don’t fight the machine. If you feel the drill slipping or jumping, you’re likely applying too much pressure or using the wrong speed. Let the tool do the heavy lifting; you just need to guide it.
- Always double-check your bit. Using a masonry bit on wood or a wood bit on metal is a fast way to ruin your hardware and your mood. Match the bit to the material every single time.
- Mark your spot with a pilot hole. Even if you’re feeling confident, drilling a tiny starter hole first prevents the bit from wandering across your project and making a mess of your alignment.
- Watch your grip. Keep your stance steady and your non-dominant hand well away from the path of the drill. I’ve seen too many people lose focus and end up with a very close call.
- Listen to the sound. A healthy drill has a consistent hum. If you hear high-pitched screeching or grinding, stop immediately—you’re either burning out the bit or pushing the motor too hard.
The Bottom Line
Don’t let the noise intimidate you—it’s just a tool, and once you understand the tension between your grip and the trigger, you’ll stop fighting it.
Always match your bit to your task; using the wrong one is the fastest way to ruin a project (and your mood).
Respect the physics of it—keep your body steady and your pressure consistent so the drill does the work instead of you.
Final Thoughts Before You Start Drilling
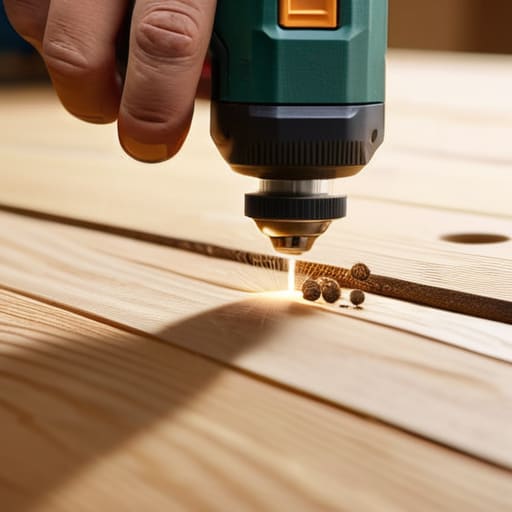
At the end of the day, mastering a drill isn’t about being some master carpenter; it’s just about having a repeatable process that keeps you safe and prevents you from ruining your walls. Remember to always double-check your bit type, keep a steady grip, and never skip the pilot hole if you’re working with something delicate. If you focus on the fundamentals—the right pressure, the correct speed, and a clear workspace—you’ve already won half the battle. It’s all about removing that initial friction and realizing that these tools are meant to work for you, not against you.
I know that staring at a power tool can feel a little intimidating at first, especially if you didn’t grow up with a toolbox in your hand, but I promise it gets easier. Once you get that first clean hole or hang that first shelf yourself, the sense of agency you feel is unmatched. Stop letting the fear of a mistake hold you back from fixing things around your space. Build your own systems, trust your grip, and just start creating. You’ve totally got this.
Frequently Asked Questions
Is it actually safe for me to use a drill if I'm working on something fragile, like a thin piece of wood or a wall with plaster?
It’s definitely safe, but you have to change your approach. If you go in full throttle, you’re going to crack that plaster or splinter the wood instantly. The trick is to start with a much smaller pilot hole using a fine bit. This creates a path for the bigger drill to follow without forcing it. Also, keep your pressure light—let the tool do the work rather than leaning your whole weight into it.
How do I know if I'm using the wrong drill bit and potentially ruining my project or the tool itself?
If you’re seeing smoke, smelling something burning, or hearing a high-pitched screeching sound, stop immediately. That’s your drill telling you something is wrong. Usually, it means you’re using a metal bit on wood (or vice versa) or you’re applying way too much pressure. If the bit looks like it’s glowing or the tip is rounding off, you’re definitely using the wrong one. Just take a breath, swap the bit, and reset.
What’s the deal with the different settings on the drill—when should I actually switch from driving screws to just drilling holes?
Think of it like choosing the right tool for a specific task—you wouldn’t use a chef’s knife to peel a grape, right? When you’re drilling holes, you want high speed and low torque to clear out material smoothly. But when you switch to driving screws, you need to dial that torque down. If you keep it on high while driving a screw, you’ll eventually strip the head or crack the wood. Switch it up to keep things controlled.
