I was standing in my living room last Tuesday, staring at a massive, thrifted landscape print and a pile of random hardware, feeling that familiar wave of “adulting” paralysis. I had spent forty minutes trying to eyeball the center point, only to realize I was about to commit a crime against my own drywall. Most people think you need a professional handyman or a degree in geometry to get it right, but the truth is that knowing how to hang a picture isn’t about being a master carpenter; it’s just about having a reliable system so you don’t end up with a crooked frame and a dozen unnecessary holes in your wall.
I’m not here to give you a lecture on interior design theory or suggest you buy a $200 laser level. Instead, I’m going to walk you through the actual, unpolished steps to getting your art up there securely and straight. We’re going to cover the exact anchors you actually need, how to avoid the “eye-balling” trap, and the one trick I use to make sure everything looks intentional rather than accidental. Let’s just get this done so you can actually enjoy your space.
Table of Contents
Guide Overview
Tools & Supplies
- Hammer (for driving nails or hooks)
- Pencil (for marking placement)
- Tape measure (for measuring distance and height)
- Level (to ensure the picture is straight)
- Picture hanging hardware (1 pack of nails or hooks)
- Picture frame (1 unit)
Step-by-Step Instructions
- 1. First, grab your gear. You don’t need a massive toolkit, but don’t try to wing this with a butter knife. You’ll want a hammer, a pencil, a level (or a leveling app on your phone if you’re being lazy), and some proper wall anchors. If you’re hanging something heavy, skip the tiny finishing nails and go straight for a screw and a sturdy anchor so you aren’t constantly checking if it’s about to fall.
- 2. Measure your frame’s hardware. This is where most people mess up. Turn the frame around and measure the distance from the top of the frame to the actual hanging point—whether that’s a wire, a sawtooth hanger, or a D-ring. Write that number down. You need to know exactly how much space to leave between the top of the frame and where your nail actually goes.
- 3. Map it out on the wall. Instead of just guessing, use your pencil to mark the spot where the top of the frame will sit. Once you have that top line, use your measurement from step two to mark the actual hole you need to drill or nail. I usually put a tiny little dot there so I don’t lose it once I start the heavy lifting.
- 4. Double-check your alignment. Before you commit to any holes, hold your level up to your pencil marks or use your phone app to make sure your line is actually straight. There is nothing more soul-crushing than finishing a project only to realize your art is leaning slightly to the left for the rest of eternity.
- 5. Execute the hardware install. If you’re using an anchor, drill your pilot hole first—don’t just try to force it in or you’ll crack the drywall. If it’s just a light frame and a nail, go ahead and tap it in. Just remember to aim slightly downward if you’re using a nail; it creates a much more secure angle that resists gravity better.
- 6. The final hang and adjustment. Slide your frame onto the hardware and give it a gentle tap to settle it. Use your level one last time to ensure it’s sitting perfectly. If it feels a little wobbly, you might need to add some small adhesive bumpers to the bottom corners of the frame to keep it from shifting every time someone walks by.
Stop the Wall Panic the Real Way How to Hang a Picture
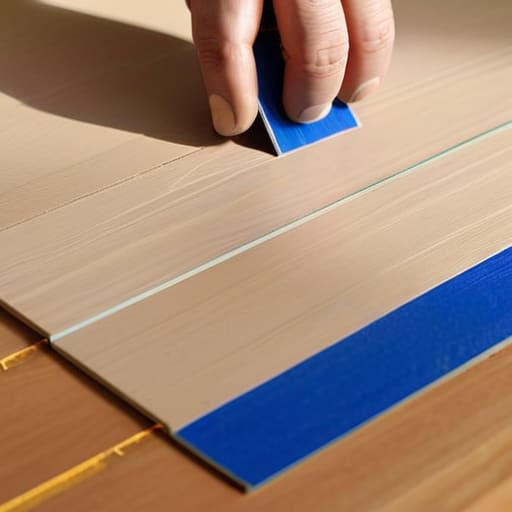
The biggest mistake I see people make is jumping straight to the hammer without actually thinking about the geometry of the room. Before you drive a single nail into your walls, you need to commit to measuring for picture placement with some actual intention. Don’t just eyeball it. Grab a piece of painter’s tape and mark out the corners of where you think the frame should go. This lets you step back, look at the scale, and realize that your “perfect” spot is actually way too high or awkwardly off-center.
Once you’ve found the sweet spot, you have to decide on your hardware strategy. If you’re dealing with a lightweight print, honestly, just go with command strips vs nails—the strips are a lifesaver if you’re renting and don’t want to spend your weekend patching holes. But if you’re attempting the heavy lifting of hanging heavy frames on drywall, don’t even think about using a tiny finishing nail. You need actual anchors or heavy-duty hooks, otherwise, you’re just asking for a midnight disaster when that frame inevitably slides down the wall.
Ditch the Guesswork a No Nonsense System for Perfect Placement
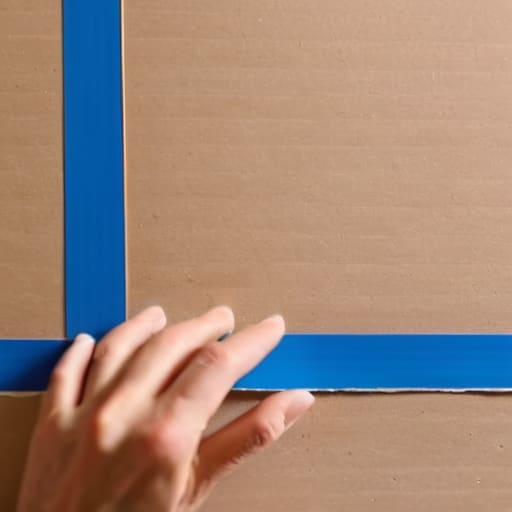
The biggest mistake I see people make is treating a blank wall like a math equation instead of a living space. If you start hammering holes immediately, you’re going to end up with a Swiss cheese situation. Before you even touch a tool, grab some painter’s tape and some paper scraps. Cut them to the approximate size of your frames and tape them to the wall. This lets you visualize the scale and test different gallery wall layout ideas without the permanent commitment. It’s much easier to move a piece of tape than it is to patch a hole in your drywall.
Once you’ve found the spot, don’t just wing the height. I always follow the “eye-level rule,” which usually means the center of the piece should be about 57 to 60 inches from the floor. When you’re actually getting ready to commit, pay attention to the weight. If you’re hanging heavy frames on drywall, skip the tiny finishing nails and go for something beefier like a screw and anchor. It’s better to spend an extra thirty seconds measuring for picture placement now than to spend your entire weekend fixing a crooked, heavy disaster later.
Small Tweaks to Save Your Sanity (and Your Walls)
- Don’t trust your eyes alone—use a level. I know, it feels like overkill, but staring at a frame for twenty minutes only to realize it’s two degrees off is a special kind of mental drain I’m not willing to deal with.
- Grab a box of assorted wall anchors instead of just using the tiny nails that come in the frame packaging. If you’re hanging anything with actual weight, those flimsy little tacks are just going to give up on you mid-week.
- Use painter’s tape to map out the dimensions before you even touch a drill. It’s way easier to move a piece of tape around the wall than it is to patch up five different holes because you changed your mind about the height.
- Check your hardware before you start. There is nothing more frustrating than getting into the flow, only to realize your screwdriver is stripped or you’re missing the exact screw size you need to finish the job.
- Keep your “command center” organized while you work. Keep your multi-tool, pencil, and level in one spot so you aren’t wandering around your apartment hunting for a pencil every time you need to mark a spot.
The TL;DR for Your Walls
Don’t wing it with the hardware—match your anchors to your wall type so you aren’t left holding a heavy frame and a handful of crumbled drywall.
Use the “eye-level” rule as a baseline, but trust your gut; if it feels too high or weirdly centered, move it before you commit to the holes.
Measure twice, drill once, and always keep a level handy so you aren’t living with a tilted masterpiece for the next six months.
The Final Check
At the end of the day, hanging art isn’t about being a master carpenter; it’s just about having a decent workflow. We’ve covered the essentials: grabbing the right anchors so your heavy frames don’t end up on the floor, using a level to avoid that soul-crushing crookedness, and actually measuring twice before you even think about touching a drill to the drywall. If you follow these steps, you aren’t just slapping decor on a wall—you’re building a reliable system that keeps your space looking intentional rather than cluttered. Once you have the right tools in your kit and a bit of patience, the actual physics of it becomes second nature.
I know that staring at a pile of empty frames and a bare wall can feel surprisingly overwhelming, but don’t let the small stuff stall your progress. Your home should be a reflection of your personality, not a museum of “someday I’ll get around to that.” Take the win, even if the placement isn’t 100% perfect on the first try. The goal is to reduce the friction of living in your space, not to achieve architectural perfection. So, grab your multi-tool, pick a spot, and just start. You’ve got this.
Frequently Asked Questions
What do I actually do if I’m trying to hang something heavy on drywall without it ripping right out of the wall?
Look, if you’re trying to hang something heavy, please—for the love of everything—put the tiny nails away. They’ll fail, and you’ll end up with a hole and a broken mirror. You need anchors. If you can find a stud, use a screw directly into the wood. If not, grab some heavy-duty toggle bolts. They grip the back of the drywall instead of just pulling against the surface. It’s more work upfront, but it’s better than a disaster.
I don't want to ruin my rental—are there ways to hang art that won't leave massive holes in the paint?
The rental struggle is so real. I’ve definitely lost a security deposit (or almost did) by being too aggressive with a drill. If you’re not ready to commit to a heavy-duty anchor, go for Command strips—just make sure you clean the wall with rubbing alcohol first so they actually stay. For slightly heavier stuff, try those small brass picture hooks; they leave tiny pinpricks rather than gaping wounds. It’s all about managing the damage.
How do I figure out the right height so my art doesn't look like it's floating way too high or sitting too low?
The golden rule is eye level, but “eye level” is actually a bit of a lie. Aim for the center of the piece to be about 57 to 60 inches from the floor. If you’re hanging something above a sofa or a console table, give it some breathing room—about 6 to 10 inches above the furniture. Don’t just eyeball it; grab a measuring tape so you aren’t constantly tilting your head to see it.
