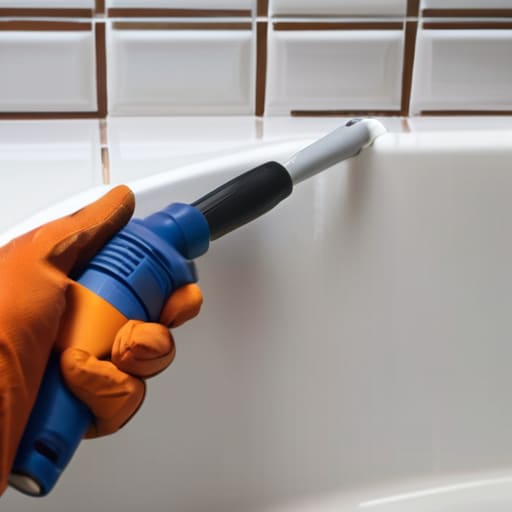
I was standing in my bathroom last Tuesday, staring at a moldy, peeling strip of silicone around the tub, feeling that specific brand of adult dread where you realize a tiny gap is actually a slow-motion disaster for your floorboards. Most people think you need a professional or a massive toolkit to fix this, but honestly? That’s just gatekeeping. Learning how to caulk isn’t some mystical construction skill; it’s just a repeatable system of prep, steady hands, and the right cheap tools. I grew up watching my dad tackle stuff like this, and the biggest lesson he taught me was that if you don’t have a plan, you’re just going to end up with a massive, expensive mess.
In this guide, I’m stripping away the jargon to give you the actual, unpolished steps to getting a seamless finish. I’ll show you how to prep the surface so the new bead actually sticks, which specific tools are worth your money, and my personal trick for smoothing it out without the total meltdown. We’re going to turn this from a stressful weekend project into a quick, manageable win for your home.
Table of Contents
Guide Overview
Tools & Supplies
- Caulking gun to apply the sealant
- Caulk removal tool or utility knife to strip old material
- Small bucket or container for cleaning solutions
- Caulk tube (Silicone or Acrylic depending on surface) 1-2 tubes
- Cleaning agent (Rubbing alcohol or vinegar) 1 bottle
- Paper towels or rags 1 pack
Step-by-Step Instructions
- 1. First things first: you have to clear out the old junk. If you’re trying to layer new caulk over old, moldy, or peeling stuff, it’s going to fail almost immediately. Grab a putty knife or even a flat-head screwdriver from that multi-tool I always carry, and scrape every last bit of the old sealant away. You want the surface to be completely bare so the new stuff actually has something to grab onto.
- 2. Once the old stuff is gone, you need to clean the area like it’s your job. Use a little rubbing alcohol or a mild cleaner on a rag to wipe down the gap. If there’s any leftover dust or grease, the caulk won’t bond, and you’ll be doing this entire process all over again next week. Let it dry completely before you move to the next step—patience is a system, not a suggestion.
- 3. Now, let’s prep the tube. Cut the tip of the caulk nozzle at a 45-degree angle. Here is the part where people usually mess up: don’t make the hole too big. Start small and conservative; you can always cut more off later, but you can’t put the caulk back into the tube once it’s out.
- 4. When you start applying, don’t try to be a perfectionist with the gun. Hold it at a steady angle and apply a consistent, slow pressure as you move along the gap. Think of it like drawing a single, continuous line rather than a bunch of little dots. You want a steady bead that fills the space without leaving huge gaps or air bubbles.
- 5. This is the part that feels a little messy but is actually the most important: the smoothing. Dip your finger in a little bit of water (or even a tiny bit of dish soap if you’re feeling fancy) and lightly run it along the bead you just laid down. This pushes the caulk into the crevices and creates that clean, professional-looking line we’re all after.
- 6. Don’t touch it. I know, it’s tempting to poke at it to see if it’s dry, but just walk away. Most silicone-based caulks need at least 24 hours to fully cure before they can handle water. If you try to use the shower or the sink too early, you’ll completely ruin the seal and have to start from step one.
Understanding How to Caulk
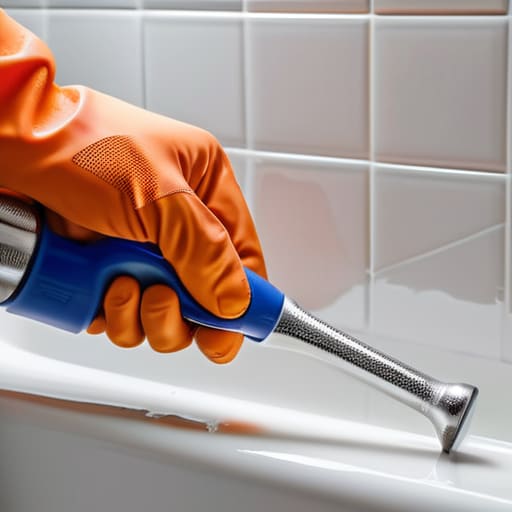
Before you even touch a tube of sealant, you need to understand that not all goop is created equal. The biggest mistake I see people make is grabbing the wrong stuff for the job. If you’re sealing bathroom fixtures or working near a shower, you absolutely need silicone; it’s waterproof and flexible enough to handle constant moisture without cracking. Acrylic is fine for things like baseboards or trim where you might want to paint over it later, but it won’t hold up in a wet environment. Choosing the wrong one is basically asking yourself to do the whole job twice.
Also, let’s talk about the prep work, because this is where most projects fail. You can’t just layer new sealant over the old stuff and hope for the best. You have to commit to removing old caulk entirely—scrape it out, clean the gap, and make sure it’s bone dry. If there’s any residue or moisture left behind, the new bead won’t bond, and you’ll be back to square one within a month. It’s a bit of a pain upfront, but it’s the only way to ensure the system actually works.
Key Things to Know
Before you even touch a tube of sealant, you need to figure out which product actually fits your project. Most people make the mistake of grabbing whatever is cheapest, but choosing between silicone vs acrylic caulk is actually a pretty big deal. If you’re sealing bathroom fixtures or anything that stays wet, go with silicone—it’s waterproof and won’t mold as easily. Acrylic is fine for things like caulking around windows where you might want to paint over it later, but it just won’t hold up in a high-moisture environment.
Also, don’t skip the prep work. I know it’s tempting to just layer new stuff over the old, but you really have to focus on removing old caulk first. If the surface is dirty or peeling, your new bead is going to fail within a month, and you’ll be right back where you started. Use a putty knife or a dedicated scraper to get it down to the bare surface. Once it’s clean and dry, you’re actually ready to start building those systems that keep your home in one piece.
Pro-Tips to Save You from a Massive Cleanup
- Clean the surface like your life depends on it. If there’s old, crusty caulk or even just a layer of soap scum left behind, your new bead is going to peel off in a week. Use a scraper or a utility knife to get it down to the bare material.
- Don’t skip the painter’s tape. If you aren’t confident in your steady hand, lay down two strips of tape—one on each side of the gap you’re filling. It creates a perfect, straight line so you don’t end up with a messy smear across your tiles.
- Use a wet finger (but keep it controlled). Once you lay the bead, dip your finger in a little bit of water or a tiny bit of dish soap and run it along the line to smooth it out. It makes the finish look professional instead of lumpy.
- Less is actually more. You don’t need to glob a massive amount of caulk into the gap. Just enough to fill the space and create a seal. Overdoing it just creates a bigger mess to clean up and more surface area for mold to grab onto later.
- Check the “cure time” on the tube before you even start. There is nothing worse than finishing a job and realizing you can’t actually use your shower for 24 hours. Plan your project around the drying time so you aren’t stuck without a working sink.
The Bottom Line
Don’t overthink the gear; just make sure you have the right type of caulk for the job (silicone for wet areas, acrylic for everything else) so you aren’t fixing the same leak in three months.
Prep is 90% of the work—if you don’t scrub away the old, crusty residue and get the surface bone-dry, your new bead is going to peel off almost immediately.
Slow down and embrace the mess; it’s way easier to wipe away a little excess with a damp finger now than it is to scrape off a dried, jagged disaster later.
You’ve Got This
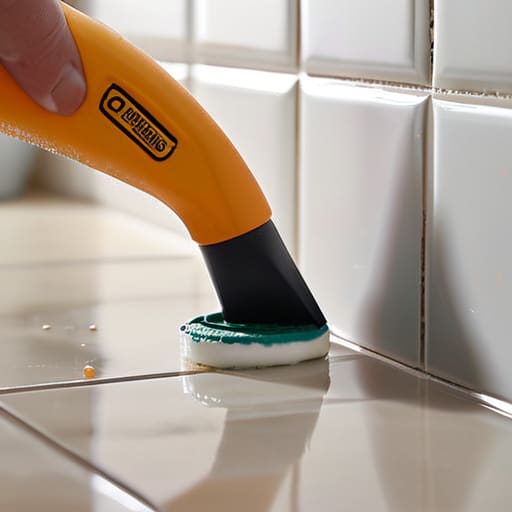
At the end of the day, successful caulking really just comes down to the prep work and having the right patience. If you took the time to scrape away the old, crusty residue and actually cleaned the surface before applying the new bead, you’ve already done the hardest part. It’s not about being a master craftsman or having a perfectly steady hand; it’s about ensuring that the seal is tight and the application is consistent enough to keep the water where it belongs. Don’t rush the drying process, and please, for the love of everything, don’t skip the cleanup phase—it makes all the difference in how professional the final result looks.
I know that staring at a messy, peeling seam in your bathroom or kitchen can feel like just one more thing on an endless to-do list, but tackling this yourself is a huge win. There is something incredibly grounding about taking a small, broken part of your space and systematically fixing it with your own two hands. You aren’t just preventing a leak or saving a few hundred bucks on a handyman; you’re proving to yourself that you can maintain your own environment. Once that bead is smooth and set, you can finally stop worrying about the damage and just get back to living in a home that actually works for you.
Frequently Asked Questions
How do I know if I need silicone or something else like acrylic caulk?
This is the question that usually trips people up at the hardware store. Here’s the rule of thumb I live by: if it’s getting wet—like your bathtub, sink, or shower—use silicone. It’s waterproof and won’t mold as easily. If you’re just filling a gap in baseboards or crown molding where water won’t touch it, go with acrylic. It’s easier to paint, whereas silicone is a nightmare to cover up.
What do I do if I mess up the first bead and it looks totally wonky?
First off, take a breath. We’ve all been there, and no, you haven’t ruined your life. If the bead looks wonky, don’t try to “smooth it out” with your finger—that usually just makes a bigger, messier disaster. If it’s still wet, grab a damp rag and wipe it away. If it’s already set, you’ll need to carefully scrape it out with a putty knife and start that section over. It’s just extra work, not a failure.
Can I just caulk over the old, crusty stuff, or do I actually have to scrape it all off first?
Look, I get the temptation to just layer new caulk over the old stuff to save time, but please don’t. If you do, the new layer won’t actually bond to the surface; it’ll just sit there like a loose skin, and you’ll be back to dealing with leaks in a few weeks. You have to scrape it all off first. It’s a bit of a pain, but it’s the only way to make the fix actually last.
