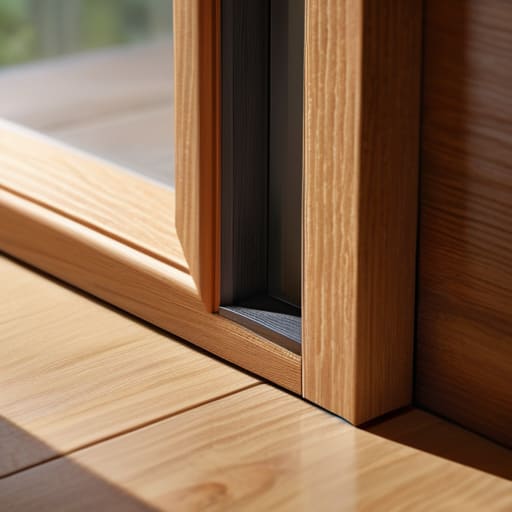
I was sitting on my living room floor last Tuesday, wrapped in a literal blanket, staring at the gap under my front door and wondering why my heater was working overtime for absolutely nothing. It’s that specific, annoying kind of draft that follows you around the room like a ghost, making your space feel less like a sanctuary and more like a wind tunnel. Most people think you need to call a contractor or swap out the entire door frame to fix this, but that is honestly such a waste of money. The truth is, weatherstripping a door is one of those tiny, low-effort systems that completely changes the vibe of your home once you actually get it done right.
I’m not going to give you a lecture on thermal dynamics or suggest you buy a professional toolkit you’ll never use again. Instead, I’m breaking down the exact, unpolished steps I used to stop the draft and finally get my utility bill under control. We’re going to talk about which foam actually sticks, how to measure without losing your mind, and how to make sure the seal is actually airtight. Let’s just get this fixed so you can stop shivering and start actually enjoying your space.
Table of Contents
Guide Overview
Tools & Supplies
- Measuring tape for sizing the door perimeter
- Scissors or utility knife for trimming material
- Screwdriver for installing door sweeps or hardware
- Cleaning cloth and mild detergent to prep surfaces
- Weatherstripping roll or strips (adhesive or tension type)
- Door sweep (if gaps exist at the bottom)
- Caulking (optional for gaps around the door frame)
Step-by-Step Instructions
- 1. First, you need to figure out what you’re actually dealing with. Grab a flashlight and a piece of paper, and on a windy day, hold the paper near the edges of the door to see where it flutters. This helps you identify the exact gaps that are letting the air in. You might find it’s the sides, the top, or even that annoying space at the very bottom where the door meets the threshold.
- 2. Once you know where the leaks are, it’s time to clean the surface. This is the part everyone skips, but if you don’t do it, your new weatherstripping is going to peel off in a week. Take some rubbing alcohol and a microfiber cloth and wipe down the door frame where the seal will sit. You want it to be completely free of dust and old adhesive residue so the new stuff actually sticks.
- 3. Now, pick your weapon. If you have large, visible gaps, go with the adhesive foam strips or the rubber D-profile seals. If you’re just dealing with that gap at the bottom of the door, you’ll want a door sweep. I usually keep a few different types in my junk drawer just in case, so check your gaps before you head to the hardware store to avoid a second trip.
- 4. If you’re using the adhesive foam strips, start at the top of the door frame and work your way down. Peel the backing off just a little bit at a time—don’t pull the whole thing off at once or it’ll get tangled and useless. Press it firmly into the frame, making sure it’s straight. If you mess up, just peel it back slowly and try again; it’s not a permanent mistake.
- 5. For the bottom of the door, installing a sweep is a total game-changer. Most of them just screw directly into the bottom of the door, which is super straightforward. Just hold it up, mark the screw holes with a pencil, and drill small pilot holes first so you don’t split the wood. Then, screw it in tight. If you’re renting and can’t drill, look for the slide-on versions that just grip the bottom of the door.
- 6. The final step is the “light test.” Close the door and look at the edges from the inside. If you see any slivers of light peeking through, you’ve still got a leak. You might need to add a second layer of foam or reposition the strip to ensure a tight seal. Once it’s dark in there, you’re officially done and can finally stop shivering in your own living room.
Understanding Weatherstripping a Door
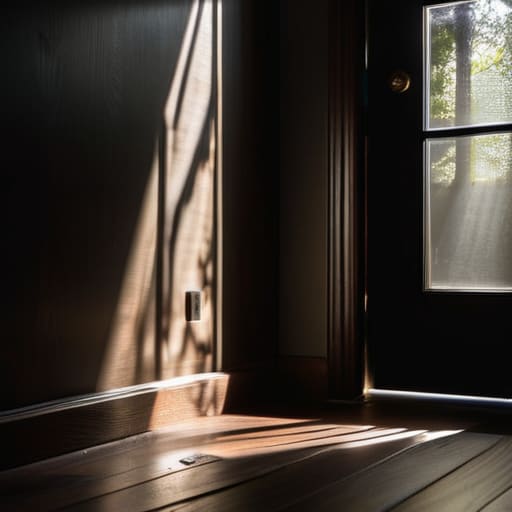
Before you start sticking things to your door, you need to figure out where the actual damage is happening. Most people think a draft is just coming from the sides, but it’s often a bottom-up problem. You’re basically looking for the “weak links” in your entryway. If you can see light peeking through the edges when the door is closed, that’s your signal that your current seal is shot. It’s not just about comfort, though; it’s about reducing heating and cooling loss so you aren’t essentially paying to heat the sidewalk.
The trick is matching the right fix to the right gap. There are various types of weatherstripping materials out there—everything from foam tape and V-strip to heavy-duty rubber—and using the wrong one is a waste of your Saturday. For the sides and top, a flexible adhesive strip usually does the trick, but for that gap at the floor, you’ll likely need a more robust solution. If the gap is huge, don’t bother with thin tape; you’ll want to look into a proper door sweep installation to actually create a solid barrier.
Key Things to Know
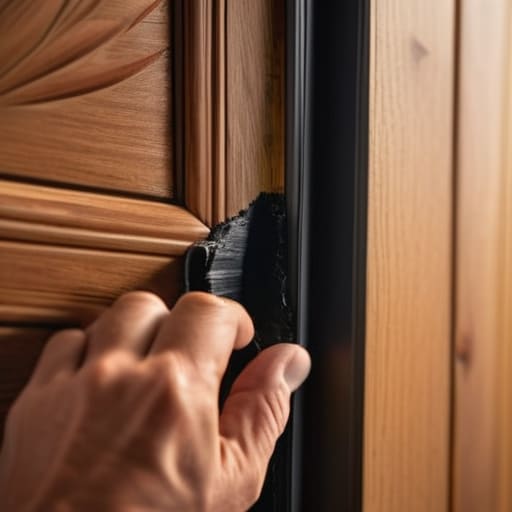
Before you dive in, you need to realize that not all seals are created equal. If you just grab the first roll of foam you see at the hardware store, you might end up with a door that’s harder to close or looks totally janky. There are various types of weatherstripping materials out there—like silicone, rubber, or even foam—and the “best” one really depends on where the air is actually escaping. For instance, if you’re seeing light peeking through the sides, you want something flexible that compresses well. But if the gap is at the very bottom, you’re looking at a different beast entirely.
Don’t forget the floor. A lot of people focus so much on the frame that they completely ignore the gap between the door and the threshold. A proper door bottom seal installation is usually the MVP when it comes to reducing heating and cooling loss in a room. If you notice a literal breeze hitting your ankles, a simple door sweep is going to be your best friend. It’s a small tweak, but it makes a massive difference in how much your HVAC system has to work to keep you comfortable.
Pro-tips to keep you from doing this twice
- Don’t skip the cleaning step. If you just slap new foam over a layer of old dust and grime, it’s not going to stick, and you’ll be back here re-doing the whole thing in two weeks. Wipe the frame down with some rubbing alcohol first so it’s actually clean.
- Test the “light leak” before you commit. Turn off the lights in your hallway and have someone stand on the other side of the door with a flashlight. Wherever you see light peeking through is exactly where your draft is coming from—that’s your roadmap.
- Avoid the “over-stuffing” trap. It’s tempting to use the thickest, fluffiest stripping you can find, but if you compress it too much, the door won’t actually latch properly. You want a snug seal, not a struggle every time you try to get inside.
- Check your door sweep too. People often obsess over the sides of the door but completely ignore the gap at the bottom. If there’s a visible canyon between your door and the floor, all that side weatherstripping is basically useless.
- Buy a little more than you think you need. There is nothing more frustrating than being 90% done with a project only to realize you’re two inches short because of a weird corner or a measurement error. Just grab an extra roll.
The TL;DR on keeping the drafts out
Don’t overcomplicate the shopping trip; just identify if you need adhesive foam, V-strip, or a door sweep before you head to the hardware store so you aren’t wandering the aisles aimlessly.
Prep is everything—if you don’t clean that door frame with rubbing alcohol first, your new weatherstripping is going to peel off in a week and you’ll be right back where you started.
You don’t need to be a pro to do this, but do take your time with the alignment; if the seal is uneven, you’re basically just leaving money on the table.
The Bottom Line
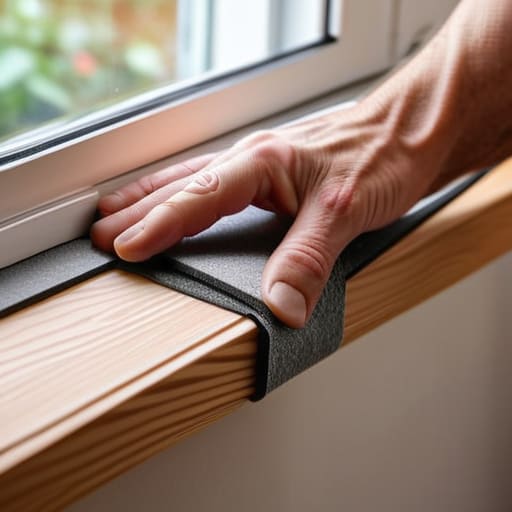
At the end of the day, weatherstripping isn’t some complex home renovation project that requires a massive budget or a specialized crew. It’s really just about taking thirty minutes to clean your surfaces, measure your gaps accurately, and applying the right adhesive foam or V-strip to the frame. Once you’ve actually done the work, you’ll notice the difference immediately—the weird whistling sounds stop, the temperature stays consistent, and you aren’t basically throwing money out the window every time the AC kicks on. It’s one of those small, high-impact wins that makes your living space feel significantly more controlled and comfortable.
I know that looking at a pile of hardware store supplies can feel a little overwhelming when you just want to relax, but I promise you can handle this. Adulthood is really just a series of these tiny, manageable systems that prevent bigger headaches down the road. Don’t let a drafty door make your home feel like it’s working against you; just grab your multi-tool, get it done, and reclaim your space. Once this is off your to-do list, you’re going to wonder why you didn’t just do it months ago.
Frequently Asked Questions
How do I know if I need the adhesive foam strips or the actual rubber tension seals?
Honestly, it depends on how much effort you want to put in versus how much of a draft you’re actually feeling. If you just want a quick, cheap fix for a gap that isn’t too massive, go with the adhesive foam. It’s super easy to slap on. But if you’re dealing with a door that slams or a gap that feels like a literal canyon, get the rubber tension seals. They last way longer and actually create a real seal.
Can I still close my door properly if I pick a strip that’s a little too thick?
Honestly? It’s a gamble. If the strip is only slightly thicker, you might just feel a bit more resistance when you latch it, which is fine. But if it’s too chunky, you’ll end up fighting the door every single time you walk through, or worse, you’ll put constant pressure on the latch and eventually warp the frame. If you find yourself having to shoulder-check the door to get it shut, the strip is definitely too thick.
Do I need to strip off the old, crusty weatherstripping first, or can I just layer the new stuff right on top?
Definitely strip off the old stuff first. I know it’s a pain and feels like an extra chore, but layering new adhesive over crusty, decaying foam is a recipe for disaster. It won’t bond properly, and you’ll end up with a peeling mess within a week. Take five minutes to peel the old layer off and give the surface a quick wipe with some rubbing alcohol so the new stuff actually stays put.
