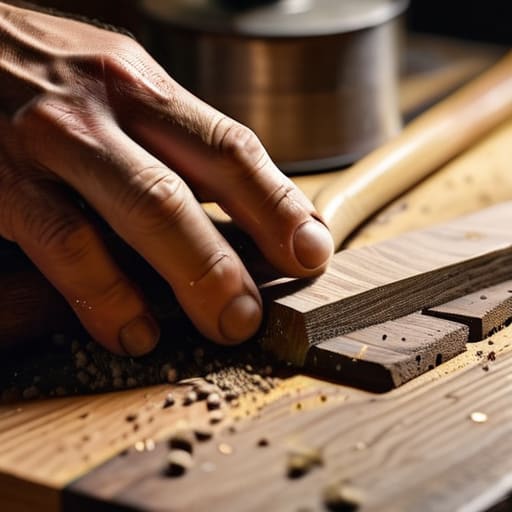
I was halfway through a much-needed iced coffee when my keys slipped, dragging a jagged, ugly white line right across my favorite thrifted mid-century coffee table. My first instinct was to panic and assume I’d just ruined a piece of history, but honestly? That’s exactly why I love learning the actual mechanics of things. Most people will tell you that you need to sand down the entire surface or hire a professional restorer, but if you’re looking for how to fix scratched wood without turning your living room into a construction zone, you don’t need to go that far. Most surface damage is just a temporary setback that can be solved with a few smart systems and the right supplies.
In this guide, I’m stripping away the intimidating jargon to give you a realistic, step-by-step workflow for different types of damage. Whether it’s a light scuff that just needs a little walnut magic or a deeper gouge that requires a bit more elbow grease, I’ll show you how to handle it. No gatekeeping, no expensive specialized tools—just the straightforward methods I use to keep my own furniture looking seamless so you can get back to your life.
Table of Contents
Guide Overview
Tools & Supplies
- Sandpaper (various grits for smoothing)
- Microfiber cloth (for cleaning dust)
- Soft brush (for applying finishes)
- Wood filler or wax sticks (depending on scratch depth)
- Wood stain or touch-up marker (to match color)
- Furniture polish or wax (for final protection)
Step-by-Step Instructions
- 1. First things first, you need to assess the damage to see if we’re dealing with a surface-level nuisance or a full-on structural crisis. Take a damp cloth and wipe down the area to get rid of any dust or oils; if the scratch is just a light scuff, you might be able to buff it out with a bit of walnut or a specialized wood balm. But if you can actually feel the indentation with your fingernail, we’re going to need to move into actual repair mode.
- 2. Grab some fine-grit sandpaper—I usually keep a pack of 220-grit in my toolkit for stuff like this—and start lightly sanding the area around the scratch. The goal here isn’t to sand the whole piece of furniture down, but to smooth out the jagged edges of the wood fibers so the repair material can actually sit flush. Just be careful not to go overboard, or you’ll end up with a divot that’s harder to fix than the original scratch.
- 3. Once the area is smooth and clear of debris, it’s time to fill the gap. If you want to keep it low-effort, a wooden filler stick works wonders, but if you’re looking for a more permanent fix, grab a small tub of wood putty that’s a close match to your furniture’s stain. Use a small putty knife to press the filler into the scratch, making sure you pack it in tight so there aren’t any air pockets hiding underneath.
- 4. Now, here is where most people mess up: they leave the filler too thick. You want to swipe the putty across the scratch so it sits slightly higher than the surrounding wood, because as it dries, it’s naturally going to shrink a little bit. Let it sit for whatever time the packaging suggests—usually a couple of hours—and don’t try to rush this part, or your finish will look wonky.
- 5. Once the filler is completely dry and hard, grab that sandpaper again (go even finer this time, like 320 or 400-grit) and sand the patch until it is perfectly level with the rest of the surface. Run your hand over it; if you can feel a bump or a dip, keep sanding until it feels seamless. You want the transition between the wood and the filler to be practically invisible to the touch.
- 6. If the color looks a little off after sanding, don’t panic—this is totally normal. You can use a furniture touch-up marker or even a tiny bit of wood stain on a Q-tip to blend the repair back into the original color. Just do a test run on a hidden spot, like the underside of the table, to make sure you aren’t making things worse before you commit to the actual scratch.
- 7. Finally, you need to seal the deal so the repair actually lasts. Apply a thin layer of furniture wax or a clear matte finish over the area to protect the new filler and restore the original sheen. This step is what turns a “patch job” into a properly maintained piece of furniture that won’t just peel or flake off in a month.
Understanding How to Fix Scratched Wood
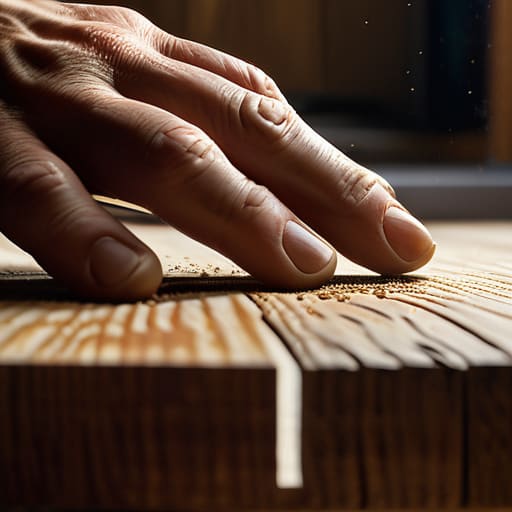
Before you grab your tools, you need to do a quick triage on the damage. Not all scratches are created equal, and treating a light scuff like a deep canyon is a one-way ticket to a ruined finish. I always start by running my fingernail across the area; if it catches, you’re likely looking at something that needs more than just a quick buff. For those shallow, annoying marks that just ruin the visual flow, you can often get away with buffing out surface scratches using a bit of fine-grit sandpaper or even a specialized polishing compound.
If the damage is deeper, that’s when the real strategy comes in. You have to decide if you’re just masking the issue or actually restoring furniture finish to its original glory. For those nasty, structural dents, I usually recommend a solid wood filler application guide approach—don’t just glob it on. You want to work with the grain and keep it level. If you’re dealing with a dark piece and don’t have fancy supplies on hand, I’ve actually found the old walnut trick for wood scratches to be a total lifesaver for a quick, temporary fix.
Key Things to Know
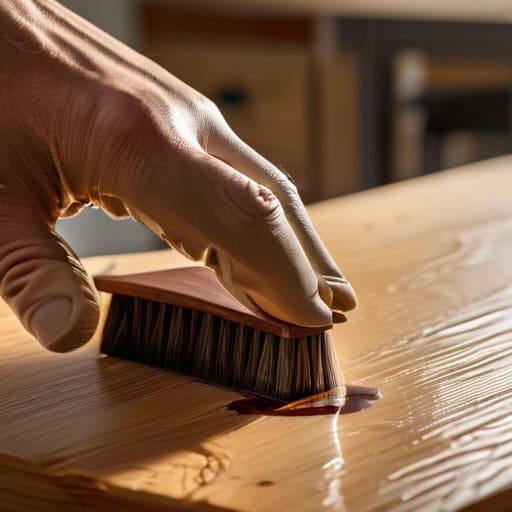
Before you dive into the actual repair, there are a few things I’ve learned the hard way so you don’t have to. First, always do a test run on an inconspicuous spot—like the underside of a table or the back of a chair leg. This is non-negotiable if you’re attempting any wood stain matching techniques, because even if the color looks right in the bottle, it might react totally differently once it hits your specific piece of furniture. You want to make sure you aren’t accidentally making a small eyesore into a permanent disaster.
Also, pay attention to the depth of the damage. There is a massive difference between a light scuff and a structural dent. If you’re just buffing out surface scratches with a bit of wax or a fine-grit sandpaper, you’re golden. But if you’re staring at a canyon in your coffee table, you’re going to need to be much more intentional with your materials. Taking ten minutes to assess the severity now will save you from the frustration of a half-finished job later.
Pro-Tips to Save Your Sanity (and Your Furniture)
- Don’t go full power-tool mode immediately. Always start with the gentlest method possible—like a walnut or a specialized wax stick—before you even think about reaching for the sandpaper. You can always add more material, but you can’t put wood back once you’ve sanded it away.
- Test your color match on a hidden spot first. I know, it’s annoying, but testing a stain or a marker on the underside of a table or inside a cabinet leg is the only way to make sure you don’t accidentally turn your oak table into a mahogany mess.
- Sand with the grain, always. I’ve seen so many people go across the grain and end up with permanent swirl marks that look way worse than the original scratch. Think of it like smoothing out a wrinkle in a shirt; you want to follow the natural lines.
- Keep your workspace clean of dust. If you’re sanding, wipe the area down with a tack cloth or a slightly damp microfiber before applying any finish. If you trap tiny bits of sawdust under your repair, the texture will feel gritty and look uneven under the light.
- Match your finish to your lifestyle. If this is a coffee table that’s going to see constant spills and heavy use, don’t skimp on the sealant. A quick fix looks great for a day, but a solid topcoat is what actually keeps the repair from disappearing the next time you move a coaster.
The TL;DR on Saving Your Furniture
Don’t overthink it—most surface scratches only need a quick fix like a walnut or a wood marker, so don’t reach for the heavy-duty sandpaper unless you absolutely have to.
Match your tools to the depth of the damage; light scratches need color, while deep gouges need actual filler to prevent them from looking like scars.
Always test your solution on a hidden spot first, because the last thing you want is to “fix” a scratch only to realize you’ve accidentally stained the entire tabletop.
The Bottom Line
At the end of the day, fixing scratched wood isn’t about achieving some impossible, factory-perfect finish; it’s about stopping the damage before it gets worse. Whether you ended up using a simple furniture marker for those light surface scuffs or went the full route with sandpaper and stain for a deeper gouge, the goal was the same: restoring the integrity of the piece. Just remember to always test your materials on a hidden spot first and, most importantly, don’t rush the drying process. If you try to skip steps to save time, you’ll likely just end up creating a new mess that requires even more work to clean up later.
I know that staring at a damaged piece of furniture can feel like another thing on your “to-do” list that you just don’t have the energy for, but I promise it’s worth the twenty minutes of effort. There is something genuinely satisfying about taking something that looks broken and making it functional again through a little bit of systemized effort. Don’t let a few scratches make you feel like your home is falling apart or that you need to replace everything you own. You’ve got the tools, you’ve got the method, and now you have the confidence to maintain your space one small repair at a time.
Frequently Asked Questions
What if the scratch is actually a deep gouge that goes all the way through the wood?
Okay, if we’re talking a full-on gouge that’s actually breached the surface, we’ve moved past the “quick fix” stage. You can’t just buff this out. You’re going to need some wood filler—get a high-quality one that matches your finish—and a putty knife. Pack it in, let it dry completely, and then sand it flush. It’s a bit more work, but it’s the only way to actually level it back out.
Can I use these same methods on my vintage thrifted pieces, or will I ruin the original finish?
This is exactly why I keep my multi-tool handy—because vintage pieces are a whole different beast. Honestly? Be careful. If you’re working on a high-value antique with a delicate patina or a lacquer finish, these quick fixes might be too aggressive. For my thrifted finds, I always test a tiny, hidden spot on the underside first. If it reacts weirdly, stop immediately. Don’t let a quick repair turn into a total restoration nightmare.
How do I know if I should just try a quick fix like a furniture marker or if I actually need to sand everything down and start over?
Honestly, it’s all about the depth of the damage. If it’s just a surface-level scuff that catches your fingernail slightly, go for the furniture marker or a wax stick—it’s a five-minute fix. But if you can actually feel a groove or the wood grain is splintering, a marker won’t cut it. That’s when you need to bite the bullet, grab your sandpaper, and actually level things out. Don’t waste time on a band-aid for a deep wound.
