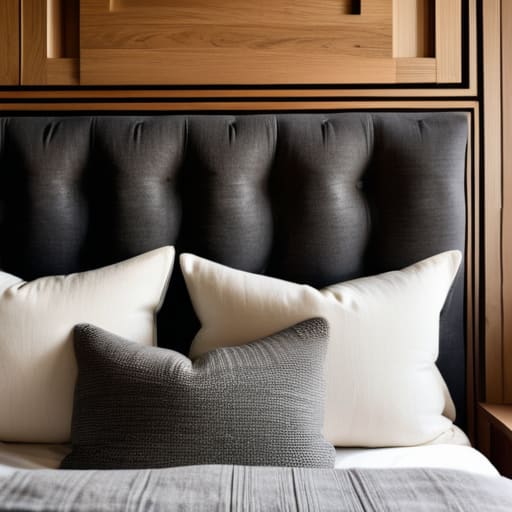
I remember moving into my first “adult” apartment and staring at a completely bare, depressing wall behind my bed. I wanted that cozy, curated bedroom aesthetic I saw on Pinterest, but my bank account was screaming no at the $600 price tags for even basic upholstered pieces. It felt like you either had to settle for a cramped, uninspired space or go into massive debt just to make your bedroom feel finished. That’s when I realized that finding the right diy headboard ideas isn’t just about saving money; it’s about taking control of your environment without needing a professional interior designer on speed dial.
In this post, I’m breaking down five specific ways to upgrade your sleeping space using things you can actually find or build yourself. We’re skipping the gatekept, high-end decor trends and getting straight to the functional, low-stress projects that actually work for real life. Whether you’re a total beginner with zero tools or you’ve got a bit of a DIY streak, these five methods will help you create a custom look that feels completely intentional and fits your specific budget.
Table of Contents
The Scandi-Style Wooden Slat Wall
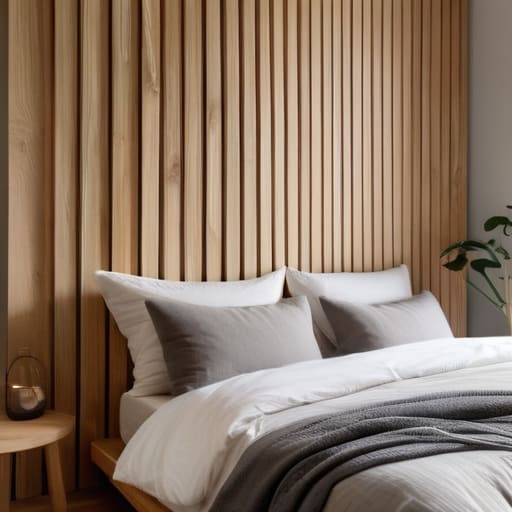
If you want that high-end, minimalist bedroom look without the massive price tag, vertical wood slats are your best friend. I actually tried this in my own studio apartment when I realized my bed was just floating against a blank, depressing wall. You basically just need some slim timber slats, a bit of wood glue, and some finishing nails to create a textured backdrop that looks like it came straight out of a design magazine.
The Thrifted Vintage Frame Hack
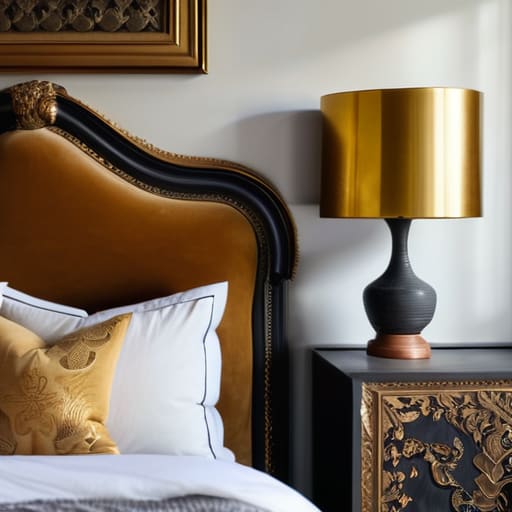
This is my absolute favorite way to use my thrifting habit for something functional. Instead of hunting for a specific headboard, just head to your local charity shop and look for oversized, ornate picture frames. Even if the art inside is hideous or the wood is a little beat up, the structure is what matters. You can sand them down, paint them a moody charcoal, or even leave the gold leaf intact if you’re feeling a bit more maximalist.
The Upholstered Foam Panel System
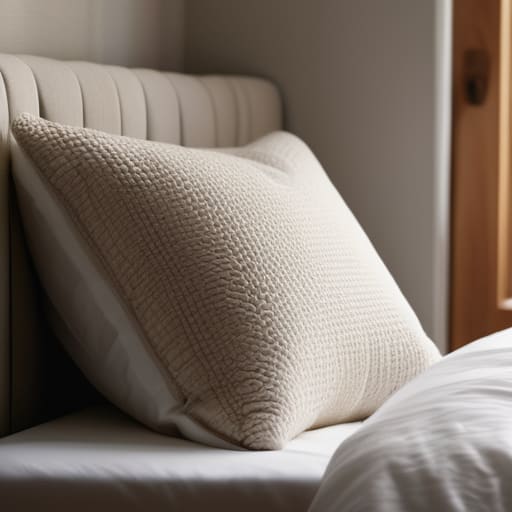
Let’s be real: sometimes you just want a soft place to lean your head when you’re scrolling on your phone at 1 AM. If you aren’t a pro at sewing, don’t even worry about it. You can buy pre-cut upholstery foam panels and wrap them in whatever fabric fits your vibe—I personally love a heavy linen or a textured boucle. It’s a much more forgiving project than trying to build something out of hard materials.
The Industrial Pipe Framework
For anyone who leans more into the industrial or loft aesthetic, black iron piping is a total game changer. It’s incredibly sturdy, and honestly, it’s one of those projects that feels very satisfying because the pieces just screw together. You don’t even need a drill for the assembly part, which is a huge plus if you’re working in a cramped rental where you can’t go wild with power tools.
The Botanical Macramé Backdrop
If you want something that feels a bit more “boho” and less “construction site,” a large-scale macramé hanging is the way to go. This is perfect if you’re someone who wants to add texture to a room without the weight of heavy furniture. You can find beautiful vintage pieces at flea markets, or if you’re feeling crafty, you can knot some cotton cord onto a piece of driftwood.
The Bottom Line
Stop waiting for a “perfect” Pinterest moment and just start with what you have; the best system is the one that actually gets finished.
Prioritize function over fluff—a headboard should be sturdy enough to lean against when you’re reading, not just look good in a photo.
Use the DIY approach to save money for the things that actually matter, rather than overspending on furniture that’s just going to end up in a landfill.
The Bottom Line
At the end of the day, building your own headboard isn’t about achieving some Pinterest-perfect, untouched aesthetic; it’s about making a choice that fits your specific lifestyle and budget. Whether you went the route of a reclaimed wood frame for that rugged, organic feel, or kept it low-maintenance with a simple upholstered panel, you’ve successfully bypassed the massive markup of big-box furniture stores. We’ve looked at how scrap materials, clever textile choices, and even some basic structural DIY can transform a bedroom from a generic sleeping space into something that feels actually intentional. You don’t need a master carpenter’s license to create something that works; you just need a solid plan and the right tools to get the job done.
I know that starting a project like this can feel a little intimidating, especially if you aren’t used to picking up a drill or a staple gun. But honestly? The most important part of any system I build is just getting started. Don’t let the fear of a crooked measurement or a wasted piece of fabric stop you from making your space your own. Your home should be a reflection of your own hands and your own effort, not just a catalog of things you bought because they were convenient. Take it one step at a time, keep your workspace organized, and remember that progress is better than perfection every single time.
Frequently Asked Questions
Do I actually need power tools for these, or can I get away with just a basic screwdriver and some command strips?
Honestly, it depends on which project you’re tackling, but you definitely don’t need a full workshop. If you’re going the lightweight route—like hanging fabric panels or lightweight foam—Command strips are a total lifesaver for renters. But if you’re actually screwing wood into a frame, a basic screwdriver will give you a serious arm workout. If you can swing it, a small cordless drill is the ultimate friction-reducer, but you can absolutely DIY it manually.
How do I make sure my DIY headboard doesn't end up looking like a middle school art project?
The secret is all in the finishing touches. If it looks like a middle school project, it’s usually because the edges are raw or the proportions are off. Don’t skip the sanding, and please, for the love of everything, use a real level. If you’re using fabric, tension is everything—if it’s saggy, it looks cheap. Stick to a tight, intentional color palette and focus on clean lines. If it looks “crafty,” you went too far.
Is it safe to attach these directly to the wall, or should I be looking at a freestanding design so I don't mess up my security deposit?
If you’re renting, please don’t go drilling holes into the drywall just for a headboard. That’s a fast track to losing your security deposit. I’m a big fan of the freestanding approach—think of it as a modular piece that moves with you. If you really want that wall-mounted look, use heavy-duty Command strips or a tension rod system. It gives you the aesthetic without the permanent damage. Keep it non-destructive.
