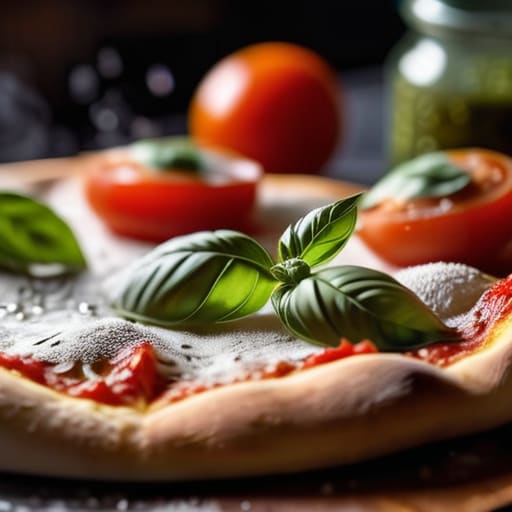
You don’t need a $500 stone oven or a degree in culinary arts to figure out how to make homemade pizza that actually tastes good. I used to think I needed all that specialized gear, but after one disastrous Friday night involving a burnt crust and a mountain of expensive, unused gadgets, I realized the truth: it’s all about the system, not the equipment. Most recipes make it sound like a high-stakes science experiment, but honestly? If you can follow a basic workflow, you can master this.
I’m stripping away the gatekeeping and the intimidating “chef-speak” to give you the actual, unpolished steps to a perfect crust and even better toppings. I’m not here to sell you on a lifestyle; I just want to show you how to integrate this into your week without it feeling like another massive chore on your to-do list. We’re going to focus on low-friction methods and smart prep so you can stop settling for mediocre delivery and start enjoying a reliable, delicious dinner every single time.
Table of Contents
Recipe Details
Ingredients
- 2 cups All-purpose flour
- 1 teaspoon Active dry yeast
- 3/4 cup Warm water
- 1 teaspoon Salt
- 1/2 cup Tomato sauce
- 1.5 cups Shredded mozzarella cheese
- 1/4 cup Fresh basil leaves
Recipe Instructions
Step 1
First, we need to tackle the dough, because if your base is a disaster, nothing else matters. Grab about 3.5 cups of flour, a packet of yeast, some warm water (not hot, or you’ll kill the yeast!), and a pinch of salt. Mix it until it’s a shaggy mess, then knead it on your counter for about ten minutes until it actually feels supple and smooth. If you have the patience, let it rise in a greased bowl for an hour, but if you’re in a rush, just make sure it’s not sticking to your hands like glue.
Step 2
While the dough is doing its thing, let’s prep the sauce so you aren’t scrambling at the last second. Don’t go out and buy a complex, pre-seasoned jar; that’s just extra waste. Just grab a can of crushed tomatoes and stir in some dried oregano, a smashed garlic clove, and a tiny bit of olive oil. The goal is a simple, bright flavor that tastes like actual food, not a science experiment.
Step 3
Now, let’s talk heat. This is where most people mess up. You want your oven screaming hot—turn it up to its highest setting, ideally around 500°F (260°C). If you have a pizza stone, put it in now. If you don’t, don’t sweat it; just use a clean baking sheet. The key is to get that surface preheated so the bottom of your crust gets a decent crunch instead of turning into a soggy cracker.
Step 4
Time to assemble. Grab a piece of parchment paper if you want to keep your counters clean (I always do), stretch your dough out—don’t use a rolling pin if you can help it, your hands are better for keeping the air in the crust—and spread that sauce thin. Add your cheese and toppings, but please don’t overload it. I see people pile on toppings until the crust collapses, and it’s a total mess to eat. Keep it light so the heat can actually reach the dough.
Step 5
Slide that thing into the oven and set a timer for about 10 to 12 minutes. You’re looking for the cheese to be bubbly and the edges of the crust to have those golden-brown charred spots. Once it looks right, pull it out, let it sit for just a minute so the cheese sets, and then slice it up. You just made a legit pizza without needing a degree in culinary arts.
Understanding How to Make Homemade Pizza
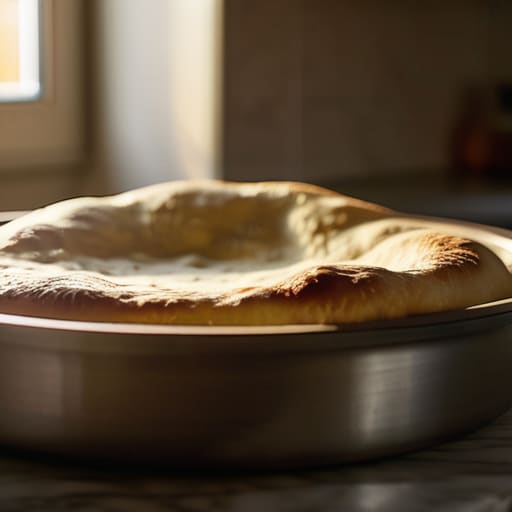
Look, I know it’s tempting to just throw everything in a bowl and hope for the best, but if you want that bakery-quality texture, you have to respect the yeast dough fermentation process. It’s not just about making the dough rise; it’s about developing flavor. If you have the patience, letting your dough sit in the fridge overnight (cold fermentation) is a total game-changer. It makes the crust more digestible and gives it that slightly tangy, professional profile that you usually only get from a high-end pizzeria.
When it comes to the actual bake, most people struggle because their home oven isn’t a wood-fired brick kiln. To combat this, I rely on a few crispy pizza crust tips: use a preheated pizza stone or even a heavy baking sheet, and crank your oven as high as it will go. Heat is your best friend here. Also, don’t go overboard with the moisture. If you’re using fresh mozzarella, pat it dry first. There’s nothing worse than a soggy center ruining a perfectly good slice.
Key Things to Know
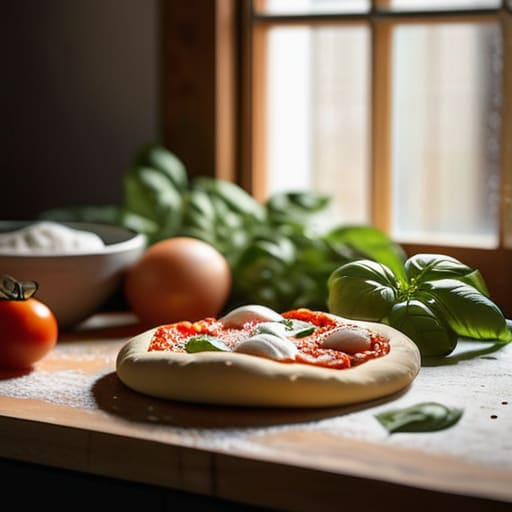
One thing I’ve learned from trial and error is that the secret isn’t in a fancy stone; it’s in the patience you give the dough. If you’re rushing the yeast dough fermentation process, you’re going to end up with a heavy, dense slab instead of something airy. I usually let mine sit in the fridge overnight—it’s a low-effort system that develops way more flavor than a quick rise. Also, don’t be afraid to experiment with your homemade pizza toppings ideas. I love a classic Margherita, but once you master the base, you can throw literally anything on there.
If you’re struggling with texture, most of the issues come down to heat and moisture. For those looking for crispy pizza crust tips, make sure your oven is as hot as it can possibly go before you even think about sliding the tray in. You want that intense, immediate heat to set the structure. Also, try not to overload the center with sauce; a heavy hand with the moisture is the fastest way to get a soggy middle. Just keep it light and balanced.
Small Tweaks for Maximum Pizza Efficiency
- Don’t skimp on the heat. If you aren’t preheating your stone or steel for at least 45 minutes, you’re basically just making warm bread. You want that oven screaming hot so the crust gets that instant structure.
- Stop using fresh mozzarella straight from the tub. It’s a moisture bomb that will turn your pizza into a soup. Slice it and let it drain on a paper towel for a bit before it even touches the dough.
- Less is always more with your toppings. I know it’s tempting to load it up, but too much stuff weighs down the dough and prevents it from crisping up. Keep it light so the crust can actually do its job.
- Give your dough some breathing room. If you try to stretch a cold ball of dough, it’s going to snap back like a rubber band and drive you crazy. Let it sit at room temperature for an hour so it actually behaves.
- Use way more flour than you think you need on your work surface. If the dough sticks to the counter even a little bit, the whole system breaks down and you end up with a torn mess. Keep it moving and keep it dry.
The Bottom Line
Don’t let the “perfect” dough intimidate you; as long as it’s hydrated and given enough time to rest, it’s going to work.
High heat is your best friend here—treat your oven like a tool, not an appliance, and get it as hot as it can go before the dough even touches the pan.
Keep your toppings intentional rather than excessive so you aren’t fighting a soggy, heavy mess halfway through the bake.
The Final Slice

At the end of the day, making great pizza isn’t about having a professional-grade stone oven or sourcing flour from a specific village in Italy. It’s really just about managing the variables you can control: getting your dough to rise properly, making sure your oven is screaming hot, and not overthinking your toppings. If you remember to let the dough rest and you don’t overload it with wet ingredients, you’ve already won half the battle. It’s a simple system of heat and hydration that works every single time, provided you trust the process and don’t let the technicalities paralyze you.
I know that sometimes the idea of “cooking from scratch” feels like another massive task on an already overflowing to-do list, but I promise it’s worth the extra twenty minutes of prep. There is something incredibly grounding about taking raw ingredients and turning them into something delicious with your own hands. Don’t sweat it if your first crust isn’t a perfect circle or if the bottom gets a little too charred; that’s just part of the learning curve. The goal isn’t perfection, it’s about reducing the friction of a busy week by mastering a skill that actually feeds your soul. Now, grab a slice and enjoy the payoff.
Frequently Asked Questions
Can I use store-bought dough if I’m totally short on time, or will it ruin the vibe?
Honestly? Use the store-bought dough. If the goal is to reduce friction and actually eat dinner instead of spending three hours wrestling with yeast, the pre-made stuff is a total win. It won’t “ruin the vibe”—it just changes the workflow. Just make sure you let it sit at room temperature for a bit before stretching it, otherwise, it’ll fight you. Life is too short to stress over dough when you’re hungry.
How do I stop my crust from turning out like a soggy, sad cracker?
The “soggy middle” is usually a heat or moisture issue. First, crank your oven as high as it goes—we need that instant sear. Second, stop overloading the center with heavy toppings; if you pile on too much sauce or cheese, the dough just steams instead of baking. Lastly, if you’re using fresh mozzarella, pat it dry with a paper towel first. Getting rid of that extra water is a total game-changer.
Do I really need a pizza stone, or can I just use a regular baking sheet?
Honestly? You don’t need a pizza stone. I used to think they were essential, but they’re just another thing to store in a crowded kitchen. A standard baking sheet works totally fine—just flip it upside down so the dough sits on a flatter surface. If you want that extra crisp, preheat the sheet in the oven first. It’s not quite as professional, but it gets the job done without the extra clutter.
