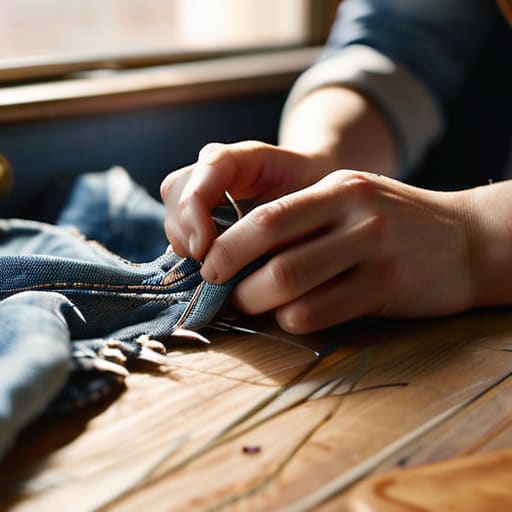
I was standing in front of my closet last Tuesday, staring at my favorite pair of vintage denim, feeling that familiar pang of defeat because of a tiny fray near the pocket. My first instinct was to toss them in the “donate” pile, which is honestly just a polite way of saying the landfill. We’ve been conditioned to think that a loose thread or a small hole means a garment is officially dead, but that is such a waste of money and energy. Learning how to mend clothes isn’t about becoming a master seamstress or starting a cottagecore hobby; it’s about realizing that most “ruined” items just need a five-minute fix to stay in rotation.
I’m not here to give you a lecture on sustainable fashion or teach you complex embroidery patterns that take ten hours to finish. Instead, I want to show you the low-effort systems I use to keep my wardrobe functional without the stress. We’re going to cover the actual, unpolished ways to tackle common issues—like sewing on a button or patching a hole—so you can stop treating every minor tear like a total wardrobe crisis.
Table of Contents
Guide Overview
Tools & Supplies
- Hand sewing needles of various sizes for different fabric weights
- Fabric scissors for clean, precise cuts
- Seam ripper to carefully remove old, damaged threads
- All-purpose sewing thread in various colors
- Assorted fabric patches for covering holes
- Thimble to protect fingers during heavy stitching
Step-by-Step Instructions
- 1. First, you need to stop and assess the damage. Not every rip needs a full-blown sewing project; some just need a quick fix. Grab a piece of chalk or a washable marker and trace the edges of the hole or the loose seam. This helps you see exactly how much fabric you’re working with and prevents you from accidentally sewing the garment shut in a way that looks totally accidental.
- 2. Gather your kit, but don’t go overboard. You don’t need a professional tailor’s studio—just a decent needle, some thread that actually matches the color of your clothes (seriously, don’t use black thread on navy blue), and a pair of sharp scissors. I always keep a small emergency sewing kit in my desk drawer so I don’t have to hunt through junk drawers when I’m in the middle of a project.
- 3. If you’re dealing with a small hole or a snag, you’ll want to use a “running stitch.” Thread your needle, knot the end, and start about a quarter-inch away from the actual tear. Work your way along the edge of the hole in small, even increments. The goal here is to pull the edges together without puckering the fabric, because a puckered seam is just as ugly as the hole itself.
- 4. For larger holes or areas where the fabric is actually thinning out, you’re going to need a patch. You can use a scrap of fabric from an old t-shirt or even a decorative patch if you want to lean into the “repaired” look. Place the patch underneath the hole, pin it in place so it doesn’t shift, and then sew around the perimeter of the hole to secure it to the patch. This creates a structural reinforcement that actually lasts.
- 5. If you’re dealing with a fallen hem—which happens to me way more often than I’d like to admit—you’ll want to use a “blind stitch.” Fold the hem up to the desired length, pin it, and then take tiny, diagonal stitches that barely catch the main body of the garment. If you do it right, the thread will be almost invisible from the outside, making the repair look completely seamless.
- 6. Once you’ve finished your stitching, don’t just toss the item back in the laundry immediately. Take a second to pull the threads taut and trim any long, loose ends with your scissors. I like to give the repaired area a light steam with an iron to set the stitches and help the fabric lay flat again. It makes the whole thing look much more intentional and less like a “quick fix.
Ditch the Panic a Realistic System for How to Mend Clothes
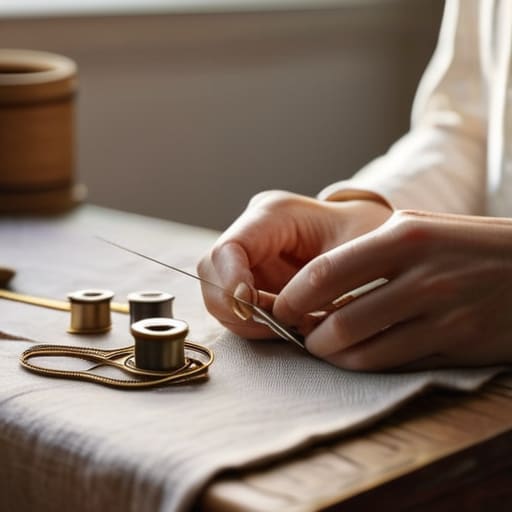
The biggest mistake I see people make is waiting until a garment is literally falling apart before they even look for a needle. By then, the hole is huge, the fabric is frayed, and you’re stressed. Instead, I treat mending like a routine maintenance check. I keep a small, curated set of sewing kit essentials—just the basics like quality thread, sharp snips, and a few different needle sizes—in a specific spot in my desk. If I notice a loose thread or a tiny snag while I’m getting dressed, I fix it right then. It takes thirty seconds, and it prevents a minor annoyance from becoming a reason to toss a favorite shirt.
If you’re dealing with something more visible, don’t feel like you have to hide the damage perfectly. I’ve actually started leaning into embroidery for clothing repair when a patch isn’t an option. Instead of stressing over perfect invisible mending techniques, just turn the flaw into a design choice. A little bit of colorful stitching can make a repaired spot look intentional rather than accidental. The goal isn’t perfection; it’s just making sure your clothes actually stay in your rotation.
From Darning Socks to Patching Denim Holes Without the Stress
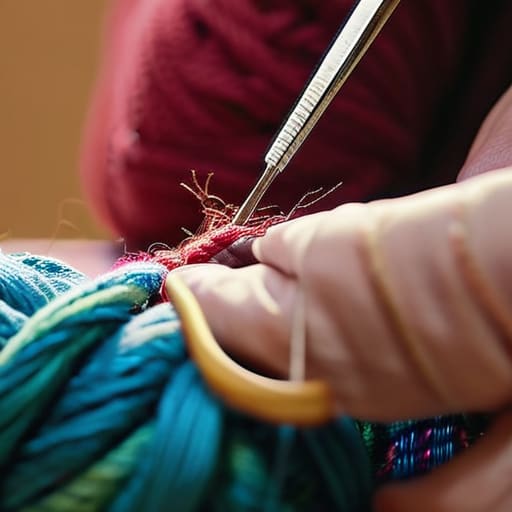
If you’re staring at a pair of holy socks or a blowout in your favorite jeans, don’t assume they’re destined for the rag bin. For the smaller stuff, like those annoying holes in knitwear, I swear by a simple darning socks tutorial approach rather than trying to “patch” them with a scrap of fabric. You basically weave new thread through the existing holes to create a structural web. It’s not about making the hole disappear; it’s about reinforcing the area so it actually holds up under tension.
When it comes to heavier fabrics, like when you’re patching denim holes, I’ve learned that trying to be perfect is the fastest way to quit. If you aren’t feeling confident with invisible mending techniques, lean into the aesthetic. Use a contrasting thread or a cool vintage scrap to turn the repair into a feature. Honestly, adding a little bit of unplanned embroidery for clothing repair makes the piece feel more intentional and custom rather than just “broken.” It’s less about hiding the damage and more about integrating the fix into the life of the garment.
My low-effort toolkit for actually staying ahead of the damage
- Stop waiting for a catastrophe: Keep a small “repair kit” in a dedicated bin so you aren’t hunting for a single needle when you’re already frustrated.
- Invest in decent thread, not the cheap stuff: High-quality polyester thread won’t snap mid-stitch, which saves you from having to rip out your entire handiwork and start over.
- Learn the “invisible” basics first: Master a simple running stitch and a backstitch; these two are the workhorses that can fix about 80% of common wardrobe malfunctions.
- Use scraps as a resource: Instead of buying expensive patches, save small pieces of fabric from old t-shirts or scraps from DIY projects to use for internal patching.
- Don’t aim for perfection: If a patch is slightly crooked or the thread color is a near-match instead of a perfect match, just leave it—the goal is a functional garment, not a museum piece.
The TL;DR on keeping your wardrobe alive
Stop waiting for a “disaster” to act; catching a loose thread or a tiny fray early is the difference between a five-minute fix and a lost favorite shirt.
You don’t need a professional sewing studio to get this done—a basic kit with the right needles and thread is enough to handle 90% of your daily wardrobe mishaps.
View mending as a way to save money and reduce waste, not as a tedious chore; it’s just one more small system to keep your life (and your closet) running smoothly.
The bottom line
At the end of the day, mending isn’t about becoming a master tailor or spending your entire weekend hunched over a sewing machine. It’s just about having a functional toolkit and the willingness to spend ten minutes on a loose hem instead of letting it unravel in the wash. Whether you’re darning a hole in your favorite thick socks or just reinforcing a seam on a denim jacket, the goal is to build a habit that stops the cycle of mindless replacement. Once you have these basic systems down, you’ll realize that most “ruined” clothes are actually just a quick fix away from being back in your rotation.
I know it can feel a little intimidating to take a needle to something you actually love, but I promise it gets easier. There is a weirdly satisfying sense of agency that comes from fixing something yourself rather than just tossing it in the donation bin because it felt “broken.” Mending is a small, quiet way to reclaim your time and your money from a culture that wants us to keep buying more. Stop viewing a tear as a reason to quit; start seeing it as a chance to make your wardrobe last a little bit longer. You’ve got this.
Frequently Asked Questions
Do I actually need a sewing machine for this, or can I really get away with just a basic needle and thread?
Honestly? You absolutely do not need a sewing machine. I know the big craft stores make it feel like you need a whole studio setup, but for 90% of the stuff that actually breaks, a needle and thread are plenty. A basic hand-sewing kit is way more efficient for quick fixes like loose buttons or small tears. Save your desk space (and your money) for now—just master the hand stitches first.
How do I make a patch look intentional and cute instead of just looking like a messy bandage?
The secret is to stop trying to hide the repair and start making it a design choice. If you’re patching denim, don’t just slap a scrap of fabric on there; use a contrasting color or a cool vintage print that actually looks like it belongs. I love using Sashiko stitching—it’s that Japanese style of running simple, geometric lines through the patch. It turns a “fix” into a deliberate, textured detail that looks high-end, not accidental.
What kind of thread should I actually keep in my kit so I'm not hunting through junk drawers every time something rips?
Look, don’t go buying those massive, expensive sewing kits with fifty colors you’ll never touch. It’s just clutter. To keep things efficient, I keep a small organizer with just the essentials: all-purpose polyester thread in black, white, navy, and grey. If you’re into denim, grab one spool of heavy-duty gold or ochre. Honestly, if you have those five, you can fix about 90% of the random rips that pop up in your week.
