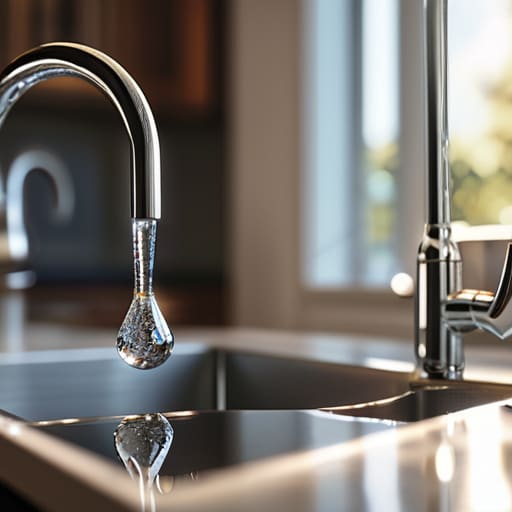
It was 2:00 AM, and that rhythmic, maddening drip… drip… drip… from my kitchen sink was doing more damage to my mental health than it was to my water bill. I sat there in the dark, staring at the faucet, fully convinced I was going to have to call an emergency plumber and drop a week’s worth of freelance earnings just to stop the noise. But here’s the thing: most people make DIY repairs feel like a high-stakes crisis, when really, learning how to fix a leaky faucet is just a matter of having the right tools and a solid sequence to follow.
I’m not going to give you a lecture filled with complex plumbing jargon or tell you that you need a professional-grade workshop to get this done. Instead, I’m stripping away the gatekeeping and giving you the actual, unpolished steps to handle this yourself. We’re going to walk through exactly what you need to grab from the hardware store, how to avoid making a massive mess under your sink, and how to finally get some peace and quiet. Let’s get into it.
Table of Contents
Guide Overview
Tools & Supplies
- Adjustable wrench for loosening nuts
- Screwdriver (Phillips or Flathead) for removing handles
- Allen wrench for removing set screws
- Replacement washers or O-rings (1 set)
- Plumber's grease (1 small tube)
Step-by-Step Instructions
- 1. First things first: shut off the water. You don’t want to end up with a miniature indoor waterfall halfway through this. Look under the sink for the shut-off valves (they usually look like small knobs) and turn them clockwise until they stop. Once you’ve done that, turn the faucet on to drain any leftover water in the pipes. Trust me, you’ll thank me later.
- 2. Clear some space and grab your gear. You don’t need a professional workshop, but you will need an adjustable wrench, a screwdriver (probably both Phillips and flathead), and maybe some needle-nose pliers. I always keep my multi-tool handy for this, but a standard toolkit works just fine. Lay a towel down in the sink so you don’t scratch the porcelain or lose any tiny screws down the drain.
- 3. Now, we have to get to the guts of the faucet. Most faucets have a decorative cap on top of the handle that hides a screw. Use your flathead screwdriver to gently pry that cap off. Once it’s off, unscrew the handle and lift it straight up. If it feels stuck because of mineral buildup, give it a little wiggle, but don’t force it so hard that you snap the hardware.
- 4. Once the handle is out of the way, you’ll see the cartridge or the stem. This is usually where the magic (or the mess) happens. Use your wrench to unscrew the packing nut. If you have a cartridge-style faucet, you’ll be able to pull the whole cartridge straight out. Pro tip: Take a photo of how everything looks before you pull it apart. I do this every single time because I always forget which way the little rubber bits face.
- 5. Inspect the “why” of the leak. Usually, it’s just a worn-out O-ring or a degraded washer. These are tiny rubber loops that eventually crack or flatten out. If you see something that looks shredded or feels slimy, that’s your culprit. Take the old part with you to the hardware store. Don’t try to guess the size—matching the part exactly is the difference between a fix and a second trip to the store.
- 6. Swap out the old parts for the new ones. Drop the new washer or cartridge into place, making sure it sits perfectly flush in the housing. If it’s crooked, the leak will just come right back. Reassemble everything in the exact reverse order you took it apart: screw the nut back on, replace the handle, and pop that decorative cap back on top.
- 7. The moment of truth: turn the water back on. Go under the sink and slowly turn the shut-off valves counter-clockwise. Turn the faucet on to let the air out of the lines, then turn it off and watch for drips. If it’s bone dry, you just officially leveled up your adulthood. If it still drips, you might need a slightly different size washer, but don’t stress—it’s just a process of elimination.
Understanding How to Fix a Leaky Faucet
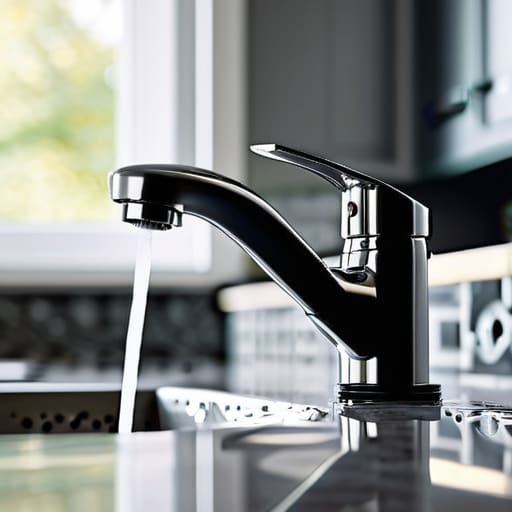
Before you actually dive into the hardware, you need to understand what’s actually going on under the hood. Most leaks aren’t some mysterious plumbing curse; they usually boil down to a single worn-out component that’s lost its seal. If you have a traditional handle style, you’ll likely just need to replace faucet washer to stop the annoyance. However, if you’re dealing with a more modern single-handle setup, the issue is almost certainly a faulty cartridge. Knowing which one you have before you head to the hardware store will save you three extra trips and a lot of unnecessary frustration.
I also highly recommend laying out your plumbing tools for faucet repair on a towel before you even touch the handle. I’m talking an adjustable wrench, a screwdriver, and maybe some needle-nose pliers. Having everything in one spot prevents that frantic “where did I put the hex key?” moment halfway through the job. Trust me, once you realize it’s just a matter of swapping a tiny piece of rubber or plastic, the whole process feels way less intimidating and much more like a standard weekend reset.
Key Things to Know
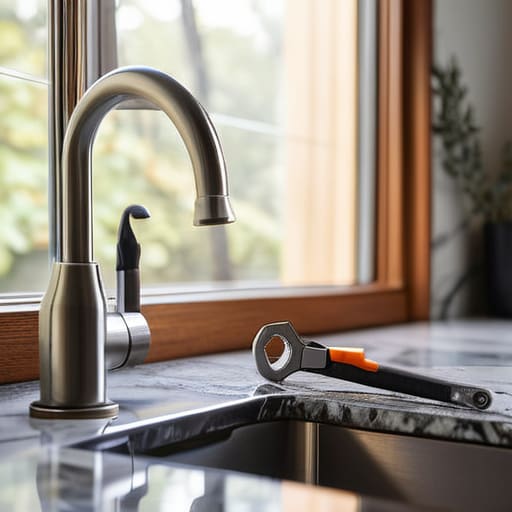
Before you dive in, there are a few things I’ve learned from my dad that’ll save you a massive headache. First, don’t just wing it with whatever random kitchen utensils you have lying around. You really need a decent set of plumbing tools for faucet repair—specifically an adjustable wrench and some needle-nose pliers—to avoid stripping the screws or scratching the finish. Also, always, always double-check that the water supply is fully shut off before you start taking things apart. There is nothing quite as humbling as accidentally turning your kitchen into a small indoor pool because you thought the valve was closed.
Another thing to keep in mind is that not all leaks are created equal. If you have a single-handle setup, you’re likely looking at cartridge faucet replacement steps rather than just swapping out a tiny rubber ring. If it’s an older, two-handle style, you’ll probably just need to replace faucet washer components to stop the drip. Identifying which type of faucet you actually have before you head to the hardware store is the ultimate pro move to avoid unnecessary trips.
Pro-tips to keep the plumbing gods happy
- Shut off the water before you even touch a tool. I know, it sounds obvious, but there is nothing more stressful than starting a repair only to have your kitchen turn into a mini indoor pool because you forgot to hit the valve under the sink.
- Invest in a decent set of Allen keys and a multi-tool. Since I grew up around my dad’s toolkit, I learned that half the battle is just having the right size bit so you don’t strip the screw and turn a ten-minute fix into a three-hour nightmare.
- Take photos of every single step as you take the faucet apart. When you’re staring at a pile of washers, O-rings, and tiny metal bits, your brain will naturally freeze. Having a photo on your phone to reference is a literal lifesaver.
- Don’t just buy “a washer”—bring the old, crusty one to the hardware store with you. There are way too many variations in size, and trying to guess which one fits based on a description is a recipe for a second trip to the store.
- Clean the internal parts while they’re out. If you’re going through the effort of a teardown, use a little old toothbrush to scrub away any mineral buildup or grit. It ensures everything seats perfectly when you put it back together.
The TL;DR for your sink
Don’t let a drip turn into a plumbing emergency; most leaks are just a worn-out washer or O-ring that you can replace yourself for a few bucks.
Preparation is everything—grab your multi-tool or a wrench and shut off the water valves before you even touch the faucet to avoid a literal flood.
Stop overthinking the mechanics; once you identify whether it’s a compression or cartridge faucet, you’re just following a simple replacement system.
The Finish Line
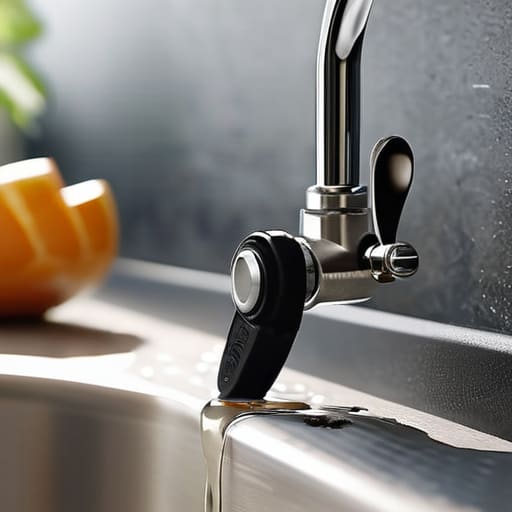
At the end of the day, fixing that drip really just comes down to a few fundamental steps: identifying your faucet type, getting the right tools (seriously, don’t try to wing it with kitchen tongs), and being patient while you swap out those worn-out washers or cartridges. It’s easy to feel overwhelmed when you see water pooling around the sink, but once you break it down into a logical sequence, it’s just a series of small, manageable tasks. You’ve gone from staring at a problem to actually implementing a solution, and that’s the biggest hurdle. Just remember to double-check your seals before you turn the water back on so you don’t end up with a whole new mess on your hands.
If you’re feeling a little shaky about having done this yourself, give yourself some credit. Most people would have just called a plumber and paid a massive service fee, but you decided to take ownership of your space instead. Adulthood is often just a collection of these tiny victories—learning how to maintain your own things so they don’t control you. Every time you fix something instead of letting it break further, you’re building a more resilient, efficient life. So, wipe down the sink, put your tools back in your kit, and enjoy the sound of a quiet, drip-free kitchen. You earned it.
Frequently Asked Questions
Do I really need to buy a whole new faucet, or can I just replace the internal parts?
Honestly, don’t go out and drop a hundred bucks on a new faucet just yet. In most cases, you definitely don’t need to replace the whole unit. Usually, it’s just a worn-out washer, an O-ring, or a faulty cartridge that’s causing the drama. It’s way cheaper to grab a small repair kit from the hardware store and swap out those internal parts. Save your money for something better—just fix the system that’s broken.
How do I know exactly which washer or cartridge size I need to look for at the hardware store?
This is where most people lose their cool, but don’t let the hardware store aisles intimidate you. My rule of thumb? Never guess. Once you’ve taken the old part out, put it in a Ziploc bag and take it with you. Seriously. Most employees can match it visually, or you can use the model number on your faucet. If you’re stuck, snap a clear photo of the part and the faucet itself—it’s a lifesaver.
Is it safe to do this myself if I don't have a full toolkit, or am I going to end up making a bigger mess?
Look, I get the anxiety—nobody wants to turn a tiny drip into a kitchen flood. If you have the absolute basics, like a screwdriver and an adjustable wrench, you’re probably fine. But if you’re working with zero tools, stop right there. It’s better to run to the hardware store for a $10 kit than to strip a screw or crack a valve. Don’t wing it; just get the right gear first.