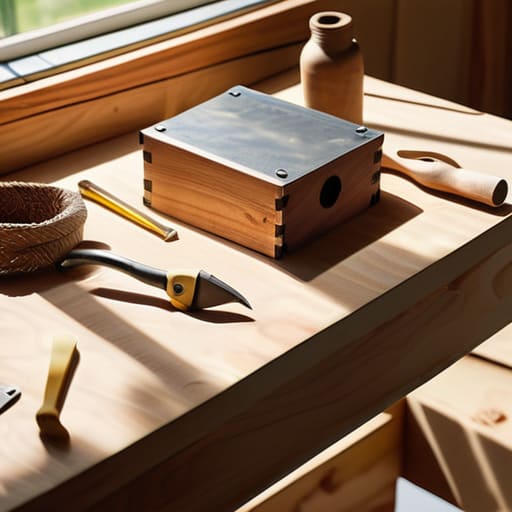
I used to think that starting a DIY hobby meant I needed a garage full of expensive, heavy-duty machinery and a PhD in structural engineering just to make a shelf. Every time I looked at a woodworking tutorial online, it felt like they were gatekeeping the entire process behind a wall of specialized tools and intimidating jargon. But honestly? Adulthood is hard enough without making your hobbies feel like a second job. If you’ve been staring at a pile of scrap wood or a trip to the hardware store feeling completely overwhelmed, you aren’t alone. The truth is, finding the right beginner woodworking projects isn’t about mastering a craft overnight; it’s about building small wins that actually make your space feel more like home.
In this guide, I’m stripping away the fluff and giving you five realistic, low-stress projects that won’t turn your living room into a sawdust disaster zone. We’re skipping the complex joinery and focusing on functional systems—items you can actually use, display, or gift—that teach you the ropes without the massive headache. By the end of this, you’ll have a clear roadmap to go from “I have no idea what I’m doing” to “I actually built this” with confidence.
Table of Contents
The "No-Brainer" Floating Shelf
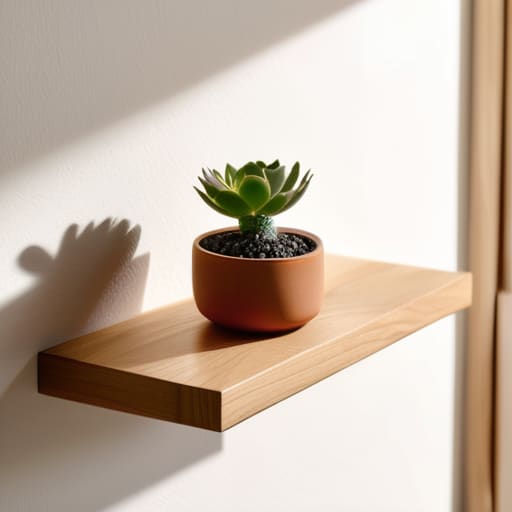
If you want an immediate win without spending a weekend staring at a pile of sawdust, start with a floating shelf. It’s basically just a clean, rectangular block of wood that makes your space look instantly curated. I love this project because it’s all about minimalist aesthetics and requires very little specialized gear—just a saw, some sandpaper, and a drill.
A Simple Desktop Organizer
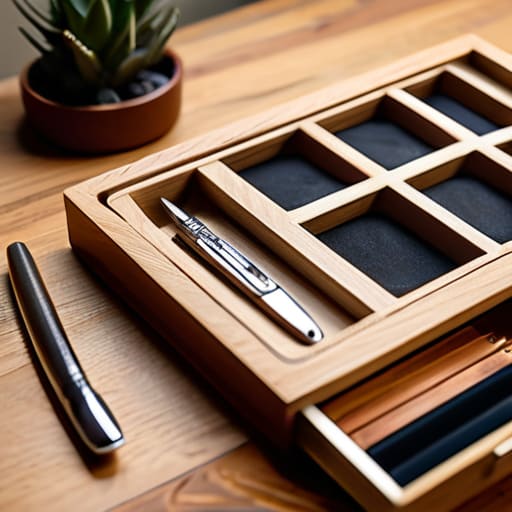
Since I spend most of my life managing digital files and physical notebooks, my desk can get chaotic fast. Building a small, modular desktop organizer is a great way to practice precision cutting without the pressure of building something massive. You’re essentially just creating small compartments to hold your pens, phone, or even those random charging cables that always seem to migrate.
The Minimalist Plant Stand
The Minimalist Plant Stand
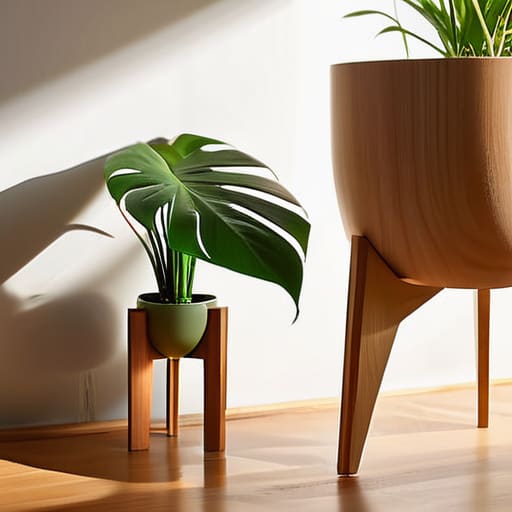
For my fellow plant parents, a simple wooden plant stand is a total game-changer for your interior design. Instead of those clunky plastic pots sitting on the floor, you can build a sleek, tripod-style or geometric stand that elevates your greenery. This project introduces you to the concept of structural balance, which is a fancy way of saying you need to make sure your plant doesn’t face-plant onto the hardwood.
The Rustic Serving Board
If you want a project that actually serves a functional purpose in your kitchen, go for a heavy-duty serving board. My mom always taught me that a good kitchen is built on solid tools, and a handmade charcuterie board is the ultimate “adulting” flex. It’s a great way to practice edge profiling, which is just a technical way of saying you’re smoothing out those sharp corners so they don’t snag your linens.
A Custom Coaster Set
I know, it sounds almost too simple, but a set of four or six coasters is the perfect “entry drug” for woodworking. It’s the ultimate way to test out how different types of wood react to stains and oils without wasting a ton of expensive material. If you mess up a cut, it’s not a tragedy; it’s just a lesson for the next piece.
The Bottom Line
Don’t let the gear intimidate you; you don’t need a professional-grade workshop to start, just a few solid tools and a willingness to make some sawdust.
Focus on small, repeatable wins rather than massive furniture builds so you can actually see your progress without burning out.
Expect things to go sideways—measure twice, cut once, and remember that a “mistake” is usually just an opportunity to pivot your design.
Don't Let the Saw Stop Here
Look, the point of these projects isn’t to end up with a museum-quality heirloom; it’s about building the muscle memory to stop feeling intimidated by a pile of lumber. Whether you’re starting with a simple floating shelf to clear some desk clutter or a basic planter box for your balcony, the goal is the same: master the fundamentals without the burnout. You’ve gone from staring at a hardware store aisle in total confusion to actually having a tangible, functional item in your hands. That shift from “I could never do that” to “I just did that” is where the real magic happens, and it all starts with these small, manageable wins.
My biggest piece of advice as you move forward is to embrace the inevitable messy middle. Your first few cuts might be slightly crooked, and your sanding might take way longer than the YouTube tutorials suggested, but that is literally part of the system. Woodworking is a skill of iteration, not perfection. Don’t get caught in the trap of waiting until you have a professional-grade workshop to start your next build. Just grab your tools, pick a project that actually solves a problem in your space, and keep building. You’ve already done the hardest part by simply starting the process.
Frequently Asked Questions
Do I really need a full workshop to start, or can I actually do this in a tiny apartment with just a few hand tools?
Honestly? You absolutely do not need a dedicated garage or a massive tool chest to start. I’ve done plenty of small restoration projects right on my kitchen table. If you have a decent pair of pliers, a small saw, and a screwdriver, you’re already halfway there. Just grab a sturdy cutting mat to protect your surfaces and maybe a small organizer bin for the screws. Start small, keep it contained, and grow as you go.
How do I figure out which wood is worth buying versus what's just a waste of money for my first few tries?
Look, don’t go dropping a paycheck on exotic hardwoods like walnut or cherry just yet. For your first few projects, stick to the “workhorse” woods: pine, poplar, or cedar. They’re cheap, easy to cut, and—most importantly—forgiving when you inevitably mess up a measurement. Think of it as a low-stakes training ground. Save the expensive stuff for when you’ve actually mastered your tools and aren’t terrified of making a single wrong cut.
What’s the best way to keep my workspace from becoming a total sawdust disaster zone every single time I work?
Honestly, the “clean up after” phase is usually where I lose all my motivation, so I had to build a system for it. My rule? Never let the dust settle. I keep a shop vac plugged in and ready to go right next to my station—don’t wait until you’re done to start cleaning. Also, invest in a decent dust mask and a small handheld blower to clear the nooks and crannies before they become a permanent part of your floor.
