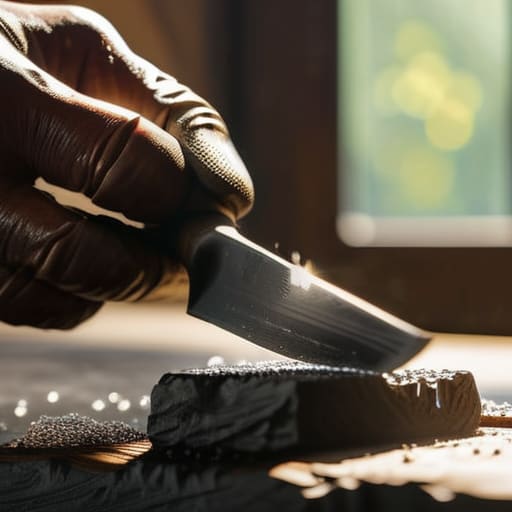
I was halfway through a weekend DIY project, trying to prune some overgrown hedges, when my shears gave a pathetic, metal-on-metal screech and just… died. I spent the next twenty minutes hacking away, sweating and getting increasingly frustrated, only to realize that the problem wasn’t my technique—it was my gear. Most people think you need to drop hundreds on professional-grade whetstones or some high-tech electric grinder just to get a decent edge, but that’s a total myth. Learning how to sharpen tools doesn’t have to be this intimidating, expensive ritual that requires a degree in metallurgy.
I’m stripping away all the gatekeeping and the overly complicated “pro” tutorials that make you feel like you’re doing something wrong. In this guide, I’m sharing the exact, low-stress system I use to keep my kitchen knives, garden shears, and workshop tools in peak condition using stuff you probably already have in your junk drawer. We’re going to focus on the actual, unpolished steps to getting a razor-sharp edge without the headache, so you can stop fighting your equipment and actually start working.
Table of Contents
Guide Overview
Tools & Supplies
- Kitchen knives (Steel or carbon blades)
- Garden shears (Bypass style)
- Sharpening stones/Whetstones (1 set, dual-grit)
- Honing rod (1 unit)
- Honing oil or water (1 bottle)
- Microfiber cloth (1 unit)
Step-by-Step Instructions
- 1. First things first, you need to get your gear in order. Don’t just wing this with a random rock you found in the garden. You’ll need a whetstone (a double-sided one is best for beginners), some water or honing oil depending on what kind of stone you have, and a clean rag. I always keep a small microfiber cloth handy because nobody wants a greasy mess all over their workbench.
- 2. Before you even touch the stone, give your tools a good clean. If there’s dried gunk, rust, or old grease on the blade, you’re just going to be sharpening the dirt instead of the metal. Use some warm soapy water and a scrub brush to get them looking decent. Once they’re dry, you’re actually ready to start the real work.
- 3. Now, let’s talk about the stone. If you’re using a water stone, soak it for about 10 minutes until the bubbles stop rising. This is non-negotiable if you want to avoid scratching your tools. Lay the stone on a flat, stable surface—I personally use a damp paper towel underneath to keep it from sliding around like crazy while I’m working.
- 4. This is the part where most people mess up: finding your angle. You want to hold the tool at a consistent angle—usually about 15 to 20 degrees for most household blades. A good hack is to use a penny as a guide; stack two pennies under the spine of your blade to roughly estimate the tilt. The key is consistency over speed; if your angle wobbles, you’re just making the edge uneven.
- 5. Start with the coarse side of the stone. Using light, even pressure, push the blade across the stone in a smooth, sweeping motion. You aren’t trying to grind the metal away; you’re just realigning the edge. Keep going until you feel a “burr” forming—that’s a tiny, microscopic lip of metal curling over the edge. Once you feel that, you know you’re on the right track.
- 6. Flip the tool over and repeat the process on the other side. You want to match that same angle you used on the first side to ensure the edge is perfectly centered. It’s a bit of a rhythmic thing, so try to find a steady pace. If you feel yourself getting frustrated or your hand is shaking, take a five-minute breather. Precision requires a calm hand.
- 7. Finally, switch to the fine-grit side of your stone to polish everything out. This step is what turns a “working” edge into a razor-sharp edge. Run the tool through a few light strokes on the fine side to smooth out any imperfections left by the coarse grit. To test it, try slicing through a single sheet of paper; if it glides through without snagging, you’ve officially mastered the system.
Understanding How to Sharpen Tools
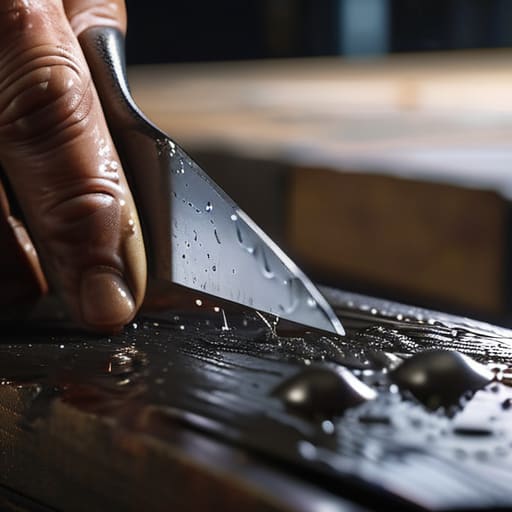
Before you actually start grinding away at a blade, you need to understand the “why” behind the movement. Most people think sharpening is just about rubbing metal against a stone until it feels pointy, but it’s really about managing sharpening bevel angles. Every tool has a specific angle designed by the manufacturer to balance strength and sharpness. If you go too shallow, you’ll roll the edge; if you go too steep, you’ll end up with a blunt, heavy-duty blade that can’t slice through a tomato. It’s a fine line, but once you get the muscle memory down, it becomes second nature.
It’s also worth clearing up the confusion between honing steel vs sharpening stone. I see so many people trying to “fix” a nicked blade with a honing rod, and it just doesn’t work. Think of a honing steel as a maintenance tool to realign the edge during use, whereas a stone actually removes metal to repair the edge itself. If you want to focus on maintaining edge retention over the long haul, you have to treat the stone as your primary tool and the steel as your quick daily check-in.
Key Things to Know
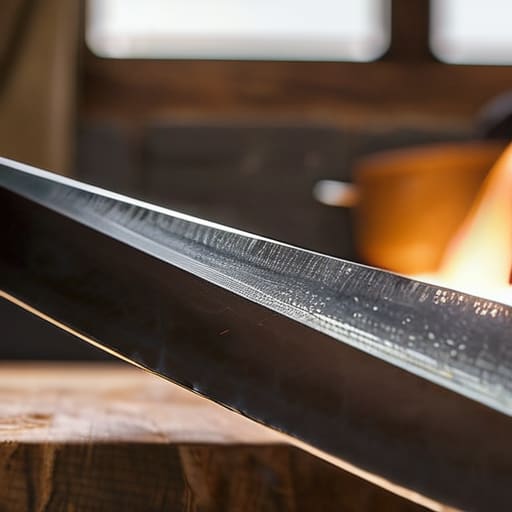
Before you dive in, there are a few little nuances that separate a “functional” edge from one that actually feels effortless to use. First, don’t get caught in the trap of thinking a honing steel is a replacement for a real stone. While it’s great for daily maintenance, there is a massive difference between honing steel vs sharpening stone; the steel just realigns the edge, while the stone actually removes metal to create a new one. If you want to get serious about maintaining edge retention, you really need to focus on your consistency with those sharpening bevel angles. If you’re too steep or too shallow, you’re basically just wasting your time and your grit.
Another thing I wish someone had told me earlier is that the work doesn’t end once the blade is sharp. If you’re working with carbon steel, you need to be obsessive about preventing tool rust by wiping them down immediately after use. I also highly recommend investing in a few best sharpening accessories, like a simple honing guide or a decent honing oil, to keep things from getting messy or uneven. It’s all about building the habit.
Five ways to avoid making a total mess of your tools
- Don’t go overboard with the pressure. I used to think more force meant a better edge, but you’re actually just grinding away the metal and ruining the geometry of the blade. It’s all about consistent, light strokes.
- Keep your cooling station ready. If you’re using an electric sharpener, the metal gets hot fast. If it’s too hot to touch, you’re risking warping the steel. Keep a bowl of water nearby to dip the tool in between passes.
- Check your angle constantly. This is where most people fail. If you’re inconsistent with the angle, you’re just creating a rounded, useless edge instead of a sharp one. Pick an angle, stick to it, and don’t wander.
- Test on something soft first. Before you go hacking away at a piece of wood or a vegetable, test the edge on a scrap piece of cardboard or a piece of paper. It’s a low-stakes way to see if you actually achieved a cut or if you just made it shiny.
- Clean up the metal dust immediately. Those tiny little metal shavings (the “swarf”) are annoying and can actually get into your skin or mess up your workspace. Wipe everything down with a rag as soon as you’re done so you aren’t cleaning it up later.
The Quick Cheat Sheet
Don’t wait until your tools are useless; a quick, five-minute touch-up every few months prevents the frustration of fighting with a blunt blade.
Consistency beats intensity—you don’t need a professional workshop, just a decent whetstone and a steady, repeatable angle.
Safety isn’t optional; if you aren’t respecting the edge, you’re going to end up with a slip that turns a quick task into a trip to the ER.
The Bottom Line
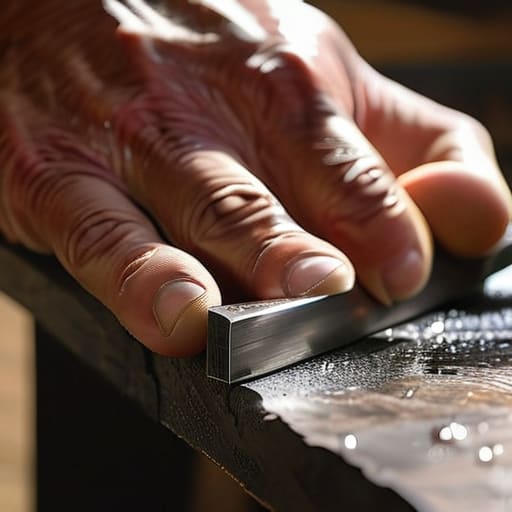
At the end of the day, sharpening your tools isn’t about achieving some level of professional perfection; it’s about respect for the work you’re doing. We’ve covered the essential mechanics—from choosing the right grit on your whetstone to maintaining that consistent angle that makes or breaks the edge. Remember, it’s much better to spend ten minutes every few months doing a quick touch-up than to spend an hour fighting with a blunt blade that’s actively making your job harder. Once you get the hang of the rhythm and the feel of the metal against the stone, it stops feeling like a chore and starts feeling like a necessary part of your workflow.
I know that diving into DIY maintenance can feel a little intimidating at first, especially if you didn’t grow up with a toolkit always within reach. But honestly? Taking ownership of your gear is one of the quickest ways to feel like you actually have your life together. There is a specific kind of quiet satisfaction that comes from pulling a tool out of your bag and knowing it’s going to perform exactly how it’s supposed to. Don’t let the fear of a messy workspace or a slightly uneven edge stop you from starting. Just embrace the learning curve, keep your systems simple, and trust that you’re building a foundation that will make everything else run a little bit smoother.
Frequently Asked Questions
How do I know if my tool is actually sharp or if I'm just imagining it?
The “paper test” is my go-to, but honestly, the real way to tell is by how much effort you’re putting in. If you’re hacking away at a tomato or forcing a blade through cardboard, it’s dull. A truly sharp tool should glide through material with almost zero resistance. If you feel any catching, dragging, or—worst of all—you have to apply extra muscle just to get the job done, stop. It’s not sharp.
Is it safe to sharpen my tools if they have a little bit of rust on them already?
Honestly, yeah, it’s totally safe, but don’t just dive straight into the sharpening stone. If you try to sharpen over rust, you’ll just gum up your equipment and end up with a jagged, uneven edge. Think of it as a two-step process: clean first, then sharpen. Use a bit of steel wool or a wire brush to knock that oxidation off. Once it’s smooth and shiny again, you’re good to go.
At what point do I stop trying to fix it myself and just buy a new one?
Honestly, it’s all about the math and the “frustration tax.” If the time and cost of the repair outweigh the price of a replacement—or if fixing it feels like a constant battle against a losing system—just let it go. I have a rule: if I’ve spent more than two hours troubleshooting or if the tool feels unsafe to use, I stop. Don’t let “sunk cost fallacy” turn a simple task into a weekend-long headache.
