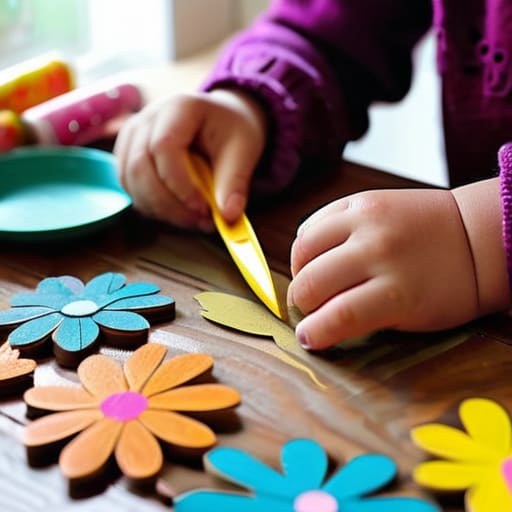
Let’s be real: most of the time, “craft time” feels less like a bonding experience and more like a slow-motion descent into household chaos. I’ve spent way too many afternoons staring at a mountain of glitter and half-empty glue sticks, wondering why I ever thought this would be a relaxing way to spend a Tuesday. We’ve all been there, scrolling through Pinterest for endless kids craft ideas only to realize that most of them require a degree in engineering and a house that doesn’t mind being covered in neon acrylic paint. The problem isn’t the creativity; it’s the lack of a functional system to keep the mess from becoming a permanent part of your decor.
I’m over the over-complicated, expensive kits that end up in the trash after twenty minutes. Instead, I want to show you how to set up a few low-stakes, high-reward activities that actually work within the reality of a busy schedule. I’ve narrowed it down to five specific projects that focus on minimal cleanup and maximum engagement. By the end of this, you’ll have a toolkit of streamlined kids craft ideas that allow your little ones to create something cool without you feeling like you need a total lifestyle reset to clean up the aftermath.
Table of Contents
The Low-Mess Command Center
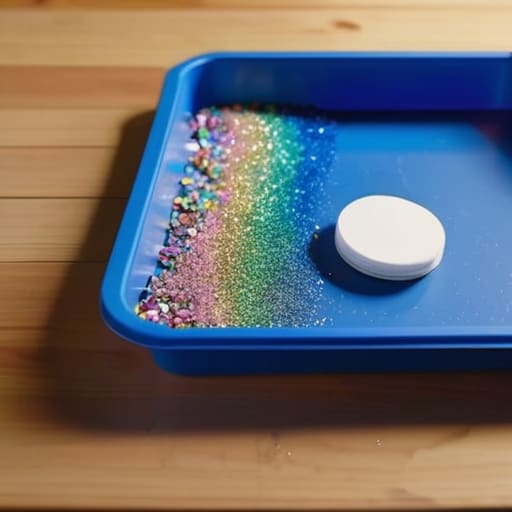
Most craft setups fail because they’re too hard to clean up, which is why I never recommend those massive, expensive art kits that promise the world. Instead, I’m a huge fan of the tray system. Grab a couple of cheap plastic cafeteria trays or even just baking sheets from your kitchen. By confining the glue, the glitter, and the scraps to a defined boundary, you’re essentially creating a containment zone for the chaos.
Edible Art Experiments

If you’re feeling particularly cautious about spills or toxic materials, stop looking at the craft aisle and start looking in your pantry. I’ve found that using food as a medium is the ultimate low-stakes hack for keeping kids engaged without the cleanup headache. Think about things like colored salt (just mix salt with a drop of food coloring) or even making “painting” supplies out of yogurt and natural dyes like crushed berries.
The Upcycled Cardboard Station
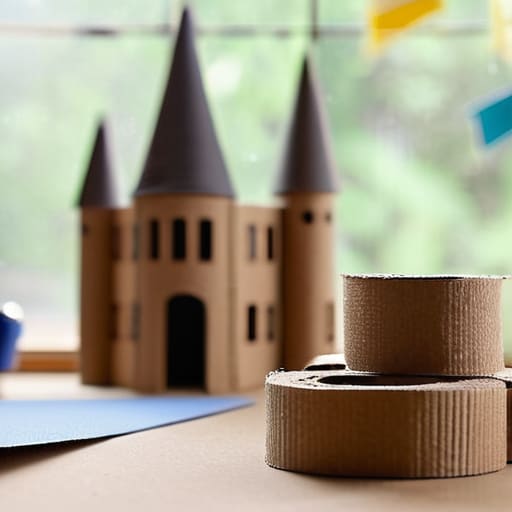
Before you go out and buy a mountain of new supplies, look at your recycling bin. I have a habit of hoarding clean cardboard boxes because they are the most versatile, zero-cost tool in any creative arsenal. A cereal box can become a stencil, a delivery box can become a miniature castle, and toilet paper rolls are basically free building blocks if you have enough tape.
Tape-Based Geometry
If you want to avoid the “glue-stick-is-missing-under-the-couch” drama, switch to washi tape or painter’s tape. I use this all the time when I need to keep a project contained but still want it to look intentional. You can use the tape to create outlines on paper for them to color within, or even tape long lines directly onto the floor to create temporary obstacle courses or geometric shapes for them to follow.
Nature's Color Palette
Sometimes the best way to manage a craft session is to move it entirely outside. I’m a big believer in “foraging” as a precursor to creating. Instead of buying a pack of thirty different colored markers, grab a few baskets and head to the backyard or a local park. Have the kids collect things that match specific colors—green leaves, grey stones, yellow petals, or brown twigs.
The Bottom Line
Stop chasing the perfect, Pinterest-ready masterpiece; the goal is low-friction engagement that doesn’t leave your kitchen looking like a disaster zone.
Set up a dedicated, permanent station so you aren’t wasting mental energy (or half an hour) digging through bins every time they get a burst of creativity.
Focus on process over product—if they’re experimenting and building something, the system is working, regardless of how it looks in the end.
Lowering the Bar for Creativity
At the end of the day, the goal here wasn’t to turn your living room into a professional art studio or to produce something that belongs in a museum. It was about moving away from those high-stress, expensive craft kits that end up gathering dust in a closet. By setting up a dedicated low-mess station, utilizing basic pantry staples, and keeping the activities low-stakes, you’ve effectively removed the biggest barrier to entry: the fear of the mess. Whether it’s salt dough or simple recycled collage work, the focus is on the system of play rather than the perfection of the final product.
I know how it feels when you’re staring at a pile of glitter and feeling an immediate sense of dread about the cleanup, but I promise you, it is worth it. When we stop gatekeeping “creativity” and treat it like just another manageable part of our daily routine, something shifts. Your kids get to explore, you get to breathe, and the house stays relatively intact. Don’t worry about being the “Pinterest Parent”—just focus on creating a little bit of intentional space for them to make a mess. That’s where the real magic happens.
Frequently Asked Questions
How do I keep the mess contained so I'm not scrubbing glitter out of my rug for the next three weeks?
The secret is a “contained zone” system. First, ditch the dining table; use a cheap plastic shower curtain liner or a dedicated silicone mat on the floor to catch the fallout. If you’re using glitter or tiny beads, do it inside a rimmed baking sheet—it acts as a tiny fortress for the mess. Most importantly, keep a handheld vacuum or a damp microfiber cloth nearby to grab spills immediately before they become permanent rug features.
What can I do when my kid gets bored halfway through a project and just wants to go back to their iPad?
Honestly? Let them go. I used to think I had to fight the iPad battle to “save” the creative moment, but that just creates friction for everyone. Instead, treat the project like a low-stakes system. If they check out, pack the supplies into a single bin and call it a “pause.” It’s not a failure; it’s just a pivot. They’ll come back to it when the screen gets boring, and you won’t have a meltdown.
Are there ways to do these crafts without spending a fortune on specialized supplies every single time?
Honestly, if you’re buying a new kit for every project, you’re doing too much. I’m a huge believer in the “scavenger system.” Before you hit the craft store, raid your recycling bin. Cardboard, egg cartons, and empty toilet paper rolls are basically free building blocks. I also keep a “utility bin” of basics—washable markers, glue, and masking tape—so I’m never scrambling. The goal is to use what you have, not collect more clutter.
