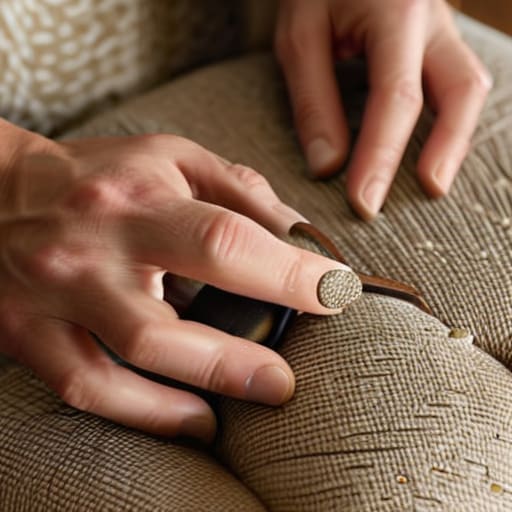
I was staring at this mid-century armchair I found at a thrift store last weekend, covered in a questionable mustard-colored velvet that looked like it had seen too many decades of spilled coffee. Most people would have told me it was destined for a landfill, but I knew that learning how to reupholster a chair was actually much less about having a professional studio and more about not losing your mind during the process. I spent my entire Saturday covered in foam dust and staple remover shavings, realizing that the “expert” tutorials online make this look like a seamless, meditative art form, when in reality, it’s mostly just a messy, trial-and-error battle against stubborn fabric.
I’m not here to sell you on some Pinterest-perfect fantasy where everything goes right on the first try. Instead, I want to give you the actual, unpolished workflow I used to turn that dusty relic into something that actually fits my apartment. We’re going to skip the gatekeeping and dive straight into the essential systems—from choosing the right fabric weight to the specific stapling rhythm that keeps your corners from looking like a crumpled mess. This is the no-nonsense guide to getting it done without breaking your budget or your spirit.
Table of Contents
- Step-by-Step Instructions
- Stop Overpaying for New Furniture How to Reupholster a Chair
- The Unpolished Toolkit for Master Level Fabric Selection and Supplies
- 5 ways to keep your DIY project from becoming a total disaster
- The bottom line on your DIY upholstery project
- The Final Stitch
- Frequently Asked Questions
Guide Overview
Tools & Supplies
- Staple gun and staples for securing fabric
- Pliers for pulling old staples and fabric
- Fabric scissors for precise cutting
- Measuring tape for calculating fabric dimensions
- Mallet for flattening padding
- Upholstery fabric (1-3 yards depending on chair size)
- High-density foam or batting for padding
- Spray adhesive for securing foam
- Dust cover fabric for the underside
Step-by-Step Instructions
- 1. Before you even touch a staple gun, you need to deconstruct the chair completely. Don’t just rip the fabric off like you’re tearing a poster off a wall; pull it back carefully so you can see how the original maker tucked the edges. I like to keep the old fabric pieces as a visual template for where the new material needs to sit. If you lose the original shape, you’re basically flying blind.
- 2. Once the frame is bare, check the padding. If the foam is crumbling into orange dust or the springs are making a sad little squeak every time you sit down, this is your moment to fix it. I usually swap out old, compressed foam for something with a bit more density and support. It’s much easier to replace the guts now than to realize your chair is uncomfortable three weeks after you’ve finished the pretty exterior.
- 3. Now, get your new fabric ready. You want to lay it out on a clean floor and make sure it’s flat—no wrinkles allowed here. Place the chair seat face down onto the fabric, leaving enough extra material around all four sides to pull it tight. A good rule of thumb is to leave at least three to four inches of overhang; you can always trim the excess later, but you can’t magically grow more fabric if you cut it too short.
- 4. This is where the actual work happens: stapling. Start in the center of each side to create a tension anchor. Pull the fabric taut—but not so hard that you’re distorting the pattern—and drive a staple in. Once you have one staple in the center of each of the four sides, work your way toward the corners in a cross-pattern. This keeps the fabric from bunching up and ensures the tension is even across the entire surface.
- 5. Dealing with the corners is the part that usually makes people want to quit, but it’s actually just a logic puzzle. You need to fold the excess fabric into neat, flat pleats so it doesn’t look like a crumpled paper bag. I like to pull the fabric tight, fold the corner over itself, and then staple it down. If you do it right, the corners should look crisp and intentional, not like a DIY disaster.
- 6. Once everything is stapled down, grab a pair of sharp fabric shears and trim away the messy bits of excess fabric hanging off the underside. If your chair has a wooden frame that’s visible, you might want to staple a piece of black landscape fabric or a “dust cover” over the bottom to hide all your hard work. It gives the whole project that polished, professional finish that makes it look like you actually bought it from a boutique rather than a thrift store.
Stop Overpaying for New Furniture How to Reupholster a Chair
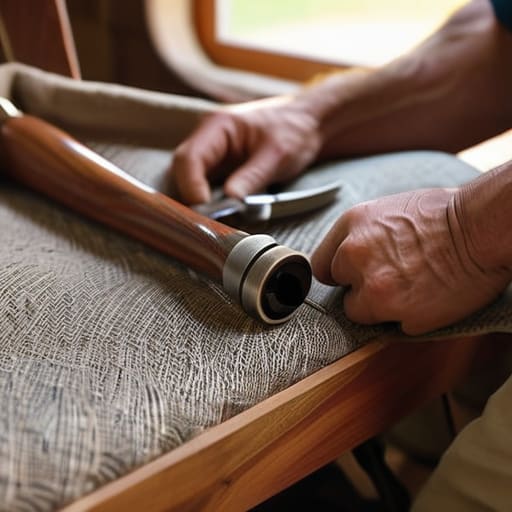
Before you dive in, let’s talk about the “why.” We’ve all been there—scrolling through furniture sites and seeing a mid-century modern chair priced like it’s made of solid gold, when in reality, it’s just a decent frame with tired fabric. The real secret to saving money isn’t just the labor; it’s knowing when to invest in quality materials. If you’re planning on this chair being a daily driver, don’t skimp on the fabric selection for upholstery. I always suggest looking for high-rub counts if you’re choosing something for a high-traffic living room.
Also, don’t let the “DIY” label fool you into thinking you can just wing it with whatever is in your junk drawer. While you don’t need a professional studio, having the right upholstery tools and supplies—like a decent staple gun and heavy-duty fabric shears—is what separates a project that looks “shabby chic” from one that just looks shabby. If the seat feels saggy, don’t just pull the new fabric tight and hope for the best; take the time to actually replace the foam and padding so the chair feels as good as it looks.
The Unpolished Toolkit for Master Level Fabric Selection and Supplies
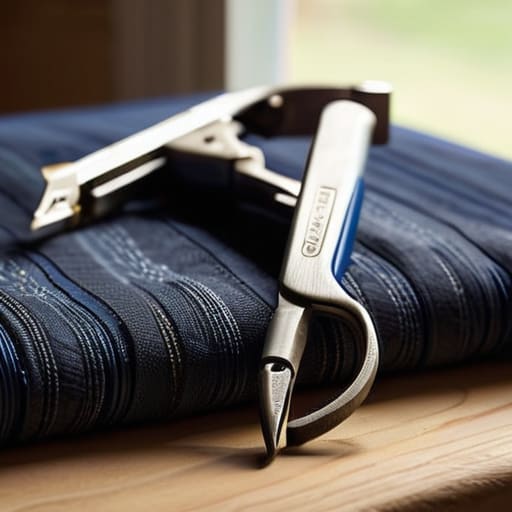
Before you even touch a staple gun, we need to talk about the stuff that actually makes or breaks the project. Most people think they can just grab whatever cute pattern they saw on Pinterest, but if you aren’t looking at upholstery fabric types and durability, you’re going to regret it in six months when the seams start fraying. I always tell people to look for high rub counts—basically, how much friction the fabric can take before it gives up. If it’s a dining chair that’s going to see constant use, steer clear of anything too delicate like silk or thin linen. Go for a heavy-duty cotton canvas or a tight weave polyester that can actually handle real life.
As for the hardware, don’t try to DIY it with a cheap craft stapler. You need a real pneumatic or heavy-duty electric tool to get those staples deep enough into the frame. While you’re at it, don’t skip the step of replacing chair foam and padding. If the old foam feels crunchy or looks like it’s disintegrating, just toss it. Adding a fresh layer of high-density foam and some batting is what turns a “homemade” project into something that actually feels professional.
5 ways to keep your DIY project from becoming a total disaster
- Don’t you dare throw away the old fabric until the new stuff is actually on the chair. I know it feels like you’re just cleaning up, but those old scraps are your literal blueprint for where the staples go and how the tension should feel.
- Test your fabric for “stretchiness” before you commit. If you’re using something with too much spandex or a loose weave, you’re going to end up with a sagging seat that looks like a deflated balloon within a week.
- Work in small, incremental sections rather than trying to pull the whole fabric tight at once. Start with the center of each side and work your way toward the corners; if you try to wing it, you’ll get those annoying, unsightly wrinkles that no amount of smoothing can fix.
- Invest in a decent staple gun, not the cheap plastic ones from the dollar store. There is nothing more frustrating than being halfway through a project and having a jam ruin your momentum or, worse, having the staples fail to catch the wood properly.
- Use a cardboard template for any custom cushions or complex shapes. Trying to eyeball the dimensions of a curved backrest is a recipe for wasted fabric, and I’ve learned the hard way that measuring twice and cutting once is a lot better than measuring once and crying later.
The bottom line on your DIY upholstery project
Don’t let the fear of ruining a chair stop you; the goal is a functional, custom piece that fits your space, not a museum-quality masterpiece.
Invest in the right tools—specifically a decent staple gun and some heavy-duty fabric—because cutting corners on supplies is the fastest way to end up with a saggy, messy result.
Treat the process as a system of layers; if you take the time to map out your fabric tension and staple placement now, you won’t be fighting a losing battle with wrinkles later.
The Final Stitch
At the end of the day, reupholstering a chair is less about being a master craftsman and more about having a reliable workflow. You’ve gathered your tools, you’ve picked out a fabric that won’t fall apart in six months, and you’ve navigated the messy reality of staples and tension. It’s easy to get overwhelmed by the technical side, but once you realize that it’s just a series of small, repeatable steps, the intimidation factor disappears. Just remember: don’t be afraid to pull a staple out and start a seam again if it looks wonky. The goal isn’t perfection; it’s creating something functional and beautiful that actually serves your space instead of just taking up room.
I know that starting a DIY project can feel like a massive commitment to a potential disaster, but there is something incredibly grounding about fixing something with your own hands. We live in a world of disposable everything, where it’s often easier to just click “buy now” on a cheap replacement than to actually repair what we already own. By choosing to reupholster, you’re opting out of that cycle and building a more intentional lifestyle. So, grab your multi-tool, clear off your workspace, and just dive in. You’ve got the system down now—the rest is just practice.
Frequently Asked Questions
I found a vintage chair I love, but the frame is actually wobbly—can I still reupholster it or is it a lost cause?
Honestly? It’s definitely not a lost cause. In fact, fixing a wobbly frame is actually the most important step before you even touch the fabric. There’s no point in putting gorgeous new velvet on a chair that’s going to collapse the second you sit down. Grab some wood glue and some clamps—or even just some heavy books to hold things in place—and tighten those joints up first. Fix the bones, then do the pretty stuff.
Is there any way to do this without spending a fortune on a heavy-duty staple gun and professional upholstery tools?
Honestly, you don’t need to go full professional on day one. If you’re just tackling a dining chair or a small stool, skip the $100 pneumatic stapler. A decent manual heavy-duty staple gun from a hardware store works fine. For the rest, use what you have: pliers to pull old staples, a flathead screwdriver to pry things up, and even some heavy-duty fabric scissors. It’s about working smarter with what’s in your junk drawer.
How do I know if the foam inside is actually salvageable, or if I'm just going to be layering new fabric over old, crumbly stuff?
Honestly, this is the part everyone skips until they’re halfway through and realize they’re basically sewing a shroud for a pile of orange dust. Here’s the test: give the foam a firm squeeze. If it bounces back instantly, you’re golden. If it feels crunchy, stays compressed, or—worst of all—literally disintegrates in your hands, it’s dead. Don’t try to save it. Layering new fabric over crumbly foam is just a recipe for a lumpy, depressing seat.
