
I used to think that having a “Pinterest-worthy” apartment meant spending a small fortune at high-end retailers or waiting weeks for a delivery truck. But honestly? That’s just a recipe for a massive credit card bill and a cluttered soul. Most of the time, the pieces we actually need are sitting in a dusty corner of a thrift store or gathering grime in a neighbor’s garage. I’ve realized that finding creative upcycling furniture ideas isn’t about being a master carpenter; it’s about seeing the potential in the “ugly” stuff and having a basic system to fix it. We need to stop viewing old wood as trash and start seeing it as raw potential that just needs a little bit of strategic intervention.
In this guide, I’m stripping away the intimidating DIY jargon to give you five realistic ways to breathe new life into tired pieces. I’m not talking about those impossible, three-week projects that leave your house smelling like industrial chemicals. Instead, I’m sharing five streamlined approaches that actually fit into a busy schedule. You’re going to learn how to transform your space without the gatekeeping, focusing on small, repeatable wins that make your home feel uniquely yours. Let’s get into it.
Table of Contents
The Hardware Swap Hack
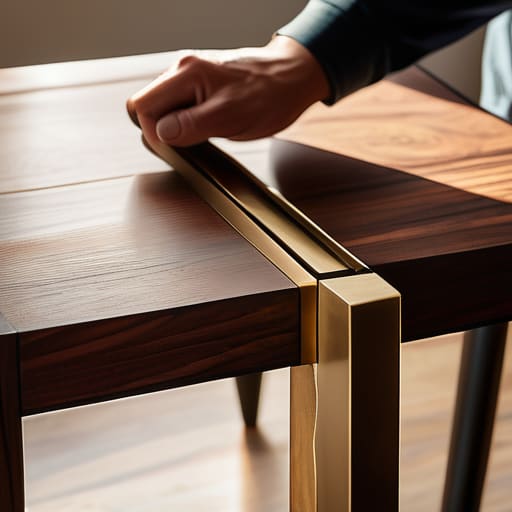
Most of the time, a piece of furniture isn’t actually “ugly”—it’s just dated. I’ve lost count of how many mid-century modern side tables I’ve rescued from thrift stores simply because they had those hideous, chunky plastic handles. Before you commit to a full weekend of sanding and painting, just swap out the hardware. It is the absolute lowest effort way to make a massive impact on how a piece feels in your space.
The "Sand and Stain" Refresh
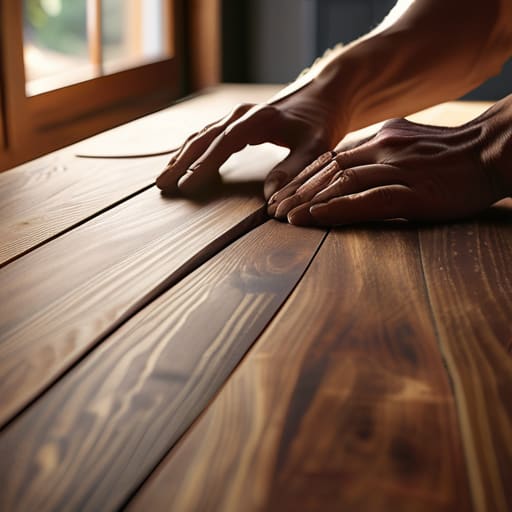
If you find a solid wood table that looks like it’s seen better decades, don’t run the other way. Most of the “junk” people pass over is actually high-quality wood that’s just buried under layers of thick, orange-tinted polyurethane. My go-to move is to strip that old finish off and apply a modern stain—think muted oaks or deep walnuts—to bring it back to life. It’s a bit of a workout, but the result is a piece that looks like it cost a fortune at a boutique showroom.
Contact Paper Magic
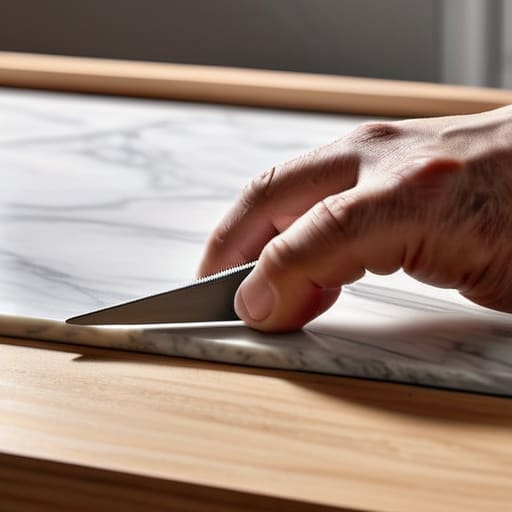
Let’s be real: sometimes you don’t have the energy (or the budget) for a full-blown DIY project. This is where contact paper becomes your best friend, especially for things like bookshelves or the inside of drawer linings. Instead of buying a whole new unit, you can use a high-quality, textured contact paper to mimic marble or wood grain on flat surfaces. It’s a temporary fix that looks surprisingly high-end if you do it carefully.
The Paint and Texture Combo
If you’re dealing with a piece that has a weird shape or some structural imperfections, sometimes you just need to cover it up with a fresh coat of paint. But don’t just grab a random can of semi-gloss from the hardware store and call it a day. I love using chalk paint because it adheres to almost anything with minimal prep, which is a lifesaver when you’re trying to be efficient. It gives you that soft, matte finish that feels very current and intentional.
Leg Upgrades for Instant Height
One of my favorite ways to transform a heavy, clunky cabinet is to give it some breathing room by changing the legs. A lot of older, heavy furniture sits directly on the floor, which can make a small room feel cramped and cluttered. By adding tapered wooden legs or even some sleek metal hairpins, you lift the piece off the ground and create a sense of lightness. It’s a total game-changer for the visual weight of your room.
The Bottom Line
Don’t let perfectionism stall your progress; a slightly imperfect DIY piece is better than a landfill full of wasted potential.
Focus on the foundation first—investing a little time in sanding or cleaning an old piece saves you from a massive headache once you start painting.
View upcycling as a way to build a custom home on a budget rather than a high-stakes art project.
Don't Overthink the Process
At the end of the day, upcycling isn’t about achieving some Pinterest-perfect, untouched aesthetic that looks like it belongs in a showroom. Whether you’re just slapping some new hardware on a tired nightstand, giving a thrifted chair a much-needed sanding and stain, or completely transforming a piece with a bold coat of paint, the goal is simply to stop the cycle of mindless consumption. We’ve covered everything from the quick wins like swapping out handles to the more intensive projects like structural refinishing, and the common thread is that none of these require a professional workshop. You just need a basic toolkit, a little bit of patience, and the willingness to get a little dusty.
I know it can feel intimidating to take a tool in your hand for the first time, especially when you’re worried about ruining something that’s already old. But honestly? The stakes are much lower than they feel. If you mess up a paint job, you just sand it back down and try again. The real magic happens when you stop seeing “old junk” and start seeing potential energy waiting to be unlocked. Adulthood is messy enough as it is; don’t let the fear of a mistake stop you from creating a home that actually feels like yours. Just pick one small project this weekend and see how much better it feels to build something rather than just buying it.
Frequently Asked Questions
Is it actually worth the time to sand down old finishes, or is there a faster way to get a decent result?
Honestly? If you’re looking for perfection, you have to sand. But if you’re just trying to avoid a total meltdown, skip the heavy sanding. I usually go for a chemical stripper or a high-quality primer designed to stick to slick surfaces. It’s a bit more “messy” in terms of smell, but it saves my wrists from hours of repetitive scrubbing. It’s all about choosing the shortcut that actually works without ruining the piece.
What kind of basic toolkit should I actually invest in so I'm not running to the hardware store every five minutes?
Look, you don’t need a garage full of power tools to start. Honestly, just grab a solid multi-bit screwdriver, a 16oz hammer, a tape measure that actually stays retracted, and a set of Allen keys. Throw in some precision screwdrivers for your tech and a pair of needle-nose pliers, and you’re golden. I keep mine in a small, organized pouch so I can grab it and go without the “where did I put that wrench?” panic.
How do I know if a piece of furniture is "good bones" or if it's just a total lost cause that isn't worth the effort?
Honestly, I used to waste so much time on projects that ended up in a landfill. Here’s my rule of thumb: check the weight and the joinery. If it’s heavy, solid wood (not particle board or MDF), it’s worth it. Open a drawer and look for dovetail joints—that’s the gold standard. If it feels sturdy and the structure isn’t wobbling or cracked, it has “good bones.” If it’s hollow or crumbling? Walk away.
