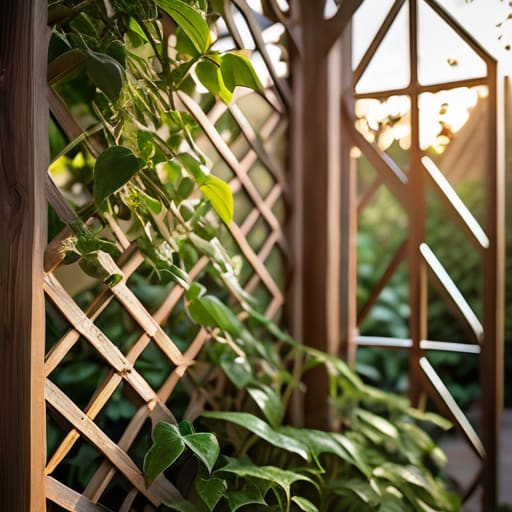
I was standing in my backyard last July, staring at a pathetic, tangled mess of tomato vines that were basically just suffocating each other on the dirt. I had spent way too much money on those flimsy, plastic lattice kits from the big-box store, and they had already snapped under the weight of a single heavy rainstorm. It was a total waste of time and money. Most people think you need a degree in carpentry or a massive budget to fix this, but the truth is that learning how to build a garden trellis is actually way simpler than the DIY influencers make it look. You don’t need a workshop full of power tools; you just need a system that actually works with the plants, not against them.
In this guide, I’m stripping away the gatekeeping and showing you how to construct something sturdy using basic materials you can find anywhere. I’m going to walk you through a few different methods—from the quick-and-dirty scrap wood approach to something a bit more intentional—so you can stop worrying about your plants collapsing and start actually enjoying your garden. We’re focusing on functional, low-maintenance builds that won’t break the bank or your spirit.
Table of Contents
Guide Overview
Tools & Supplies
- Measuring tape for accurate cuts
- Handsaw or miter saw for wood processing
- Drill with bits for making holes
- Screwdriver or drill driver for fastening
- Cedar or pressure-treated wood stakes (4-5)
- Wooden garden lattice panels (1)
- Wood screws (1 box)
- Garden staples or landscape nails (1 pack)
Step-by-Step Instructions
- 1. First, let’s talk supplies so you aren’t running back and forth to the hardware store mid-project. You’ll need some untreated cedar or redwood stakes (they resist rot way better than cheap pine), some heavy-duty garden twine or zip ties, a pair of sturdy wire cutters, and a drill if you’re feeling fancy. Honestly, if you want to keep it even simpler, you can just use repurposed wooden pallets from a local shop, but let’s stick to the stakes for a cleaner look.
- 2. Once you have your materials, grab your stakes and decide on your layout. I usually space them about three feet apart, depending on how much room your plants actually need to breathe. Don’t just eyeball it; use a piece of string to mark a straight line so your trellis doesn’t end up looking like a leaning tower of garden debris.
- 3. Now, it’s time to get those stakes into the ground. If your soil is super dry or packed hard, you might want to soak the area with a hose first to make it more manageable. Drive the stakes deep—at least 8 to 12 inches—so they don’t budge when a heavy summer storm hits or your climbing vines start getting unreasonably heavy.
- 4. This is where the actual “trellis” part happens. You’re going to create a grid pattern by running your twine or wire between the stakes. Start at the bottom and work your way up, tying the string securely to each stake. I find that a criss-cross pattern works best because it gives the plants multiple points of contact to grab onto as they grow.
- 5. If you’re using a heavier plant, like cucumbers or small melons, I highly recommend adding a few horizontal support bars across the vertical stakes. You can use scrap wood or even thick bamboo poles for this. It adds a layer of structural integrity that prevents the whole system from sagging once the fruit starts to weigh everything down.
- 6. Finally, give your new trellis a quick “stress test.” Grab the stakes and give them a gentle shake to make sure everything is anchored firmly. If it feels solid, you’re good to go. Now, just tuck your seedlings in at the base and let them do the rest of the work—you’ve already done the hard part.
Understanding How to Build a Garden Trellis
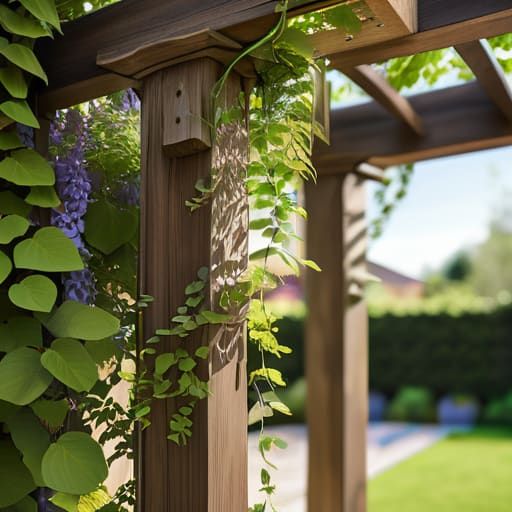
Before you start hammering nails, you need to figure out what you’re actually trying to accomplish. Not all plants are created equal, and treating a delicate sweet pea the same way you treat a heavy, woody wisteria is a recipe for a collapsed mess. If you’re working with lightweight annuals, a simple lattice will do fine, but for anything with real weight, you’re going to need heavy duty plant supports that won’t buckle under the pressure. I always tell people to look at their plants first and build for their weight, not just for the aesthetic.
When I’m browsing for wooden trellis design ideas, I try to avoid anything that looks too precious or high-maintenance. The goal here is functionality. You want something that integrates into your space without looking like a cluttered eyesore. Think about your specific layout—are you trying to create a privacy screen, or do you just need some vertical gardening solutions to save space in a tiny balcony garden? Once you decide on the “why,” the “how” becomes a lot less intimidating.
Key Things to Know
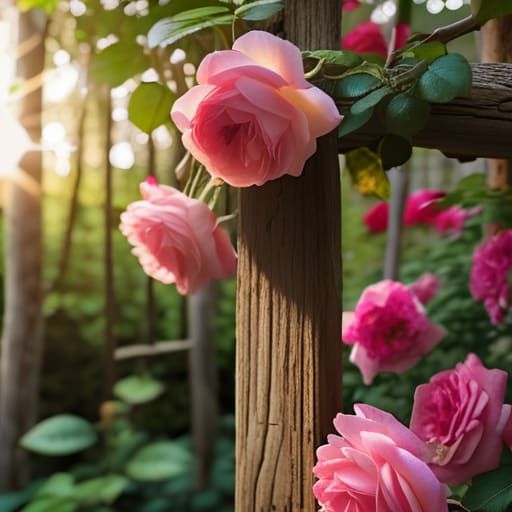
Before you start hammering things together, you need to think about what’s actually going to be living on this thing. Not all vines are created equal. If you’re planting something lightweight like sweet peas, a basic frame is fine, but if you’re eyeing something massive like wisteria or heavy climbing roses, you’re going to need heavy duty plant supports. I’ve learned the hard way that a flimsy structure won’t hold up once the summer growth kicks in; it’ll just buckle under the weight and end up in a heap on the dirt.
Another thing to keep in mind is your long-term vision for the space. When looking at different vertical gardening solutions, consider how much sunlight your chosen spot gets and how much room you have to move around. You don’t want to build a massive, permanent fixture only to realize it’s blocking your walking path or casting a shadow over your vegetable patch. My best advice? Plan for the plant’s mature size, not just how it looks in the nursery pot. It saves you a massive headache (and a lot of wasted wood) down the road.
Pro-Tips to Keep Your Trellis from Becoming a Total Mess
- Don’t overthink the wood choice; if you aren’t planning on this being a permanent garden centerpiece, cedar or even pressure-treated pine works perfectly fine to handle the moisture without breaking the bank.
- Check your soil’s vibe before you start digging—if you’re planting heavy climbers like wisteria or jasmine, you need to make sure your trellis is anchored deep enough so the whole thing doesn’t tip over once the plants actually get heavy.
- Leave a little breathing room between your trellis and your house or fence; you don’t want to trap moisture against your siding and end up with a mold problem just because you wanted some greenery.
- Use zip ties or soft garden twine to attach your vines early on, but don’t tie them too tight—plants need to grow and thicken up, and you don’t want to accidentally strangle them as they expand.
- Think about your “future self” by building the trellis slightly taller than you think you need; there is nothing more frustrating than having a beautiful plant that has nowhere to go after just one season.
The Bottom Line
Don’t overthink the materials; as long as your structure is sturdy enough to handle the weight of growing vines, you’re winning.
Prioritize deep anchoring—if your trellis isn’t secured well into the ground, a single heavy rainstorm will turn your hard work into a pile of scrap wood.
Build for the plant, not the aesthetic—always check what kind of climbing habit your specific plant has before you commit to a design.
Bringing It All Together
At the end of the day, building a trellis isn’t about achieving some Pinterest-perfect architectural masterpiece; it’s about creating a functional structure that actually holds up when your plants start getting heavy. We’ve covered everything from picking out the right scrap wood to making sure those stakes are driven deep enough to survive a summer storm. Just remember that the goal is to minimize future headaches by getting the foundation right now. If you’ve followed the steps, you’ve moved past the “hoping it works” phase and into the “it’s actually going to work” phase. You’ve got the materials, you’ve got the layout, and most importantly, you have a system that works for your specific space.
I know that starting a DIY project can sometimes feel like just one more thing on an already overflowing to-do list, but there is something incredibly grounding about working with your hands. There is a specific kind of peace that comes from seeing a plant you nurtured finally have a sturdy place to climb. Don’t let the fear of a slightly crooked line stop you from getting started. Perfection is overrated, but intentionality is everything. Go out there, get a little dirt under your fingernails, and build something that makes your garden—and your daily routine—just a little bit easier to manage.
Frequently Asked Questions
Do I really need to treat the wood, or can I just use whatever I find in the garage?
Honestly? If you grab random scrap from the garage, you’re probably setting yourself up for a headache. If the wood isn’t pressure-treated or sealed, it’ll rot and collapse by next season, and then you’re back at square one. If you really want to use what you have, just grab a can of exterior sealant or some leftover deck stain. It takes ten minutes, but it saves you from rebuilding the whole thing in six months.
How do I make sure the whole thing doesn't just tip over once my plants actually start growing?
This is exactly where most DIY projects go to die—the moment the weight of the plant hits the structure. To keep it from tipping, you need to anchor the base. Don’t just stick the posts in the dirt; drive them at least 12 inches deep, or better yet, use heavy-duty garden stakes or even small concrete pavers to weight the bottom. If it’s a free-standing trellis, tie the top to a sturdy fence or a nearby post. Stability is everything.
What’s the best way to attach the trellis to the wall without making a mess of my siding?
Honestly, if you’re worried about ruining your siding, skip the direct drilling. I usually go with heavy-duty command hooks if it’s a lighter trellis, or better yet, use a freestanding frame that just leans against the wall. If you absolutely have to attach it, use standoff spacers. They create a tiny gap between the trellis and the house, so you aren’t grinding hardware directly into your siding. It keeps things clean and much easier to fix later.
