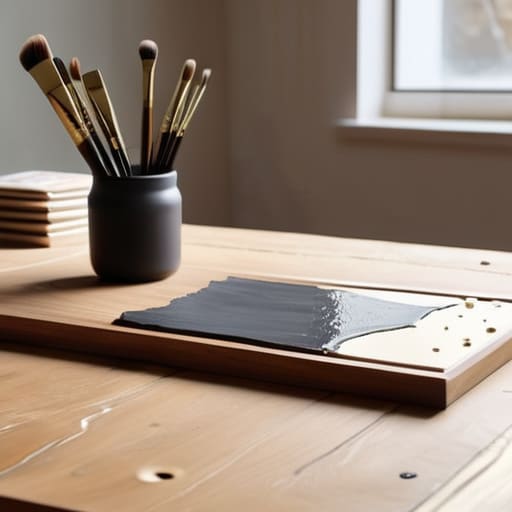
I was staring at a blank, white wall in my apartment last Tuesday, feeling that familiar surge of “adulting” anxiety because my space felt sterile and soulless. I scrolled through Pinterest for hours, convinced that I needed a massive budget and a degree in fine arts just to figure out how to make wall art that didn’t look like a middle school project. But here’s the truth: you don’t need a studio or a curated collection of expensive oils to fix this. Most of the “aesthetic” decor you see online is just cleverly packaged simplicity that you can replicate with things you probably already have in your junk drawer or at a local thrift store.
I’m tired of the gatekeeping that makes DIY feel like a high-stakes performance. In this guide, I’m breaking down my personal, low-friction system for creating pieces that actually look intentional and professional. I’ll show you how to skip the expensive supplies and focus on effective composition instead. We’re going to walk through a few specific, repeatable methods—from textured minimalism to curated collage—so you can finally stop staring at that empty wall and start building a home that actually feels like yours.
Table of Contents
Guide Overview
Tools & Supplies
- Paintbrushes (various sizes for application)
- Painter's tape (for creating clean geometric lines)
- Sandpaper (to smooth surface before starting)
- Canvas or wooden panel (1 piece)
- Acrylic paint (set of multiple colors)
- Gesso or primer (1 small jar)
- Water container (1 jar for cleaning brushes)
Step-by-Step Instructions
- 1. First, you need to decide on a vibe so you don’t end up with a random pile of junk. Don’t go to a store and buy everything in sight; instead, scroll through Pinterest or your saved Instagram posts to find a recurring color palette or texture. I usually look for a common thread—like “minimalist line art” or “earthy textures”—so the final piece actually feels like it belongs in your space rather than looking like a random craft project.
- 2. Next, gather your supplies, but let’s keep it realistic. You don’t need a professional studio; you just need the basics like canvas, heavy-weight paper, or even some thrifted wooden frames from my favorite secondhand shop. I always make sure to have a good quality set of brushes and some acrylic paint, because cheap, chalky paint is the fastest way to make your art look amateur.
- 3. Before you touch the canvas, do a “dry run” on some scrap paper. This is where most people skip ahead and immediately regret it. I like to test my color combinations and brush strokes on a small piece of paper first to see if the colors turn into a muddy mess when mixed. It’s much easier to fix a mistake on a scrap piece of paper than on the actual piece you’re trying to hang.
- 4. Now, start with your background. I’m a huge fan of the “layering” method, so I usually lay down broad, sweeping strokes of color to create a base. Don’t worry about being precise here; the goal is to create depth through texture. If you’re feeling bold, this is the stage where you can add some grit with a sponge or even a bit of sand mixed into the paint to give it that high-end, tactile feel.
- 5. Once your base is dry (and yes, you actually have to wait for it to dry), it’s time for the details. This is where you add the lines, the shapes, or the focal points that define the piece. I tend to work from the largest shapes down to the smallest details, using a fine-liner brush for the final touches. Remember, less is usually more—you don’t need to fill every single inch of the canvas to make it look intentional.
- 6. The final step is the most underrated: the framing and hanging. A beautiful piece of art can look totally lost if it’s just leaning against a wall. If you’ve gone for a minimalist look, a simple, thin black or wood frame works wonders. I always use a level tool (or a leveling app on my phone) to make sure it’s straight, because nothing kills the “calmly efficient” vibe of a room faster than crooked decor.
Understanding How to Make Wall Art
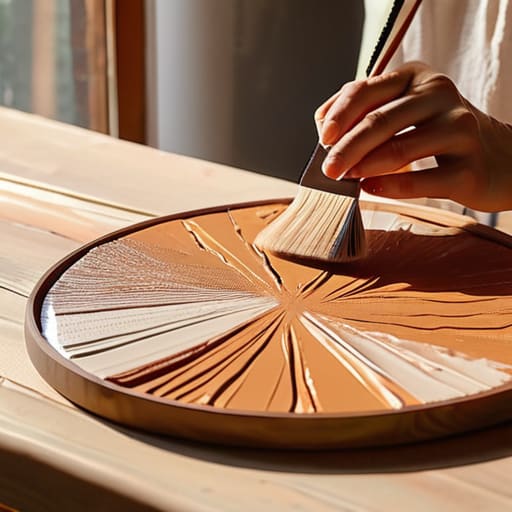
Before you dive into the actual making part, you need to get out of your own head about what “art” even means. Most people freeze up because they think they need a studio or a degree, but I see this as just another way to customize your space. When I’m looking for budget friendly wall decor projects, I’m not looking for perfection; I’m looking for something that matches the vibe of my room without costing a month’s rent. Think of it as a way to fill empty space with something that actually feels like you.
The secret to not feeling overwhelmed is choosing a method that fits your current skill level. If you’re feeling chaotic, look into abstract canvas painting techniques—they are incredibly forgiving because there is no “wrong” way to move a brush or a palette knife. If you want something more tactile, you can experiment with different textured wall art methods using joint compound or even just thick acrylics. The goal isn’t to create a museum masterpiece; it’s to build a system where you can create something decent with minimal stress and zero gatekeeping.
Key Things to Know
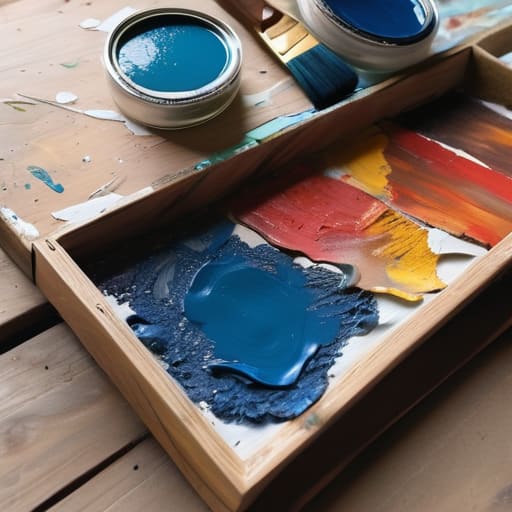
Before you dive in, there are a few reality checks I wish someone had given me when I first started. First, don’t let the “Pinterest perfection” trap get in your head. Most of the professional-looking pieces you see online are actually just a series of controlled accidents. If you’re looking for budget friendly wall decor projects, focus more on the composition than the cost of the supplies. You don’t need a $200 set of professional oils; a decent acrylic set and some leftover scraps from a hardware store can work wonders if you know how to layer them.
Another thing to keep in mind is the environment where the art will live. If you’re working on modern home decor DIY for a high-traffic area like a hallway, think about durability. I personally love experimenting with textured wall art methods using joint compound or even modeling paste, but just make sure you seal your work so it doesn’t collect dust or peel over time. It’s all about setting up a system that lasts longer than the initial dopamine hit of finishing the project.
My Low-Friction Rules for Not Ruining Your Walls
- Don’t buy the expensive stuff first. Before you drop $50 on a fancy canvas, test your layout with cheap printer paper or even just masking tape on the wall. It helps you see if the scale is actually right for the room so you don’t end up with a tiny piece of art drowning in a massive empty space.
- Embrace the “ugly” phase. Whether you’re painting, sketching, or collage-making, there is always a middle point where it looks like a total mess. Don’t scrap the project just because it doesn’t look like a Pinterest board halfway through; just keep moving through the system.
- Texture is your best friend. If a piece feels flat or boring, add some dimension. I love using heavy-body acrylics, or even just layering some scraps of fabric or textured paper. It makes even the simplest DIY look intentional and high-end rather than just “crafty.”
- Limit your color palette. One mistake I made early on was trying to use every color in the box. It ends up looking chaotic and stressful. Pick three main tones—maybe two neutrals and one pop of color—and stick to them. It makes the final result look cohesive and much more professional.
- Think about the lighting, not just the art. A beautiful piece of wall art is useless if it’s sitting in a dark corner or getting hit by a harsh glare from a window. Once you hang it, step back and check how the light hits it at different times of the day. If it looks washed out, you might need to adjust the placement.
The TL;DR on Making It Work
Stop waiting for “inspiration” to hit; just pick a medium you actually enjoy and start experimenting with the tools you already have.
Focus on the system, not perfection—it’s better to have a finished, slightly messy piece on your wall than a “perfect” idea stuck in your head.
Keep your setup modular and easy to clean up so that the friction of starting a new project doesn’t stop you from actually doing it.
Final Thoughts on Your New Space
At the end of the day, making your own wall art isn’t about achieving some unattainable Pinterest perfection or having a studio full of expensive supplies. It’s really just about applying a few simple systems—choosing a cohesive color palette, picking a medium that doesn’t stress you out, and actually committing to the process without overthinking the outcome. Whether you ended up with a textured canvas or a collection of thrifted frames, the goal was to move from “empty wall anxiety” to a space that actually feels like yours. Just remember to keep your tools organized and your expectations low; it makes the whole experience much more manageable and fun.
I know that starting something creative can feel a little intimidating when you’re used to just buying something pre-made from a big-box store, but I promise the friction is worth it. There is a specific kind of quiet satisfaction that comes from looking at a blank wall and knowing you were the one who filled it. Don’t let the fear of a “mistake” stop you from picking up a brush or a glue gun. Your home is a living, breathing project, and it’s okay if your decor evolves as you do. Just start where you are with what you have, and let the rest fall into place.
Frequently Asked Questions
I don't have a huge budget—can I actually make this look good using stuff I already have around the house?
Absolutely. Honestly, the “expensive materials” crowd is mostly just gatekeeping. I’ve spent way too many weekends digging through thrift store bins and my own junk drawer to find gems. Grab some old magazines for collage, use leftover acrylics from a half-finished project, or even repurpose some scrap wood from that DIY shelf you never finished. The goal is the vibe, not the price tag. If it looks intentional, it looks high-end.
How do I actually hang these without turning my rental walls into a total disaster zone?
The rental struggle is real. I used to be terrified of losing my security deposit, but you don’t need to drill holes everywhere to make a space feel like home. Honestly? Just grab some Command strips—they’re a lifesaver. If you’re going heavier, look into monkey hooks; they leave tiny pinpricks rather than gaping wounds. Just remember to clean the wall with rubbing alcohol first so they actually stay up. Small systems, zero damage.
What’s the best way to figure out which pieces actually look good together so my room doesn't end up looking cluttered?
The trick is to stop treating your walls like a random scrapbooking project. I use the “anchor” method: pick one piece you actually love—maybe a vintage print or a textured canvas—and let that dictate the vibe. From there, stick to a consistent color palette or a shared medium. If everything feels too chaotic, try grouping them in a tight gallery wall. It creates a single visual unit instead of a dozen tiny distractions.
