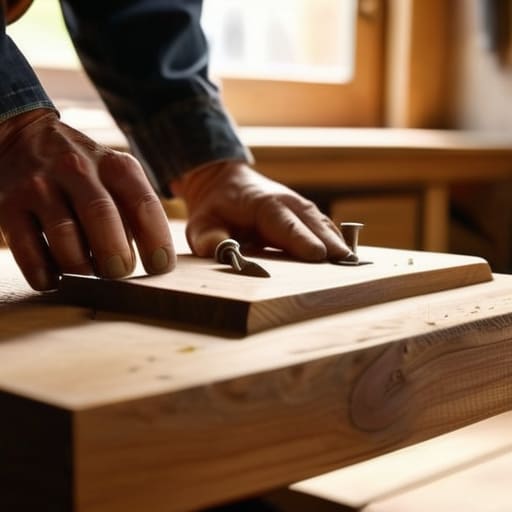
I was sitting on my floor last Tuesday, surrounded by a chaotic mountain of hardcovers and half-finished paperbacks, staring at a wobbly, particle-board unit that looked like it was one heavy dictionary away from a total meltdown. It’s that specific kind of domestic friction that makes me want to scream, right? Most people think you need a professional workshop or a degree in carpentry to fix this, but honestly, that’s just gatekeeping. Learning how to build a bookshelf isn’t about mastering fine woodworking; it’s about having a reliable system and knowing which tools actually matter so you don’t end up with a pile of expensive scrap wood.
I’m not going to give you a lecture on joinery or pretend this is a high-end interior design project. Instead, I’m going to walk you through the exact, unpolished steps I use to build sturdy, minimalist shelving that actually fits my space. We’re going to cover everything from choosing the right wood to the specific sequence of screws you need so you aren’t stuck staring at a pile of wood for three hours. Let’s just get this done so you can finally get your books off the floor.
Table of Contents
Guide Overview
Tools & Supplies
- Circular saw or hand saw for cutting wood
- Power drill for driving screws
- Measuring tape for precise dimensions
- Sandpaper for smoothing surfaces
- Level to ensure stability
- 1×4 or 2×4 lumber (approx. 4-5 boards)
- Wood screws (1.5 to 2 inch length)
- Wood glue for joint strength
- Wood stain or paint for finishing
- Sandpaper (various grits)
Step-by-Step Instructions
- 1. First things first, you need to actually measure your space before you even think about touching a piece of wood. I know, it sounds basic, but I’ve seen so many people buy lumber only to realize their “perfect” shelf won’t fit through the bedroom door. Grab a tape measure, find your spot, and write down the height, width, and—this is the one everyone forgets—the depth you need so your books don’t overhang and look messy.
- 2. Next, head to your local hardware store and pick out your wood. If you’re on a budget or want something that looks clean and modern, I usually go for pre-finished pine or even high-quality plywood. Don’t let the staff overwhelm you with every type of timber under the sun; just stick to something sturdy that won’t warp the second you put a heavy hardcover on it. While you’re there, grab a box of wood screws (make sure they’re long enough to hold the weight) and some wood glue.
- 3. Now, it’s time to prep your pieces. If you aren’t feeling confident with a circular saw, most big-box hardware stores will actually cut the wood for you if you bring in your measurements. I personally prefer having them do the heavy lifting because it ensures every edge is perfectly square, which is the secret to a shelf that doesn’t wobble like a newborn deer.
- 4. Once you’re back at your workspace, it’s time to assemble the outer frame. Lay out your two side boards and your top and bottom pieces. Apply a thin, even bead of wood glue along the edges—this is what actually keeps the structure solid over time—and then align your pieces. Use a carpenter’s square to make sure everything is at a 90-degree angle before you start driving in your screws.
- 5. Before you tighten everything down, you’ll want to add your shelves. I like to use shelf pins if I want the ability to move them around later, but if you want a permanent, “set it and forget it” vibe, just screw them directly into the sides. Pro tip: drill pilot holes first. If you try to drive a screw straight into the wood without a tiny hole already there, you’re almost guaranteed to split the board, and then we’re back to square one.
- 6. If you’re feeling a little extra, this is the stage where you slap on some sandpaper to smooth out any rough patches. Start with a coarser grit and move to a fine one until the wood feels silky to the touch. If you’re planning on staining it or painting it to match your room, do it now. It’s much easier to finish the wood while it’s lying flat on your floor rather than trying to paint it once it’s already standing up against a wall.
- 7. The final step is the most important for safety: anchor that thing to the wall. I don’t care how sturdy it feels, if you’re living in a rental or have pets, you need to prevent a tipping disaster. Use a small L-bracket to secure the top of the bookshelf to a wall stud. It takes two minutes, but it gives you the total peace of mind you need to actually enjoy your new organized corner.
Understanding How to Build a Bookshelf
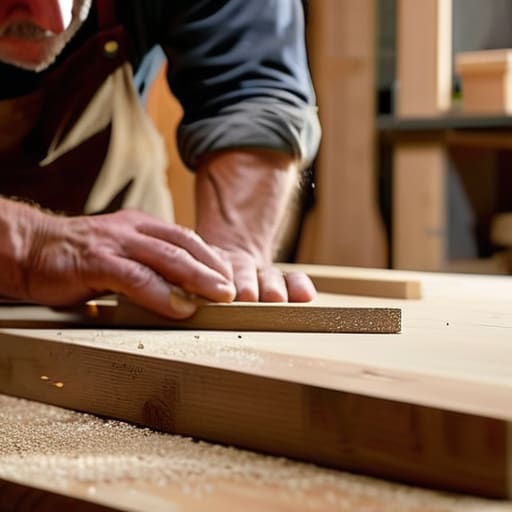
Before you even touch a saw, you need to wrap your head around the physics of it all. A common mistake I see is people focusing entirely on how pretty the wood looks while completely ignoring shelf stability and support. If your spans are too wide without middle supports, your books are eventually going to bow the wood into a sad, permanent U-shape. I always recommend planning for weight distribution from the jump; it’s much easier to build a slightly beefier frame now than to realize your DIY project is sagging three months later.
Also, let’s talk about the actual prep work. Most of the frustration in these projects doesn’t come from the assembly, but from the measuring and cutting lumber phase. If your cuts are even a hair off, nothing is going to line up, and you’ll end up fighting the materials the whole way through. Don’t rush this part. Take a breath, double-check your marks, and remember that precision at the start is what makes the actual building part feel effortless. It’s all about setting yourself up for a win.
Key Things to Know
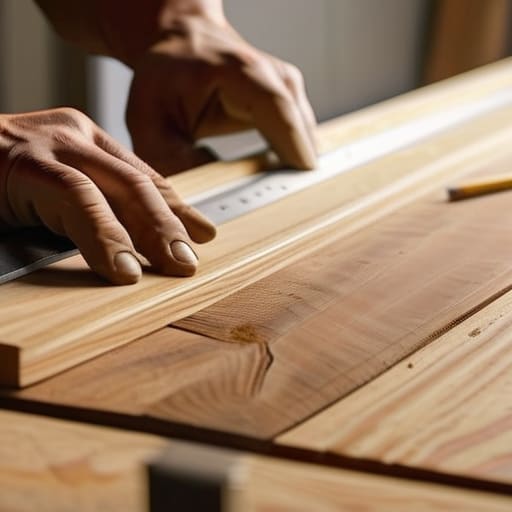
Before you actually start making sawdust, there are a few things I wish someone had told me when I first tried this. First off, don’t underestimate the importance of measuring and cutting lumber accurately. It sounds basic, but if your cuts are even a fraction of an inch off, your whole structure is going to feel wonky, and nothing kills my vibe faster than a wobbly piece of furniture. Always double-check your marks before you pull the trigger on that saw.
Another thing to keep in mind is the actual weight you’re planning to hold. If you’re thinking about lining this thing with heavy hardcover books, you need to prioritize shelf stability and support. This means choosing the right thickness for your boards and making sure your vertical supports are solid. I’ve definitely learned the hard way that a “minimalist” look shouldn’t mean a sagging middle shelf. If you’re planning on a larger build, think about how the weight is distributed so your hard work doesn’t end up as a pile of splintered wood in six months.
Pro-Tips to Save Your Sanity (and Your Floor)
- Measure twice, cut once, and then measure a third time. I know it sounds like a cliché, but there is nothing more soul-crushing than realizing your “perfect” shelf is two inches too wide for the nook you picked out.
- Don’t skip the sanding phase. Even if you’re using pre-finished wood, hitting the edges with some fine-grit sandpaper makes the whole thing feel like a piece of furniture rather than a DIY project that’s about to give you a splinter.
- Buy a decent drill, not the cheapest one you can find at a discount store. A weak drill will stall halfway through a screw, leaving you frustrated and stuck with a half-finished board that won’t stay put.
- Level everything. Seriously. If your base isn’t perfectly level, every single shelf above it is going to look crooked, and your books will eventually start sliding toward one side like they’re trying to escape.
- Use a bit of wood glue on your joints. Screws are great for holding things together while you work, but a little glue adds that extra layer of structural integrity so your shelf doesn’t start wobbling after a month of holding heavy hardcovers.
The TL;DR of Not Ruining Your Weekend
Don’t skip the measuring phase; double-checking your cuts now saves you from a “oops, I have to go back to the hardware store” crisis later.
Invest in decent tools rather than the absolute cheapest options—it’s the difference between a shelf that stays level and one that wobbles every time you touch it.
Focus on the system, not perfection; if a screw is slightly crooked, just keep moving. The goal is a functional piece of furniture, not a museum exhibit.
The Final Piece of the Puzzle
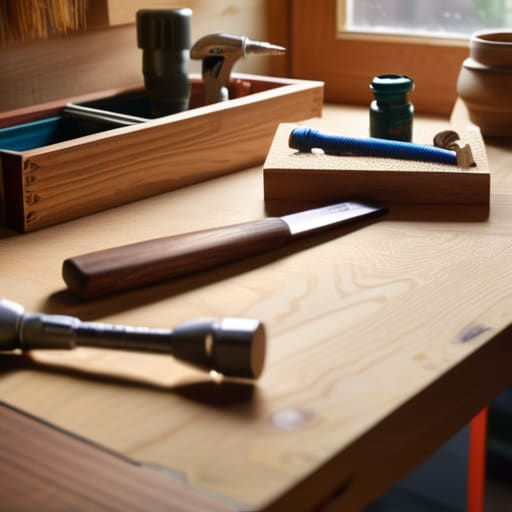
At the end of the day, building this bookshelf isn’t about achieving architectural perfection; it’s about executing the basics correctly so your stuff actually has a home. We covered the essentials: picking the right wood, measuring twice so you don’t waste money on a second trip to the hardware store, and making sure those joints are actually secure before you start loading it up with heavy hardcovers. If you followed the sequence and kept your workspace organized, you’ve already done the hardest part. Just remember that a few minor imperfections aren’t failures—they’re just proof that you actually built something with your own two hands instead of just clicking “add to cart.”
I know that starting a DIY project can feel a little intimidating, especially when you’re staring at a pile of raw lumber and a set of instructions. But once that last screw is in and you’re sliding your favorite books onto the shelves, that sense of accomplishment is going to hit differently. You aren’t just organizing a room; you’re mastering your environment one small project at a time. Don’t let the fear of a messy workshop or a crooked shelf stop you from trying. Build it, use it, and then realize that you are officially capable of handling whatever else adulthood decides to throw at you next.
Frequently Asked Questions
Do I really need a power drill for this, or can I get away with just a manual screwdriver?
Look, you can technically use a manual screwdriver, but let’s be real: you’re going to hate yourself by the tenth screw. Your wrist will be killing you, and you’ll likely end up stripping the heads, which turns a simple project into a massive headache. If you’re on a budget, grab a cheap cordless drill from a thrift store or a hardware aisle. It’ll save you so much physical friction. Just do it.
How do I stop the whole thing from wobbling if my apartment floors are slightly uneven?
Honestly, uneven floors are the absolute worst. If your shelf starts doing that annoying little dance every time you walk by, don’t panic and don’t try to shim it with folded-up cardboard—that’s just a temporary fix that eventually turns into a mess. Grab some felt furniture pads or, even better, those adjustable leveling feet you can screw into the base. They’re cheap, discrete, and actually solve the problem for good.
What’s the best way to secure it to the wall so it doesn't tip over once I actually start loading it with heavy books?
Look, this is the part where most people cut corners, but please don’t. Once those heavy hardcovers go on, gravity becomes your enemy. Grab some L-brackets and some wall anchors—don’t just screw directly into the drywall, or it will pull out. Find a stud if you can, but if not, use heavy-duty toggle bolts. It takes five extra minutes now, but it saves you from a massive, book-shaped disaster later.
