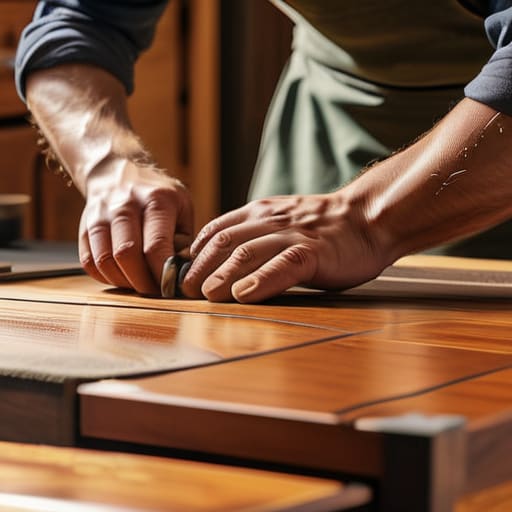
I was halfway through a massive, dusty pile of thrifted mid-century sideboards when I realized something: most people make furniture restoration way more complicated than it actually needs to be. I used to think you needed a professional-grade workshop and a decade of carpentry experience just to fix a scratched tabletop, but that’s honestly just gatekeeping. Learning how to refinish furniture isn’t about mastering complex woodworking; it’s about having a reliable system so you don’t end up with a sticky, uneven mess that looks worse than when you started.
In this guide, I’m stripping away the fluff and giving you the actual, unpolished steps to transform your tired old pieces without losing your mind. We aren’t going to talk about expensive, specialized machinery that takes up half your apartment; instead, I’m focusing on the essential tools and the repeatable workflow I use in my own space. You’ll learn how to prep surfaces properly, choose the right finishes, and avoid the common mistakes that turn a fun weekend project into a total headache. Let’s get into it.
Table of Contents
Guide Overview
Tools & Supplies
- Sandpaper (various grits for smoothing)
- Screwdriver (for removing hardware)
- Paintbrush or foam roller (for application)
- Microfiber cloth (for dust removal)
- Wood filler (small container for cracks)
- Primer (1 quart for base coat)
- Paint or stain (1 quart for finish)
- Degreaser or TSP (small amount for cleaning)
Step-by-Step Instructions
- 1. First, you need to clear your space and get your gear ready. I’m talking about a well-ventilated area—ideally a garage or a spot near an open window—because the fumes from strippers and stains are no joke. Grab some drop cloths to protect your floors, a few different grits of sandpaper (start with 80 and work your way up to 220), some tack cloths, and your chosen finish. Having everything laid out before you start prevents that mid-project panic where you realize you’re missing a crucial tool.
- 2. Next, you have to strip the old finish. If the piece has layers of thick, old varnish or paint, don’t even bother trying to sand it all off immediately; you’ll just burn out your sander and waste your afternoon. Use a chemical stripper to melt away the old gunk. It’s a bit messy, but it’s the most efficient way to get down to the raw wood without doing a mountain of manual labor. Just follow the product instructions carefully and scrape the residue off with a putty knife once it starts bubbling.
- 3. Now comes the sanding phase, and this is where most people try to cut corners. Don’t. You need to sand in the direction of the wood grain, not across it, or you’ll leave these permanent swirl marks that will show up even more once you apply the stain. Start with a coarser grit to level everything out and gradually move to finer grits. By the time you hit 220, the surface should feel as smooth as silk.
- 4. Once you’re done sanding, you have to clean the hell out of the piece. Even a tiny bit of dust left behind will turn your final finish into a sandpaper-textured mess. Use a vacuum first, then wipe the whole thing down with a tack cloth or a microfiber cloth dampened with mineral spirits. I always do a double check here; if you see a single speck of dust, keep wiping until it’s spotless.
- 5. Now you can apply your stain or your new topcoat. If you’re using a stain, apply it with a lint-free rag or a foam brush, working in even strokes. If you want a darker look, you can do multiple light coats rather than one heavy, gloopy one. If you’re going for a more modern, natural look, you might skip the stain and go straight to a clear wax or poly. Just remember to work quickly to avoid lap marks where the wet edges meet.
- 6. Finally, let it cure. This is the hardest part for me because I want to see the finished product immediately, but patience is literally the most important tool in your kit. If you apply a topcoat too soon or start using the piece before the finish has actually hardened, you’ll end up with sticky spots or a ruined surface. Give it at least 24 to 48 hours in a dust-free environment before you even think about putting a lamp or a book on it.
Understanding How to Refinish Furniture
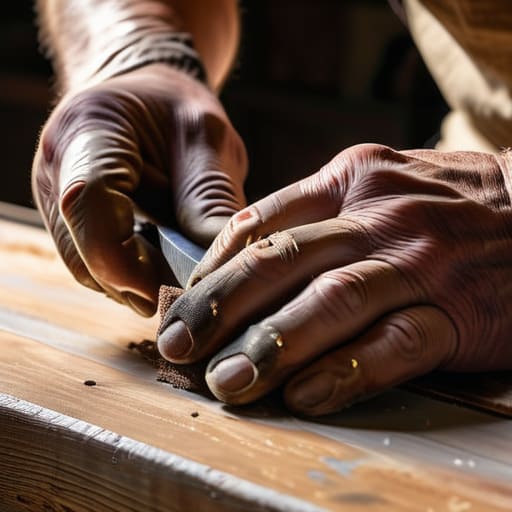
Before you dive into the actual labor, you need to understand that you aren’t just changing a color; you’re essentially performing surgery on the piece. The biggest mistake I see people make is rushing the prep work because they want to get to the “fun” part of seeing a new color. If you don’t prioritize wood grain preparation, you’re going to end up with a finish that looks blotchy and amateur. You have to respect the material. If the piece has layers of heavy, old-school buildup, you might need to look into specific wood stripping techniques rather than just trying to sand through it all. Sanding through thick layers of old finish is a recipe for a burnt-out arm and a ruined project.
Think of this stage as setting the foundation for your entire system. If you’re working with a piece that has a deep, beautiful pattern, your goal is to strip away the damage without erasing the character. Whether you’re removing old varnish or dealing with a stubborn shellac, the goal is a clean, naked surface. Take your time here. If the base isn’t smooth, no amount of expensive stain is going to save you from a mediocre result.
Key Things to Know
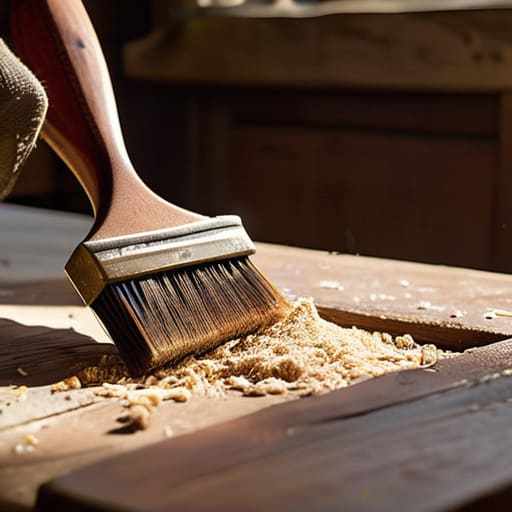
Before you dive in, let’s talk about the stuff people usually gloss over until it’s too late. First, you need to be realistic about what you’re actually working with. If you’re dealing with a piece that has layers of thick, heavy-duty buildup, don’t try to brute-force it with just sandpaper. You’ll end up exhausted and with a finish that looks patchy. This is where wood stripping techniques actually save your sanity; using a chemical stripper to get the bulk of that old gunk off first makes the subsequent sanding much more manageable.
Also, please, for the love of all things functional, pay attention to your abrasives. I see so many people grab one random sheet of sandpaper and call it a day, but you really need a solid furniture sanding grits guide to follow. You can’t just jump from a coarse grit straight to a fine one and expect a smooth surface. If you skip the middle steps, you’ll see swirl marks under your final coat that will drive you crazy. Lastly, keep an eye on your environment—dust is the ultimate enemy of a clean finish, so try to work in a space where you can actually control the airflow.
Five things I wish I knew before my first project
- Don’t cheap out on sandpaper. I used to think a basic pack from the grocery store would do the trick, but you’ll end up fighting the wood for hours. Invest in a decent variety of grits—you’re going to need them.
- Test your finish on a hidden spot first. Seriously. I once finished an entire thrifted nightstand only to realize the stain turned out a weird muddy purple because of how it reacted to the original sealant. Check a corner or the underside first so you aren’t blindsided.
- Prep your workspace like your sanity depends on it. This is messy work. If you aren’t covering your floors with drop cloths and taping off your walls, you’re going to be finding wood dust in your coffee for the next three weeks.
- Work in small, controlled sections. It’s tempting to try and slap the stain or paint on all at once to get it over with, but that’s how you get those annoying lap marks and uneven patches. Take your time and do one side at a time.
- Embrace the “ugly” phase. There is a middle point in every project where the piece looks absolutely trashed—the old finish is half-gone and the wood looks raw and weird. Don’t panic and quit; just keep going, because the final result is worth the mid-project crisis.
The Bottom Line
Don’t rush the prep work; spending extra time sanding and cleaning now is the only way to avoid a finish that looks like a DIY disaster later.
Invest in decent tools rather than the cheapest options you can find, because bad equipment just turns a simple project into a frustrating, long-winded mess.
Accept that it won’t be perfect on the first try, and focus more on building a repeatable process than obsessing over every tiny imperfection.
The Final Polish
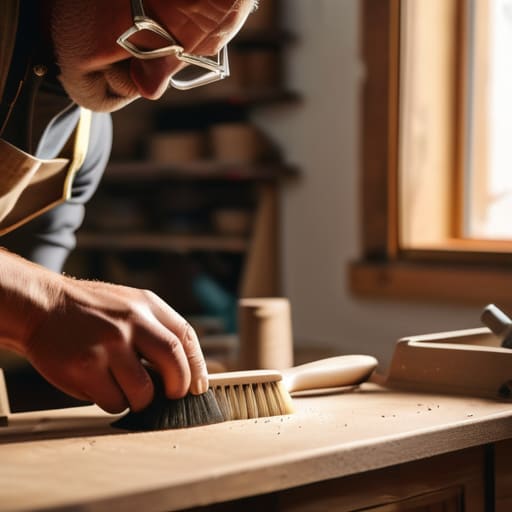
At the end of the day, refinishing furniture isn’t about achieving some Pinterest-perfect, magazine-ready masterpiece on your very first try. It’s about the system: prepping the surface properly, staying patient through the drying phases, and not cutting corners on the sanding. If you follow the steps—even when you’re tempted to skip the primer or rush the topcoat—you’re going to end up with a piece that actually lasts. Remember, the goal is to build something durable that fits your space, rather than just slapping some paint over old mistakes and hoping for the best.
I know it can feel overwhelming when you’re staring at a stripped-down piece of wood and a messy workspace, but trust me, the payoff is so worth the chaos. There is something incredibly grounding about taking something that was headed for a landfill and giving it a second life through your own hands. Don’t let the fear of a little dust or a failed stain stop you from starting. Once you get that first successful project under your belt, you’ll realize that mastering these small systems is what actually makes adulthood—and DIY—feel manageable. Now, go grab your multi-tool and get to work.
Frequently Asked Questions
Is it actually worth the effort to refinish cheap particle board or IKEA furniture, or should I just stick to solid wood?
Honestly? For particle board or IKEA pieces, don’t bother with a full refinish. It’s usually just a thin veneer or laminate, and once you sand it, you’re basically hitting raw sawdust. It’s a massive headache that rarely looks good. Instead, skip the heavy lifting and just use chalk paint or contact paper. Save your energy and your multi-tool for the solid wood pieces—that’s where the real payoff actually lives.
How do I know if I'm dealing with real wood veneer or if the whole piece is solid, and does that change my approach?
This is the million-dollar question, and honestly, it changes everything. To check, look at the edges or the underside. If you see a seam or a thin layer meeting a different wood grain, it’s veneer. If the grain pattern wraps perfectly around the corner, you’re likely looking at solid wood. If it’s veneer, be incredibly careful with sanding—you can sand right through that thin layer in seconds, which is a total nightmare to fix.
What’s the best way to deal with that weird, lingering smell of chemical strippers or strong stains in a small apartment?
Honestly, that chemical funk is the absolute worst, especially when your living room is also your bedroom. First, crack every window you have—airflow is your best friend. If you can, set up a box fan facing out to pull the air through. For the lingering scent, skip the fake floral sprays; they just make it smell like “chemical flowers.” Instead, set out bowls of white vinegar or activated charcoal. They actually absorb the odor rather than masking it.
