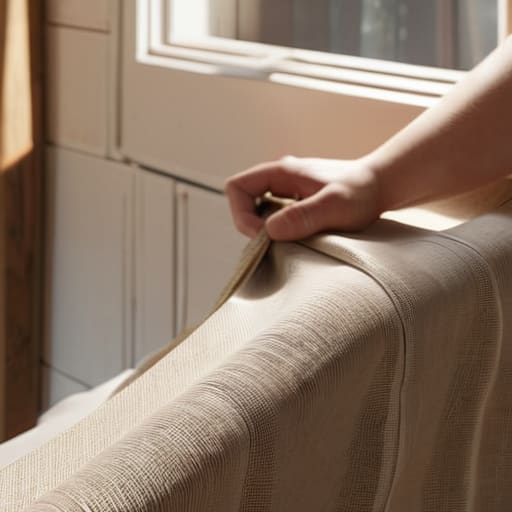
I was staring at my living room window last Tuesday, surrounded by three different types of fabric swatches and a mounting sense of dread, realizing I had spent way too much money on “ready-made” panels that looked cheap and hung like wet paper. Most people will tell you that making diy curtains requires a high-end sewing machine and a degree in interior design, but honestly? That’s just gatekeeping. I grew up watching my dad fix everything from leaky pipes to broken chairs with nothing but a basic toolkit and some common sense, and I’ve realized that most home decor “hacks” are just unnecessarily complicated ways to spend more money.
In this guide, I’m stripping away the fluff and giving you the exact, unpolished system I use to get professional-looking windows without the professional price tag. We aren’t going to obsess over complicated pleats or expensive industrial equipment; instead, I’m walking you through the low-friction methods for measuring, cutting, and hanging your own fabric so it actually looks intentional. Whether you’re a total beginner or just someone who wants to stop overpaying for basic textiles, I’ll show you how to get this done efficiently and beautifully.
Table of Contents
Guide Overview
Tools & Supplies
- Fabric scissors for clean cutting
- Sewing machine for stitching hems
- Measuring tape for accurate dimensions
- Iron for pressing seams
- Fabric (2-3 yards depending on window size)
- Thread (1 spool matching fabric color)
- Sewing pins (1 box)
- Curtain tape or header webbing (1 roll)
Step-by-Step Instructions
- 1. First, grab a tape measure and actually measure twice. Don’t just eyeball the window; you need the width of the rod plus about 6-10 inches of “extra” fabric on each side so the curtains look lush rather than skimpy. For the length, decide if you want them hitting the floor or just skimming the sill, and then add about 4 inches to that number to account for the top and bottom hems.
- 2. Next, pick your fabric. Since I’m all about making life easier, I usually steer people toward linen blends or heavy cottons because they hang beautifully and aren’t total nightmares to work with. Avoid anything super slippery like silk or cheap polyester if this is your first time; you want something that stays where you put it while you’re trying to pin it.
- 3. Once you have your fabric, lay it out flat on a clean floor or a large table and cut it to your dimensions. I like to leave a little bit of “breathing room” around my measurements. If you’re feeling brave, you can try a no-sew method using heavy-duty iron-on hem tape, which is a total lifesaver if you don’t want to deal with a sewing machine.
- 4. If you are going the sewing route, start by folding the edges over to create your hems. I usually do a double fold—fold it once, press it with an iron, fold it again, and press it again. This hides the raw edge of the fabric and makes the whole thing look actually professional instead of like a craft project gone wrong.
- 5. Now, decide on your hanging method. If you want that effortless, high-end look, I highly recommend making a “rod pocket” by sewing a long tube at the top of the curtain. If you’re more of a minimalist, you can just sew on some discrete curtain rings or even use clip-on rings that attach directly to the fabric.
- 6. Before you commit to the final stitch, pin everything in place and do a test hang. Use some heavy binder clips to hold the fabric up on your curtain rod just to see how the light hits it and how the length looks in your actual room. It’s much easier to fix a pin than it is to unpick a permanent seam.
- 7. Finally, do your final sewing or ironing and give them a good steam. Even the most perfectly constructed DIY curtains will look a little sad if they come straight out of a folded pile. A quick pass with a steamer once they are hanging will make them look like you actually spent a ridiculous amount of money at a boutique.
Understanding Diy Curtains

Before you actually start cutting into your fabric, we need to talk about the vibe you’re going for. I’ve learned the hard way that what looks good on a Pinterest board doesn’t always translate to your actual living room. The biggest game-changer is your fabric selection for window treatments; if you pick something too lightweight, your room will feel unfinished, but if it’s too heavy, it might overwhelm a small space. I usually lean toward linen blends because they have that effortless, lived-in look that doesn’t feel too “stiff” or formal.
Another thing to keep in mind is that your windows aren’t just holes in the wall—they’re the focal point of the room. When you’re measuring windows for curtains, don’t just measure the glass. You want to go wider and higher than the actual frame to make the room feel larger and more expensive. It’s a tiny tweak, but it makes a massive difference in how professional the final result looks. Honestly, getting the dimensions right is half the battle before you even touch a pair of scissors.
Key Things to Know
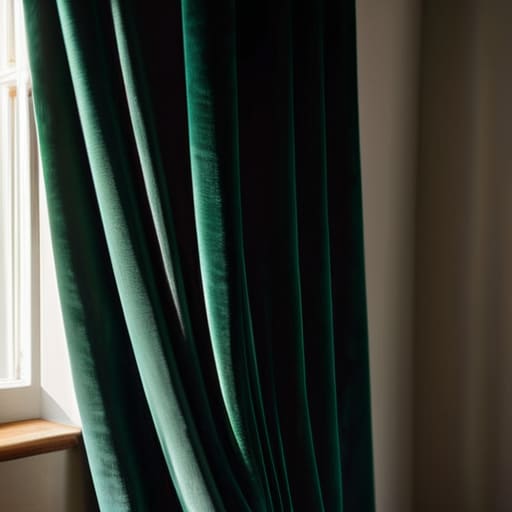
Before you actually start cutting into anything, let’s talk about the stuff that usually trips people up. First off, don’t underestimate the importance of fabric selection for window treatments. I know, it’s tempting to just grab the cheapest linen you see at a craft store, but if you’re looking for privacy or light control, you need to consider the weight. A heavy velvet feels expensive and cozy, while a sheer voile is great for that airy, minimalist vibe. Just remember: the way the fabric hangs is everything. If it’s too flimsy, your windows will look sad rather than intentional.
Also, if you’re on a tight budget, don’t stress about owning a high-end sewing machine. There are plenty of ways to handle hemming curtains without sewing using iron-on hem tape, which is a total lifesaver for a quick weekend project. One more thing—double (and then triple) check your measurements. I once messed up a whole batch of fabric because I forgot to account for the rod width. Measure twice, cut once isn’t just a cliché; it’s the only way to keep your sanity.
Pro-Tips to Keep You From Regretting This Project
- Don’t skip the iron. I know, it feels like an extra step, but if you don’t press your fabric before you start cutting, your finished curtains are going to look homemade in the worst way possible. Crisp edges are everything.
- Measure twice, cut once—literally. Seriously, grab a measuring tape and double-check your window width plus the extra fabric needed for the hems. There is nothing more soul-crushing than realizing you’re two inches short after you’ve already made the cut.
- Go heavy on the hem. If you want that expensive, high-end look, give your curtains a deep bottom hem. It adds weight so they hang straight and don’t flutter around like crazy every time someone opens a door.
- Mind your fabric grain. If you’re using a patterned fabric, make sure the pattern is running the right way before you sew. There’s nothing worse than finishing a whole panel only to realize the print is sideways.
- Use the right needle for the job. If you’re working with heavy velvet or thick linen, don’t try to force a standard thin needle through it; you’ll end up with a broken needle and a lot of frustration. Grab a heavy-duty one from your kit and save yourself the headache.
The TL;DR on DIY Curtains
Don’t sweat perfection; the goal is a functional, custom look that fits your space, not a showroom-ready masterpiece that takes ten hours to finish.
Invest in decent hardware and quality fabric—skimping on the basics is usually where the “DIY look” goes from intentional to just messy.
Measure twice, cut once, and always leave a little extra room; it’s much easier to tuck in a bit of excess fabric than it is to fix curtains that are two inches too short.
The Final Stitch
At the end of the day, hanging your own curtains isn’t about achieving some Pinterest-perfect, showroom aesthetic that looks like no one actually lives there. It’s about knowing that you measured twice, picked a fabric that actually suits your space, and followed a system that didn’t leave you staring at a pile of wasted textile. Whether you went the easy route with clip rings or tackled a full hem, the goal was to stop letting your windows feel unfinished and start taking control of your environment. You’ve got the tools, you’ve got the measurements, and most importantly, you’ve got a setup that actually works for your specific room.
I know that starting a DIY project can feel a little intimidating—especially when you’re worried about ruining a nice piece of fabric or drilling holes in the wrong spot. But honestly? The slight risk of a mistake is a small price to pay for the massive boost in confidence you get when you realize you don’t need to hire someone else to handle the basics. Adulthood is a lot less heavy when you realize you are actually capable of maintaining your own space. So, take the win, enjoy the new vibe in your room, and remember that every small system you build makes the big stuff much easier to handle.
Frequently Asked Questions
How do I figure out exactly how much fabric to buy so I don't end up with awkward gaps or a massive, expensive leftover pile?
The math part is usually where people panic, but it’s actually pretty simple once you get the formula down. First, measure your window width and multiply that by 2 or 2.5. That’s your “fullness factor”—it’s what prevents your curtains from looking like a flat sheet of paper when they’re closed. Then, add about 8-10 inches for your top and bottom hems. Do that math before you hit the fabric aisle so you aren’t overspending on scraps.
Do I actually need a sewing machine for this, or is there a way to do it that doesn't involve me learning how to thread one?
Honestly? You can totally skip the sewing machine. I’m all about reducing friction, and if the idea of threading a needle feels like a nightmare, don’t do it. You can use heavy-duty iron-on hem tape (like HeatnBond) to create clean, permanent edges with just an iron. It’s faster, way less intimidating, and honestly, if you do it right, nobody is going to know you didn’t stitch them yourself. No stress required.
What’s the best way to hang these if I’m renting and can’t exactly go drilling massive holes into the walls?
The renter’s struggle is real. If you can’t touch the walls, skip the drill and go for heavy-duty Command curtain rod brackets. They’re a lifesaver. Just make sure you clean the wall with rubbing alcohol first so they actually stick—don’t skip that step or your curtains will end up on the floor. If your rod is super heavy, look into tension rods; they wedge between the window frames and require zero hardware.
