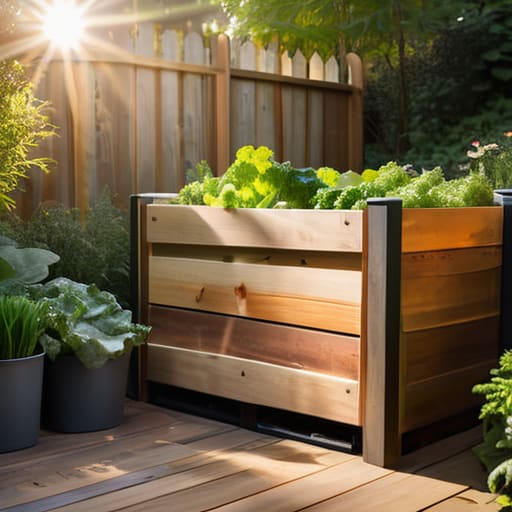
I was standing in my kitchen last Tuesday, staring at a mountain of coffee grounds and wilted kale, feeling that familiar wave of “adulting guilt” because I knew exactly where all that waste was headed: the landfill. Most people make composting sound like this intense, high-maintenance lifestyle choice that requires a backyard the size of a football field and a degree in soil science, but honestly? That’s just gatekeeping. You don’t need a complicated ecosystem or expensive, aesthetic wooden crates to start; you just need to figure out how to make a compost bin that actually fits into your current, slightly chaotic life.
In this guide, I’m stripping away the fluff and showing you the actual, unpolished steps to building a functional system using stuff you probably already have in your garage or shed. We’re going to talk about low-effort builds, how to prevent your bin from becoming a smelly disaster, and the tiny systems that keep everything running smoothly. No hype, no expensive equipment—just a straightforward way to turn your scraps into something useful without adding more stress to your plate.
Table of Contents
Guide Overview
Tools & Supplies
- Drill with bits for making ventilation holes
- Handsaw or utility knife for cutting materials
- Measuring tape for accurate sizing
- Plastic storage bin (approx. 18-30 gallons)
- Drill bits (small diameter)
- Hardware cloth or fine mesh (optional for base)
Step-by-Step Instructions
- 1. First, you need to decide on your setup based on how much space you actually have. If you have a backyard, a large wooden bin or even just a designated corner of the yard works great, but if you’re dealing with a tiny balcony, I’d suggest a small plastic bin with a lid. Just make sure whatever you pick has enough room for things to actually breathe, because air is the secret ingredient here.
- 2. Grab your container and get ready to make some much-needed ventilation holes. If you’re using a plastic bin, grab a drill (or a heated screwdriver if you’re feeling old-school) and pop holes in the sides and the bottom. You want to create a constant airflow so your compost doesn’t turn into a soggy, stinky mess that you’ll eventually want to abandon.
- 3. Now, let’s talk about the foundation. You can’t just throw scraps into an empty bin and expect magic to happen. You need to start with a “brown” base—think shredded cardboard, dry leaves, or even some old newspaper from your recycling pile. This layer acts like a sponge for moisture and prevents everything from compacting into a dense, smelly block.
- 4. Once your base is set, it’s time to start layering your “greens” and “browns.” This is where people usually get confused, but it’s actually pretty simple: “greens” are your nitrogen-rich kitchen scraps like coffee grounds and veggie peels, while “browns” are your carbon-rich dry materials like twigs or paper. The golden rule I live by is to keep a ratio of about two parts brown to one part green to keep the chemistry balanced.
- 5. Every time you add a fresh batch of kitchen scraps, toss a handful of dry browns on top of them. I like to think of it like making a lasagna; you want to sandwich the wet stuff between layers of dry material. This prevents fruit flies from throwing a party in your kitchen and keeps the odors locked down.
- 6. Give it a little love every week or two by turning the pile. Use a small garden shovel or a pitchfork to mix things up, moving the stuff from the outside into the center. This introduces fresh oxygen, which is basically fuel for the microbes that are doing the heavy lifting of breaking everything down for you.
- 7. Finally, keep an eye on the moisture level. Your compost should feel like a wrung-out sponge—damp, but not dripping wet. If it’s too dry, sprinkle a little water on it; if it’s too soggy, just toss in some more shredded cardboard and give it a good stir. Once it looks like dark, crumbly soil and smells like a forest after it rains, you’ve officially made dirt gold.
Understanding How to Make a Compost Bin
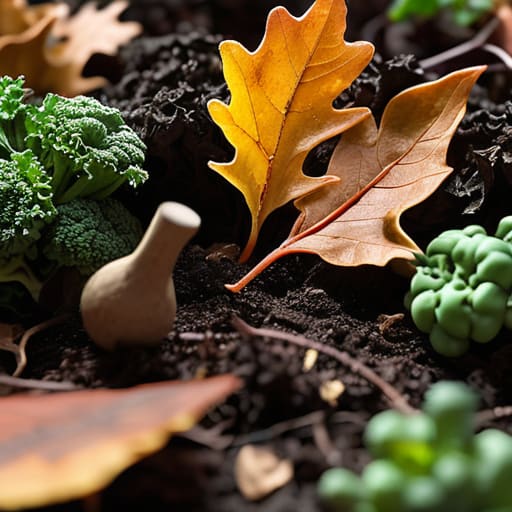
Before you start drilling holes or stacking pallets, you need to realize that composting isn’t about magic; it’s just about managing a tiny, controlled ecosystem. Most people overcomplicate this by thinking they need a professional-grade setup, but it really comes down to balancing your carbon and nitrogen. If you don’t get the ratio right, you’ll end up with a smelly pile that feels more like a chore than a system. I always tell people to focus on organic waste decomposition as a science of ratios—think of it like meal prepping, but for microbes.
The specific backyard composting methods you choose will depend entirely on how much space you actually have and how much effort you’re willing to put in every weekend. If you have a massive yard, a large bin is great, but if you’re working with a balcony or a small patio, you might want to look into a vermicomposting setup using worms instead. Regardless of the method, the goal is the same: keep it simple enough that you actually stick to it when life gets busy.
Key Things to Know
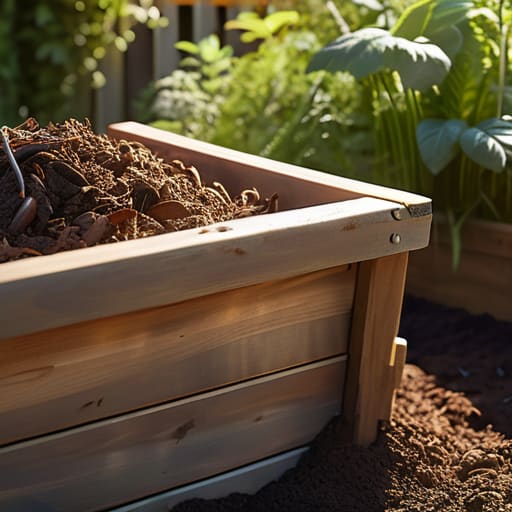
Before you start digging or drilling, there are a few realities about organic waste decomposition that most “aesthetic” lifestyle blogs tend to gloss over. First, it’s all about the balance. If your pile starts smelling like a swamp, you’ve likely got too much moisture or not enough air. This is where aeration for compost bins becomes your best friend; you need to turn that pile every week or so to keep oxygen flowing through the mix. Without it, the process stalls, and you’re just left with a soggy mess instead of actual soil.
Also, don’t get too caught up in the “perfect” build. Whether you’re looking into backyard composting methods or a smaller indoor setup, the most important thing is consistency over complexity. You don’t need a massive, professional-grade structure to see results. If you’re short on space, a small-scale vermicomposting setup (using worms!) can work wonders right under your sink. Just keep an eye on your ratios of “greens” and “browns,” and you’ll find that the system eventually starts to manage itself.
5 ways to keep your bin from becoming a total disaster
- Don’t ignore the “browns.” Everyone remembers to throw in their veggie scraps, but if you don’t balance those greens with dry stuff like shredded cardboard or dead leaves, your bin is going to turn into a slimy, stinky mess real fast.
- Give it some air. Compost needs to breathe just as much as we do. If it gets too packed down and compacted, the good bacteria die off and everything just sits there rotting instead of breaking down. Give it a quick stir with a shovel once a week to keep things moving.
- Size actually matters. If you build a tiny bin, you’ll run out of space in two weeks and end up with a pile of scraps sitting on your kitchen counter. Aim for something big enough to actually hold a decent amount of volume so the heat can build up properly.
- Watch the moisture levels. You want it to feel like a wrung-out sponge—damp, but not dripping. If it’s too dry, nothing happens; if it’s too wet, it smells. If it’s looking a bit soggy, toss in some more dry cardboard to soak up the excess.
- Keep the “no-go” items out. I know it’s tempting to throw everything in there, but keep meat, dairy, and oily foods far away from your DIY bin. Unless you want to deal with unwanted pests and a very unpleasant smell, stick to the plant-based stuff.
The TL;DR for a Stress-Free Bin
Don’t overthink the gear; whether it’s a DIY bin or a store-bought one, the goal is just to give your scraps a dedicated home so they don’t end up in the trash.
Balance is everything—keep a mix of “greens” (nitrogen) and “browns” (carbon) to prevent your compost from smelling like a landfill.
Consistency beats perfection; you don’t need to be a scientist, you just need to turn the pile occasionally and keep it damp, not soaking wet.
Final Thoughts on Your New System
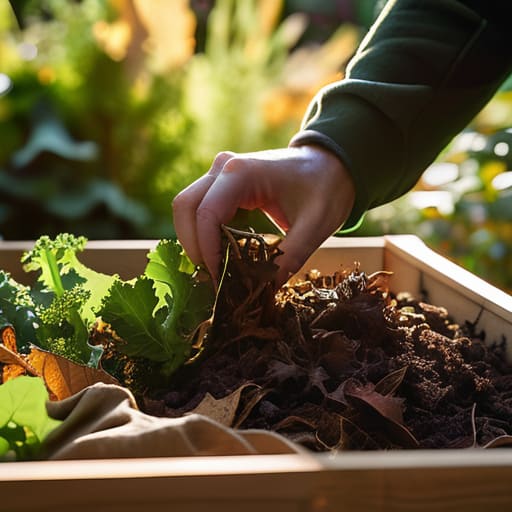
At the end of the day, building your first compost bin isn’t about achieving some kind of perfect, Pinterest-worthy ecological masterpiece. It’s really just about setting up a functional loop where your waste stops being a problem and starts being a resource. Whether you went with a simple DIY bin or a more structured setup, the core principle remains the same: manage your browns and greens, keep an eye on moisture, and don’t overthink the science. Once you get the rhythm of adding your scraps and turning the pile, it becomes just another small, repeatable system that keeps your kitchen running smoothly without the constant guilt of throwing everything in the trash.
I know that starting something new—especially something that involves a little bit of dirt and potential mess—can feel like just another chore on an already overflowing to-do list. But honestly, seeing that pile of scraps transform into actual, usable soil is one of the most satisfying ways to reclaim control over your daily footprint. You don’t need to change your entire lifestyle overnight to make a difference; you just need to start with one bin and one consistent habit. Trust me, once you see how much less stress (and trash) you have, you’ll wonder why you didn’t just start the system sooner.
Frequently Asked Questions
Will my compost bin smell like a literal dumpster if I do this right?
Honestly? Not if you actually follow the system. A healthy compost pile should smell like damp earth, not a landfill. If it starts smelling like a literal dumpster, it’s usually just a sign that things are too wet or you’ve added too much “green” stuff (like fruit scraps) without enough “brown” stuff (like dried leaves or cardboard) to balance it out. Just toss in some more browns, give it a quick stir to let it breathe, and you’re good.
How much space do I actually need to set this up without it taking over my whole yard?
Honestly, you don’t need a massive dedicated corner to make this work. If you’re working with a small yard, a compact bin about the size of a standard trash can is plenty. Just find a spot that’s tucked away but still accessible—you don’t want to be hauling scraps halfway across the property every day. As long as it’s out of the main walkway and gets a little airflow, you’re golden.
Can I just throw everything in there, or are there specific things that are going to ruin the whole system?
Definitely don’t just throw everything in there. If you do, you’re basically asking for a stinky, fly-ridden disaster. Stick to the basics: fruit scraps, veggie peels, coffee grounds, and eggshells are your best friends. Avoid meat, dairy, or oily foods—they’ll make your bin smell like something died in your backyard. Also, skip the pet waste. Keep it simple with greens (nitrogen) and browns (carbon) so the system actually works without the headache.
