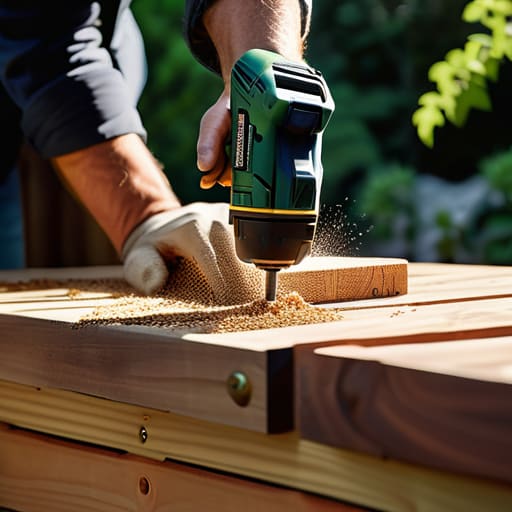
I was standing in my backyard last spring, staring at a pile of expensive cedar planks and a very confusing instruction manual, feeling like I was about to lose my mind. I had this vision of a Pinterest-perfect veggie patch, but instead, I just had a massive headache and a lot of wasted time. Most people will tell you that learning how to build a raised garden bed requires a degree in carpentry or a massive budget for specialized equipment, but that’s honestly just gatekeeping. My dad taught me early on that if you have a solid plan and the right basic tools, you can build just about anything without breaking a sweat or your bank account.
In this guide, I’m stripping away the fluff and giving you the actual, unpolished steps to get your garden up and running. We’re going to walk through the exact materials you actually need (and the ones you can skip), how to prep your space without overthinking it, and a simple assembly process that won’t leave you feeling defeated. My goal is to help you build a system that works so you can spend less time scrambling with lumber and more time actually enjoying your homegrown tomatoes.
Table of Contents
Guide Overview
Tools & Supplies
- Drill/Driver for assembling wood
- Measuring Tape for accurate cuts
- Level to ensure flat base
- Handsaw or Miter saw for resizing lumber
- Untreated Cedar or Redwood boards (approx. 3-4 pieces)
- Galvanized wood screws (1 box)
- Garden soil/Compost mix (enough to fill volume)
- Hardware cloth or landscape fabric (optional for base)
Step-by-Step Instructions
- 1. First things first, you need to pick your spot and get your materials. I’m a huge fan of using cedar or redwood because they actually resist rot, so you aren’t rebuilding this whole thing in two years. Grab some 2×6 or 2×12 boards, some heavy-duty exterior screws, and a drill. Don’t skimp on the screw quality—you don’t want them snapping halfway through the assembly when you’re just trying to get home for dinner.
- 2. Once you have your wood, it’s time to measure and cut. If you don’t have a saw, most big-box hardware stores will do the heavy lifting for you if you bring your measurements. I usually aim for a 4×4 foot bed because it’s deep enough for real root growth but small enough that you can actually reach the middle without stepping on your soil and compacting it.
- 3. Now, let’s get the frame together. Lay your boards out on a flat surface to make sure everything is square. Start driving your exterior screws through the sides of the boards into the corner posts (or into each other if you’re doing a simple butt joint). I always recommend pre-drilling your holes first; it takes an extra thirty seconds, but it prevents the wood from splitting and saves you a massive headache later.
- 4. Before you move the bed to its permanent home, line the bottom with something sturdy. I personally swear by hardware cloth (that metal mesh stuff) if you have squirrels or gophers in your area, or even just a thick layer of plain cardboard to suppress weeds. This creates a solid barrier that keeps the bad stuff out while letting the good stuff in.
- 5. Drag your frame to its final location—make sure it’s somewhere that actually gets sun, not just somewhere that looks pretty—and level it out. If one side is higher than the other, your water is going to pool in one corner and drown your plants. You might need to dig out a little bit of dirt under the high side to get it perfectly even.
- 6. Finally, it’s time for the good part: filling it up. Don’t just grab whatever dirt is in your backyard; it’s probably mostly clay and rocks. I use a mix of high-quality compost, peat moss, and vermiculite to create a “fluffy” environment. Think of it like meal prepping for your plants—if you give them a nutrient-dense foundation now, they won’t struggle later.
Understanding How to Build a Raised Garden Bed
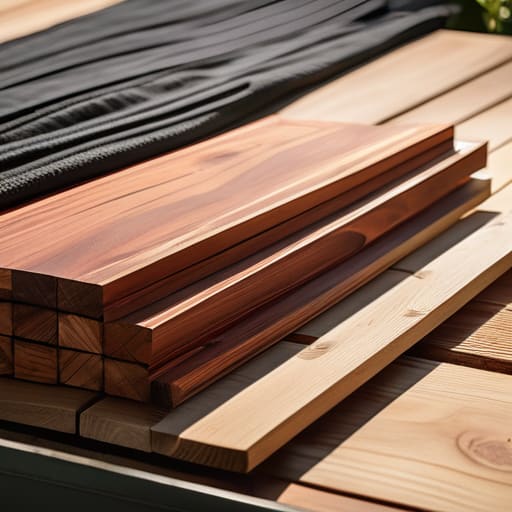
Before you start sawing anything, you need to pick your materials, and this is where people usually get stuck. Honestly, the biggest debate I see is cedar vs pressure treated lumber. If you have the budget, go with cedar; it’s naturally rot-resistant and won’t leach anything into your veggies. If you’re on a tighter budget, modern pressure-treated wood is generally considered safe for food crops, but if you want to be extra cautious, just line the inside with a heavy-duty barrier.
You also shouldn’t just wing the size of your setup. I always recommend sticking to specific diy raised garden bed dimensions—ideally no more than 4 feet wide. Why? Because if it’s wider than that, you’ll have to step into the bed to reach the middle, which compacts the soil and kills your hard work. Once the frame is down, don’t forget about the foundation. Preparing ground for raised beds by clearing out grass or laying down cardboard helps prevent weeds from hijacking your garden before you even plant a single seed.
Key Things to Know
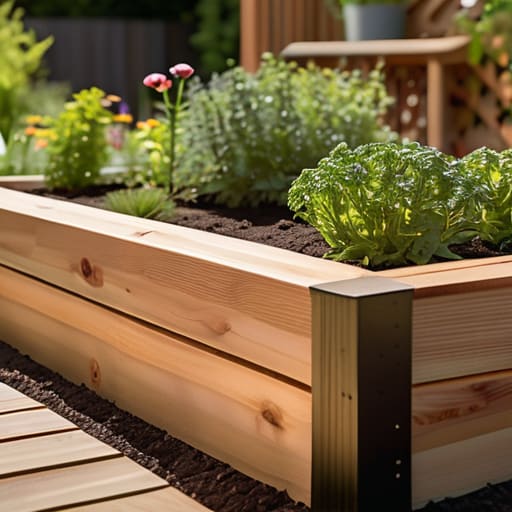
Before you start digging, let’s talk about the stuff that usually trips people up: the materials. When you’re deciding on the best wood for raised beds, you’re basically choosing between longevity and your budget. I personally swear by cedar because it’s naturally rot-resistant and won’t leach weird chemicals into your veggies, but it can get pricey. If you go the route of pressure-treated lumber, just make sure you’re getting the modern, eco-friendly stuff that’s safe for food crops. It’s a bit of a debate, but for my peace of mind, I usually stick to untreated cedar whenever I can swing it.
Also, don’t just dump cheap dirt into your new setup and call it a day. The magic is actually in your raised bed soil mix ratio. You want a blend that’s light enough for roots to move through but rich enough to actually feed them—think a mix of compost, peat moss, and perlite. If you skip the prep work here, you’ll spend your entire summer troubleshooting wilted leaves instead of actually enjoying your garden. Keep it simple, but don’t skimp on the soil quality.
Pro-Tips to Save You a Massive Headache Later
- Don’t skimp on the wood quality. I know cedar is pricier, but if you go with cheap, untreated pine, you’ll be rebuilding the whole thing in two seasons once it starts rotting. Buy it once, do it right.
- Level your ground before you even think about putting the boards down. If your base is wonky, your bed is going to be lopsided, and water will pool in one corner, turning your soil into a swamp.
- Line the bottom with hardware cloth if you have critters around. If you don’t want moles or voles treating your garden like an all-you-can-eat buffet, a little bit of wire mesh goes a long way.
- Think about your reach. Don’t make the bed wider than four feet if you can help it. You want to be able to reach the middle from either side without stepping into the bed and compacting your soil.
- Pre-drill your holes. I used to skip this to save time, but I ended up splitting the wood every single time. Take the extra thirty seconds to drill a pilot hole; your future self will thank you.
The Bottom Line
Don’t get paralyzed by perfection—just get the wood in the ground and start growing. You can always upgrade your setup next season, but the goal is to actually start.
Prioritize your materials. Using untreated wood or cheap hardware is a recipe for a mid-summer breakdown, and I’d rather you spend a little more now than redo the whole thing in six months.
Systems over luck. Once your bed is built, stick to a simple maintenance routine so you aren’t playing catch-up with weeds and dry soil when you’re actually trying to relax.
Getting Your Hands Dirty
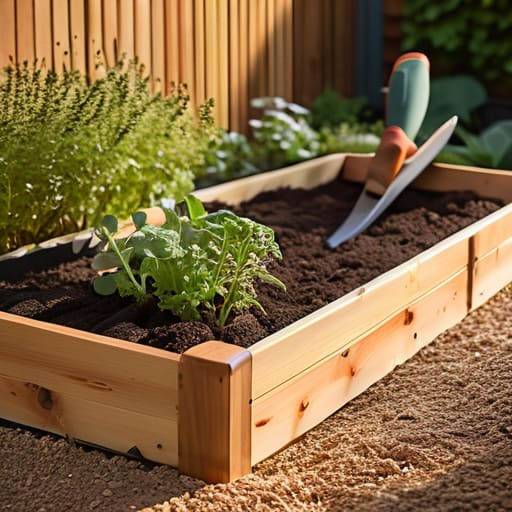
At the end of the day, building a raised bed isn’t about achieving some Pinterest-perfect aesthetic; it’s about creating a controlled environment where your plants can actually thrive without you fighting a losing battle against weeds and bad soil. Just remember to double-check your measurements before you start cutting, use rot-resistant wood like cedar if your budget allows, and don’t skip the step of lining the bottom to protect your structure. If you follow these basic systems, you’ve already done the hard part of removing the friction from your gardening season. Once the frame is level and the soil is in, the heavy lifting is officially behind you.
I know that starting a DIY project can feel a little daunting, especially if you aren’t someone who spends their weekends in a workshop, but I promise that the payoff is worth the initial chaos. There is something incredibly grounding about stepping outside and seeing something you built with your own hands actually producing food. Don’t worry about making it look flawless or professional; just focus on making it functional and sustainable. You’ve built the foundation, so now go out there, plant something, and enjoy the process of watching your hard work grow.
Frequently Asked Questions
What kind of wood should I actually use if I don't want it rotting out in two years?
If you want to avoid the heartbreak of your garden bed turning into mush by next season, skip the cheap pressure-treated stuff from the big-box stores—it’s often packed with chemicals you don’t want near your food. Instead, go for Cedar or Redwood. They have natural oils that fight rot and bugs. They’re a bit pricier upfront, but it’s a better system: you spend more now so you aren’t rebuilding the whole thing in two years.
Do I need to line the bottom with something, or can I just put it straight on the grass?
Honestly, don’t just dump soil straight onto the grass. If you do, the grass will fight your plants for nutrients, and you’ll end up with a muddy mess. I usually layer some plain brown cardboard at the bottom first. It smothers the weeds and eventually breaks down into compost, which is basically free food for your plants. It’s a low-effort system that saves you so much headache later.
How deep should these things be if I'm planning on growing root veggies like carrots?
If you’re going for carrots or parsnips, don’t skimp on the depth. You’ll want your beds to be at least 12 inches deep—ideally 18 if you can swing it. Root veggies need loose, uncompressed soil to stretch out; if the bed is too shallow or the soil gets packed down, they’ll end up stunted or, even worse, looking like twisted little gnarls. Give them plenty of vertical room to do their thing.
